Sowing and Growing: How to Successfully Raise Houseplants From Seed
Growing plants from seed is the most fundamental form of propagation. A tiny grain transforms into a plant that you’ve accompanied from day one. Sowing takes a little more patience than cuttings, but rewards you with one of the most satisfying gardening experiences there is. Here’s how to successfully grow houseplants from seed.
Which Plants Are Good Candidates for Sowing?
Not every houseplant is suited to sowing — many tropical species don’t produce viable seed indoors, or their seeds quickly lose viability.
Excellent candidates for sowing include:
- Cacti and succulents: germinate reliably and grow fascinatingly slowly
- Palms: seeds often take weeks to months, but the result is spectacular
- Citrus plants: pips from organic lemons or oranges germinate reliably
- Avocado: a classic whose pit will root in any glass of water
- Herbs: basil, cilantro, mint, and many others grow quickly and rewardingly
- Annual summer flowers for balconies and patios
What You Need for Sowing
Seed-starting mix: special, low-nutrient, sterile soil. Seedlings are extremely sensitive to fungi and bacteria, and regular potting soil contains too many nutrients and can harbor pathogens.
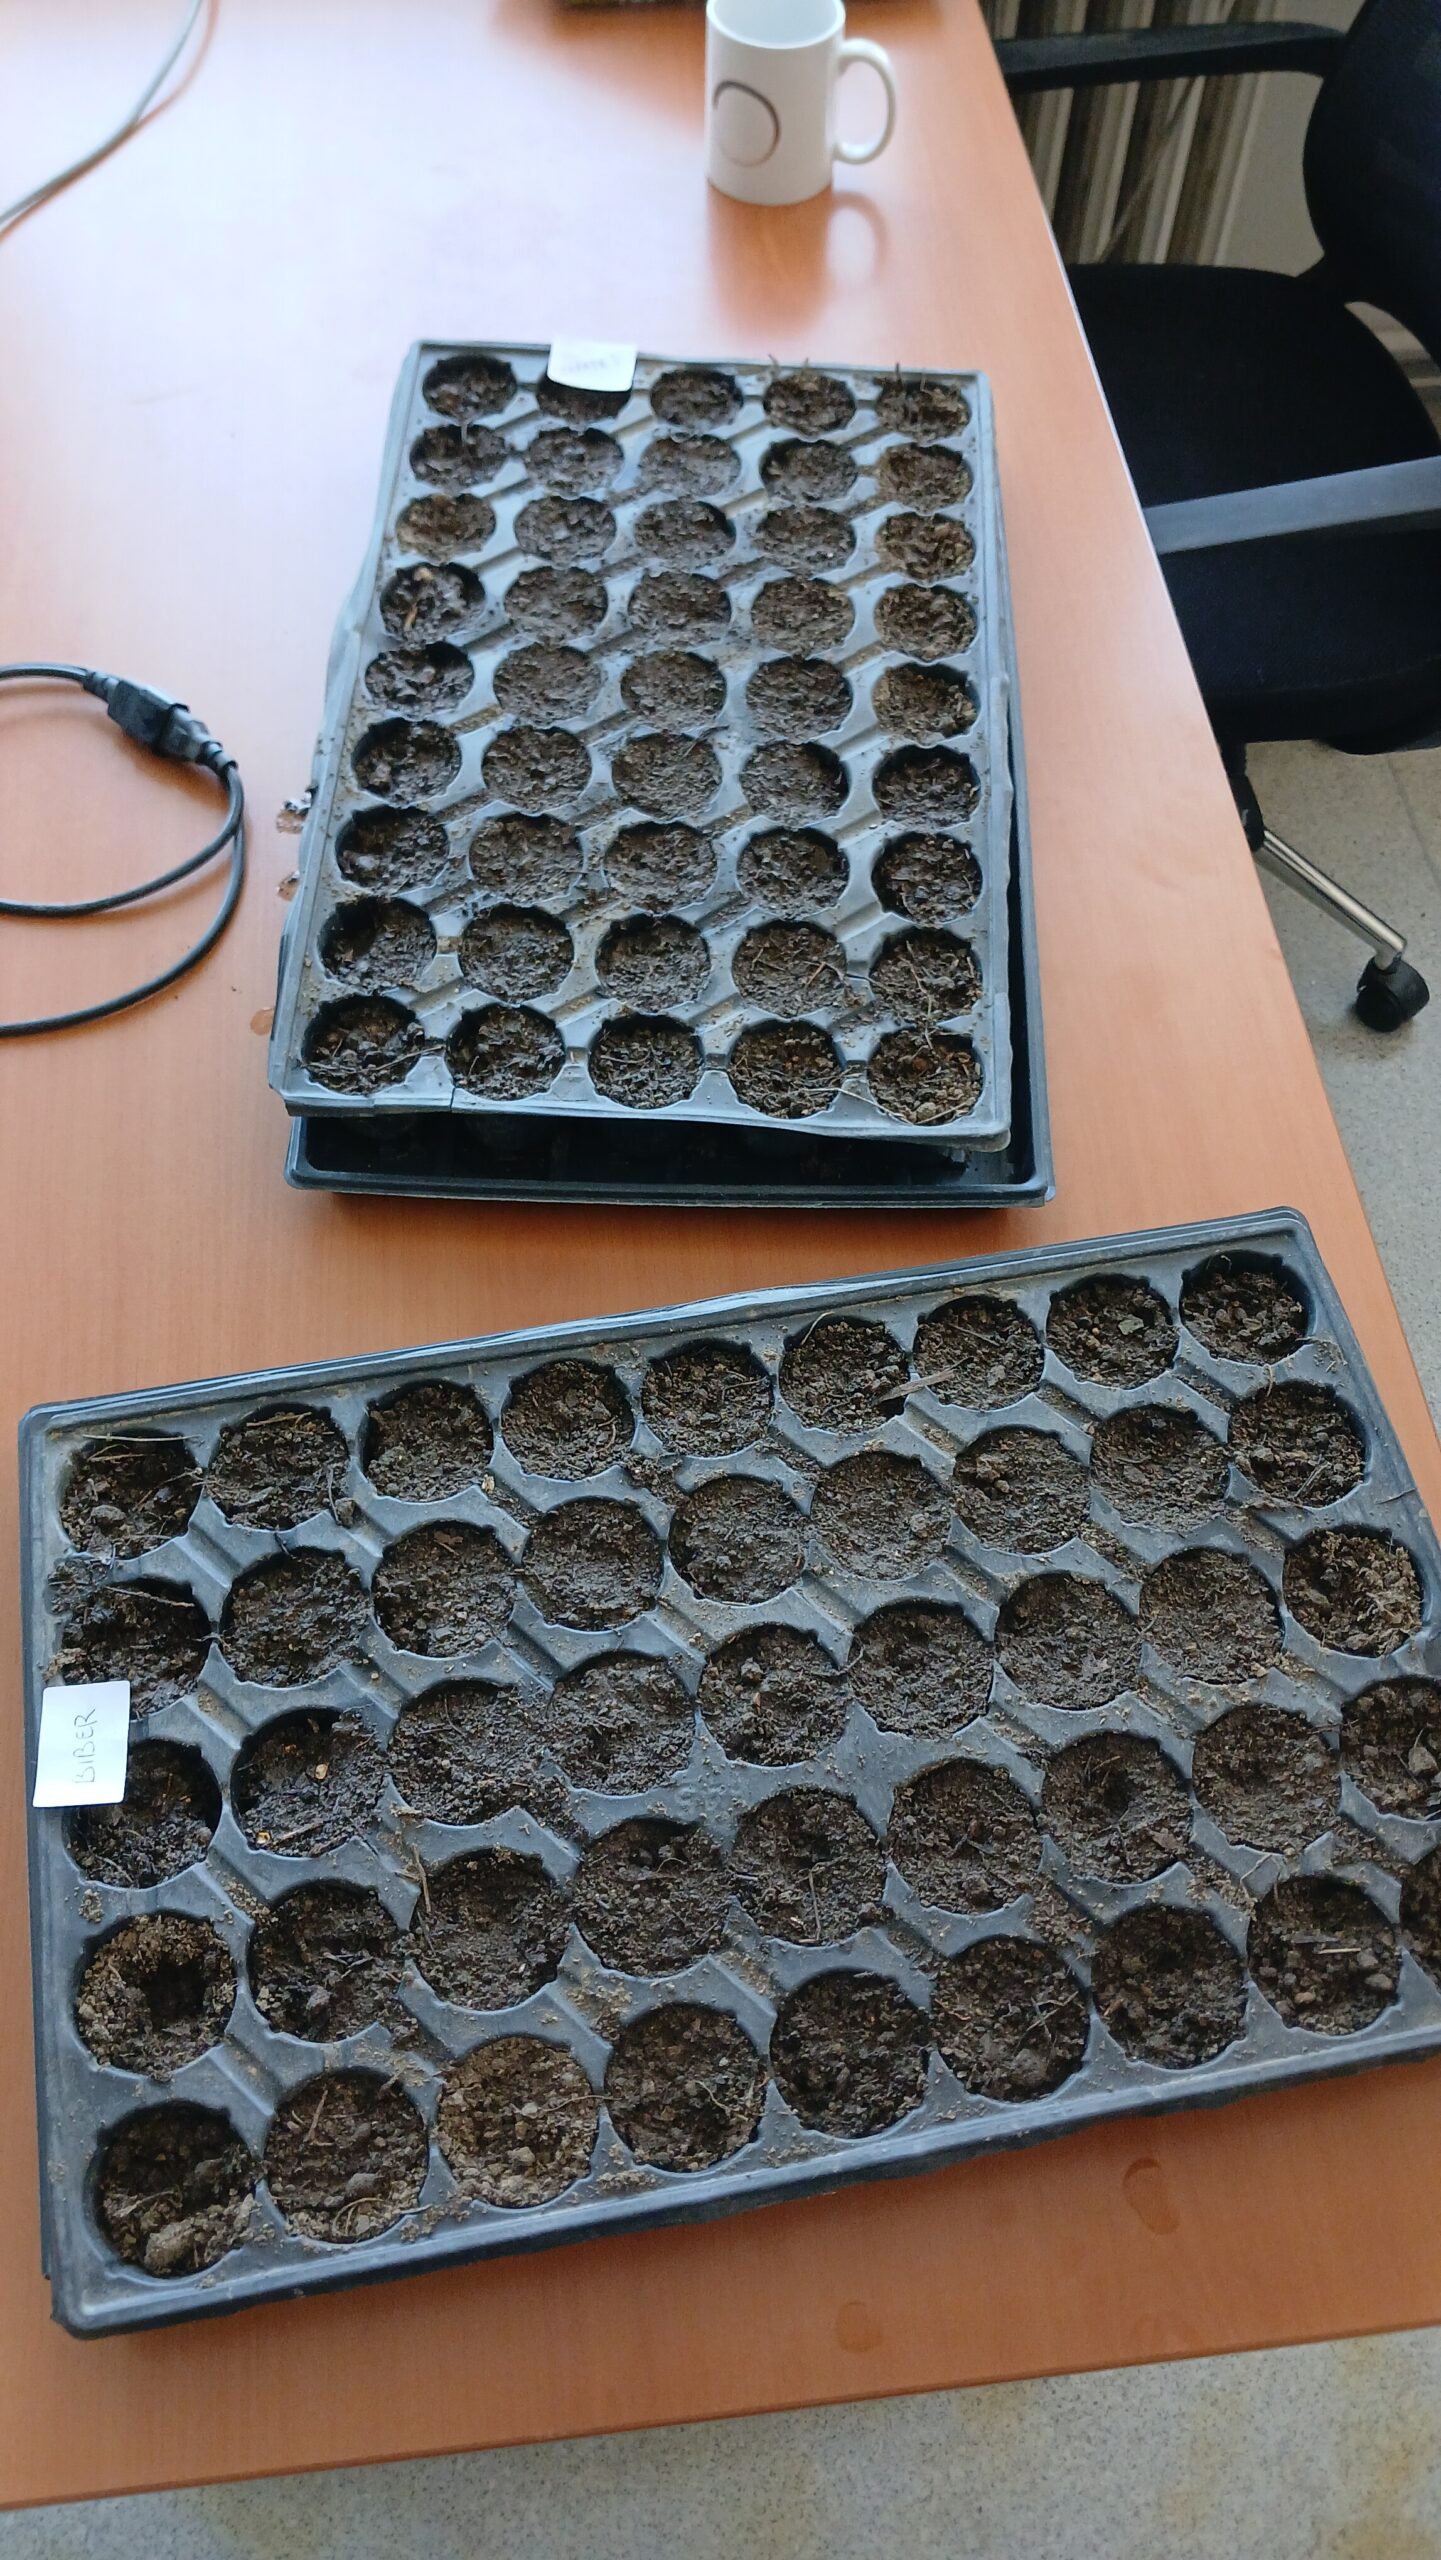
Seed trays or small pots: shallow trays with drainage holes and a transparent lid are ideal. The lid keeps humidity high and creates a mini-greenhouse climate.
A heat source: many seeds need a soil temperature of 20 to 25°C to germinate. A heating mat under the seed tray is the best investment for successful sowing.
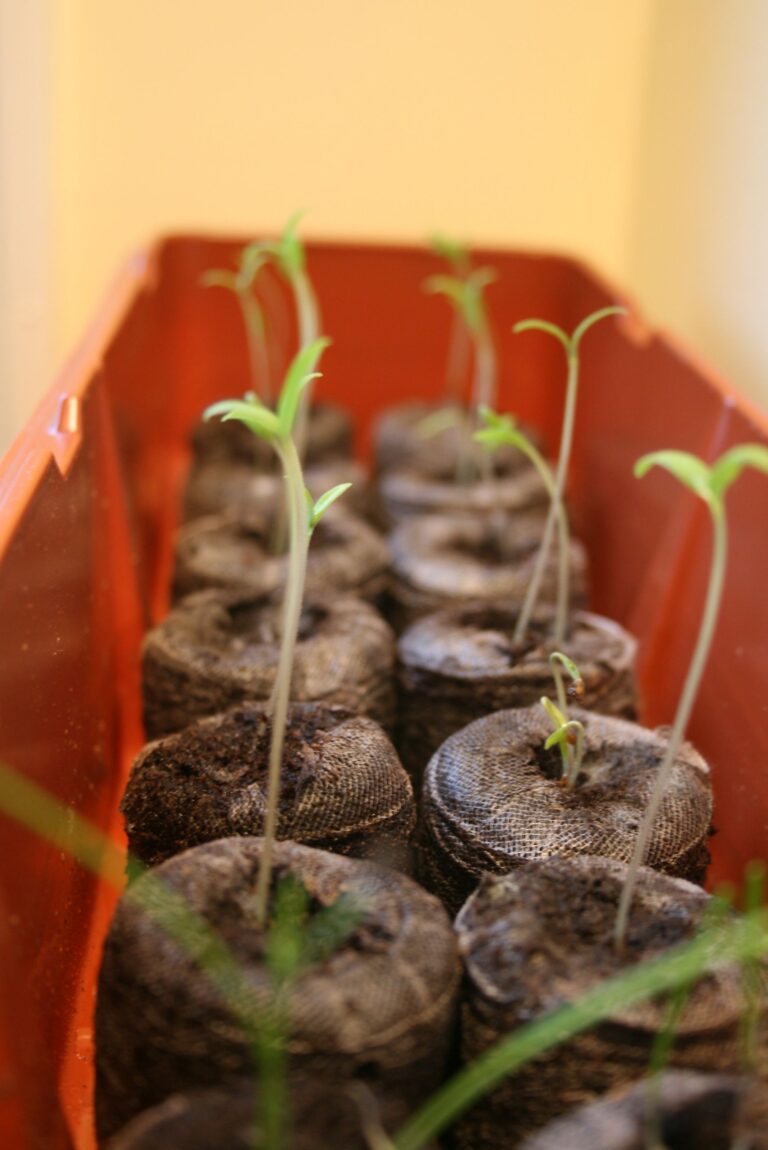
A grow light: as soon as seedlings appear, they need lots of light right away. Without artificial light, they inevitably become leggy on a windowsill.
A fine-mist spray bottle: for even moistening without washing the seeds away.
Step-by-Step Sowing Guide
- Fill the seed tray with moist seed-starting mix and press down lightly
- Scatter seeds on the surface — depending on the species, cover with a thin layer of soil or leave exposed if they need light to germinate
- Moisten gently with the spray bottle
- Put on the transparent lid, or stretch plastic wrap with a few small holes over the tray
- Place in a warm, bright spot or under the grow light
- Air it out daily to prevent mold
- After germination, gradually remove the lid to acclimate the seedlings to normal humidity
Light Germinators vs. Dark Germinators
A crucial distinction that many beginners overlook: some seeds need light to germinate, others need darkness.
Light germinators are simply scattered on the soil and not covered — light is the trigger for germination. Light germinators include basil, begonias, many cacti, and most very fine seeds.
Dark germinators are covered with a thin layer of soil and germinate in the dark. These include many vegetables, marigolds, and some houseplants.
The seed packet usually states whether a seed is a light or dark germinator. When in doubt, cover seeds only lightly with soil — seeds buried too deep won’t germinate at all.
Pricking Out: Moving Into Individual Pots
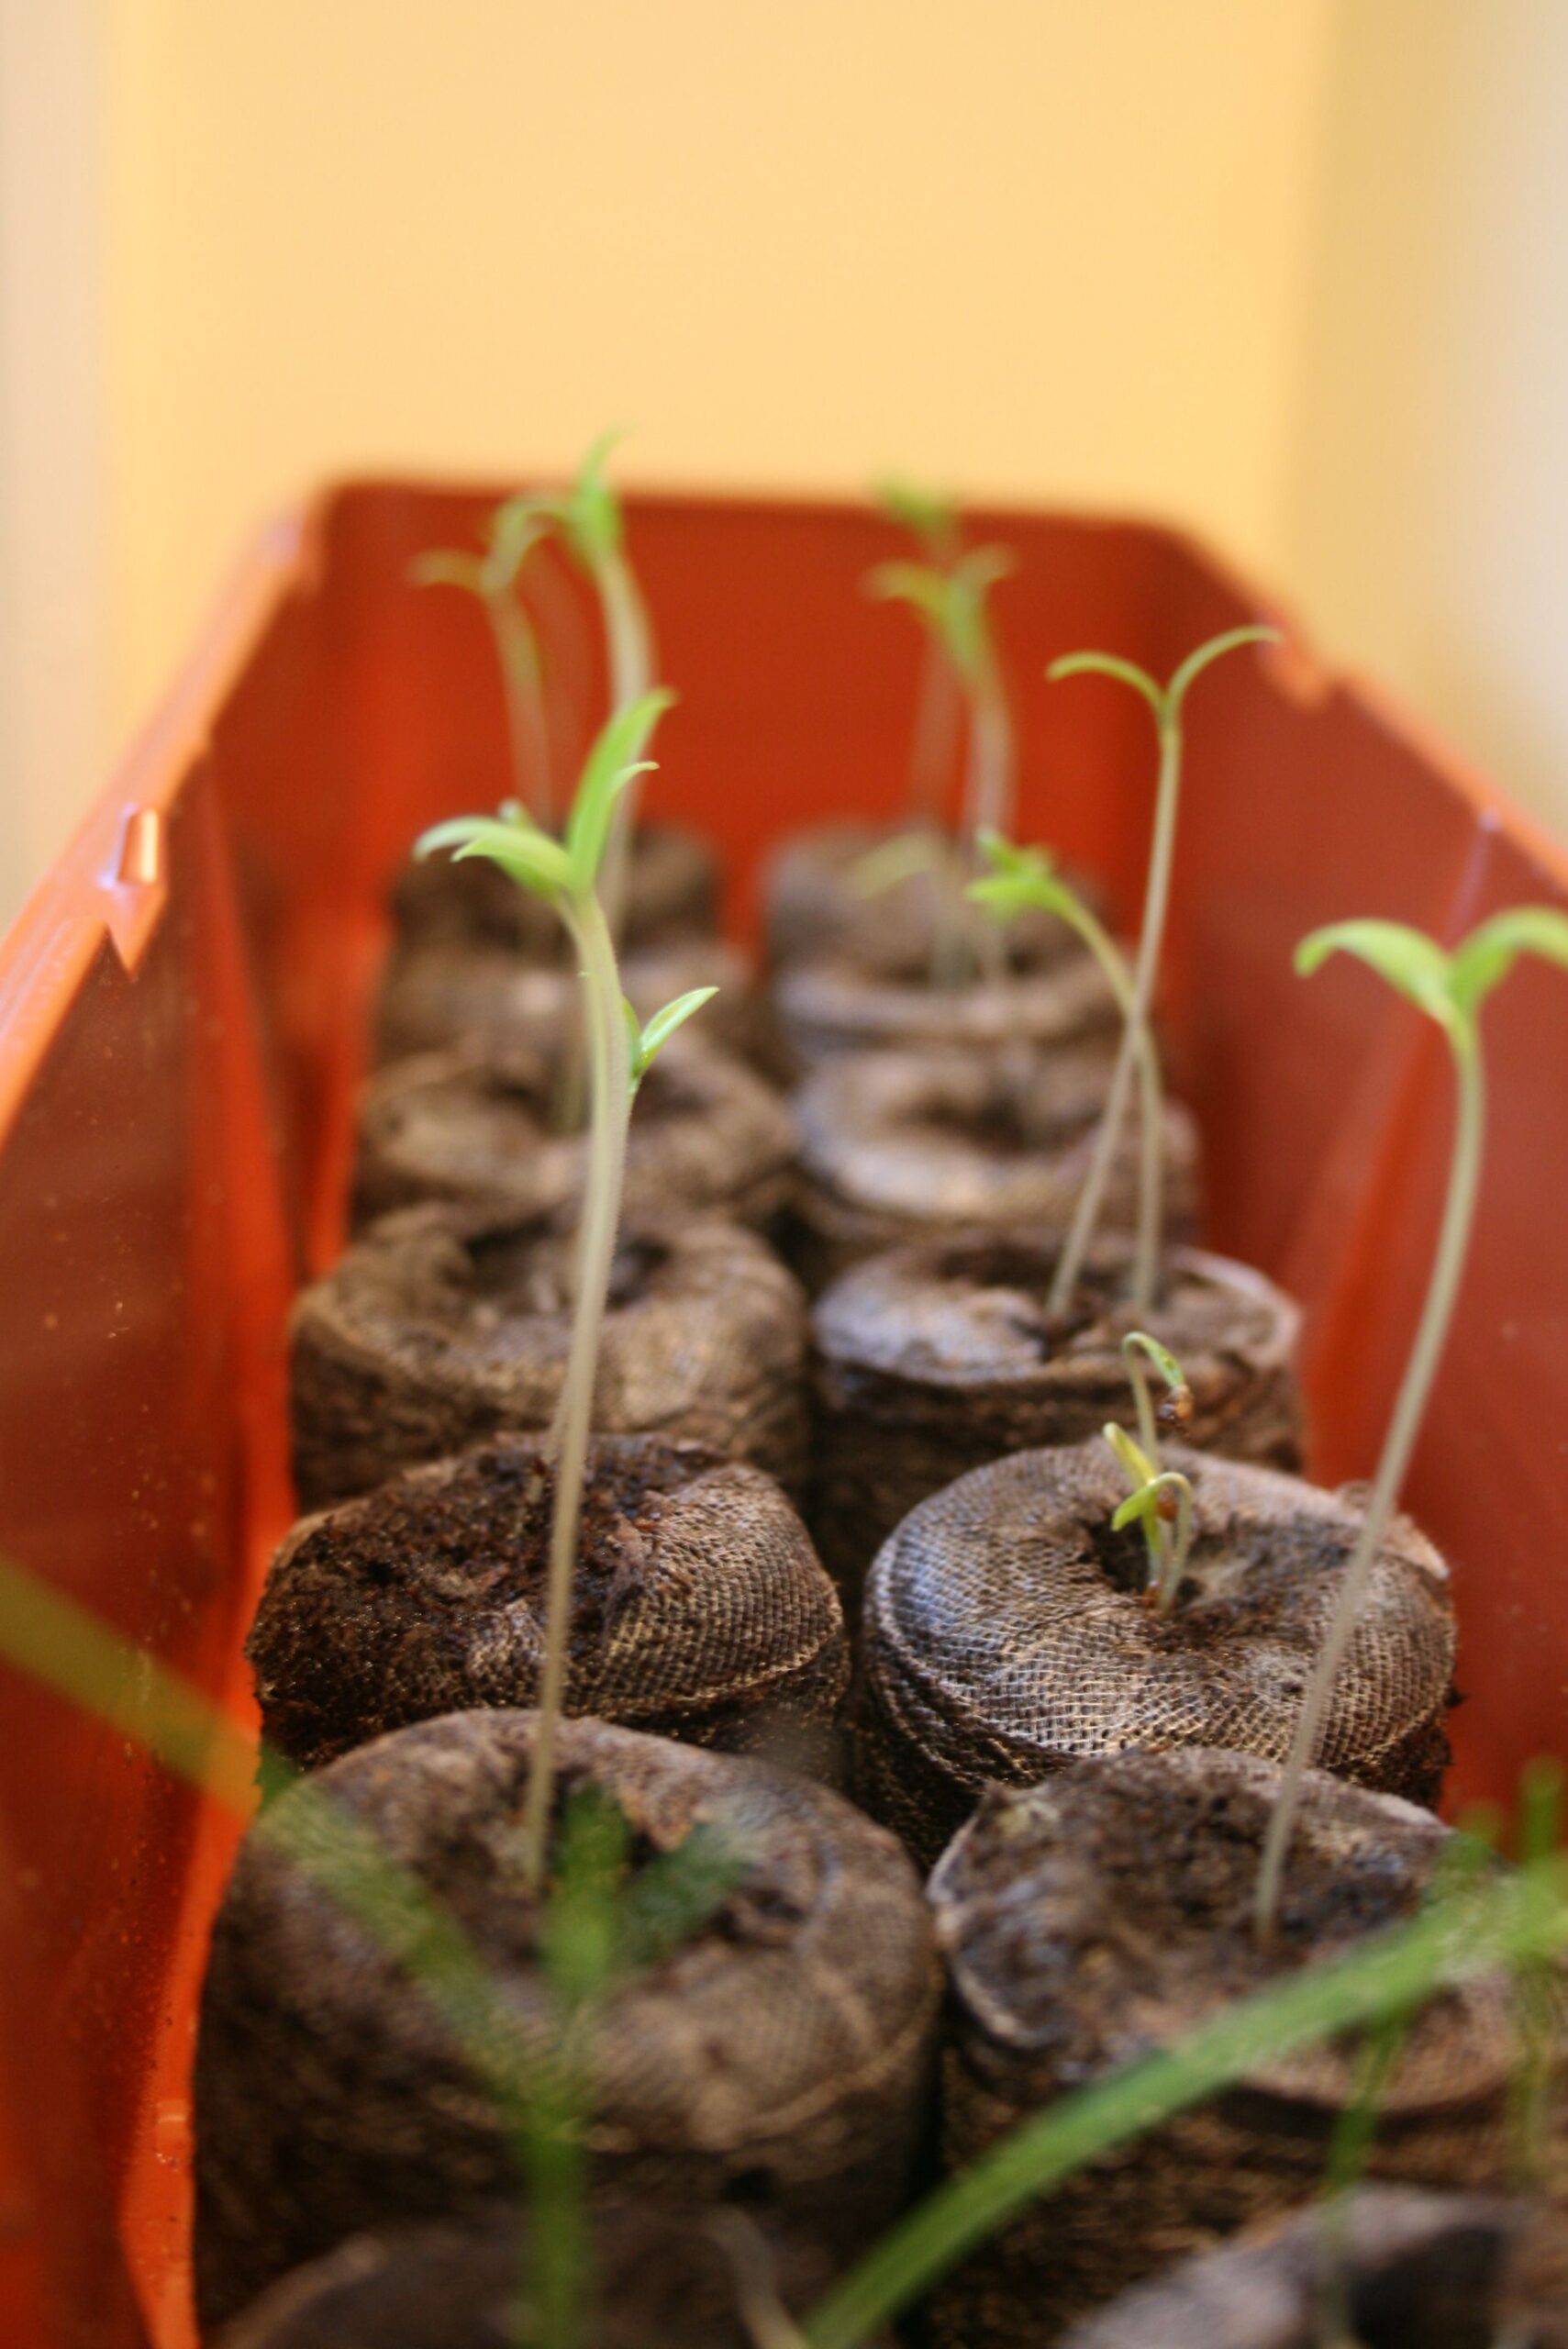
Once seedlings have formed their first true leaf pair after the seed leaves, it’s time to prick them out. They’re carefully lifted from the seed tray and placed into their own small pots.
Here’s how:
- Prepare small pots with regular potting soil (no longer seed-starting mix)
- Use a dibber or pencil to make a hole in the soil
- Handle the seedling carefully by its seed leaves — never by the delicate stem
- Gently guide the roots into the hole and press the soil lightly around them
- Water carefully and place in a bright spot
After pricking out, start fertilizing slowly — begin with a quarter of the normal concentration, then gradually increase.
Special Case: Stratification and Pre-Treatment
Some seeds, especially from woody plants and species from temperate climates, need special pre-treatment to germinate.
Cold treatment (stratification): the seeds are placed in the refrigerator for several weeks to simulate natural winter dormancy. Afterward, they germinate as if spring had arrived.
Scarification: hard-shelled seeds are roughened with sandpaper or briefly soaked in hot water, so water can penetrate and trigger germination.
These methods aren’t necessary for most houseplants, but they’re important for palms, some tropical fruits, and ornamental plants from temperate regions.
Patience: The Most Important Ingredient in Sowing
Seedlings aren’t instant products. While basil germinates in three days, some palms take three to six months, and cacti often take several weeks. Sowing teaches patience like almost no other gardening activity.
But that’s exactly what makes it so appealing: from a tiny seed you placed in the soil yourself, a substantial plant grows over months and years — one that would never have existed without you. That’s one of the deepest satisfactions gardening has to offer.
Conclusion
Sowing is the royal road of plant propagation. It requires a bit more equipment and patience than cuttings or division, but rewards you with a unique experience. Start with easy species like basil or cacti and work your way up to more demanding plants.
This article may contain affiliate links. If you purchase a product through one of these links, Plantgecko may earn a commission at no extra cost to you. This never influences our editorial independence or which products we recommend.