Taking Cuttings: The Complete Guide to Plant Propagation
Introduction
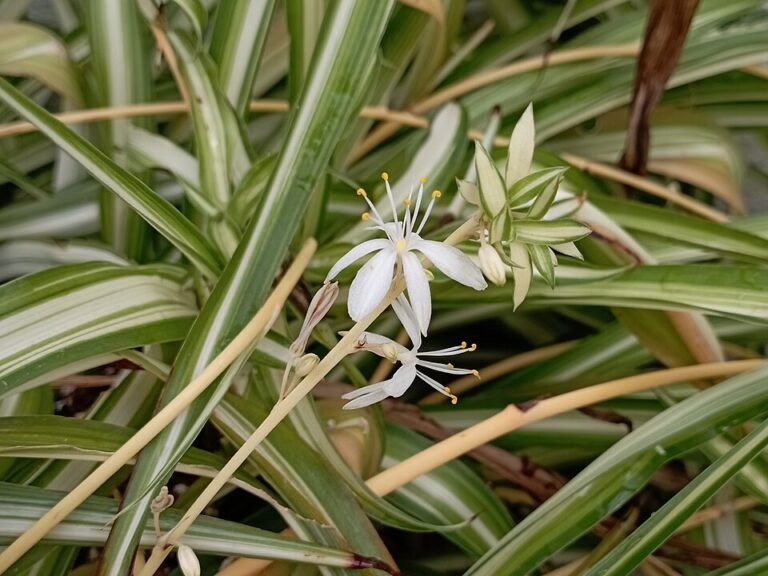
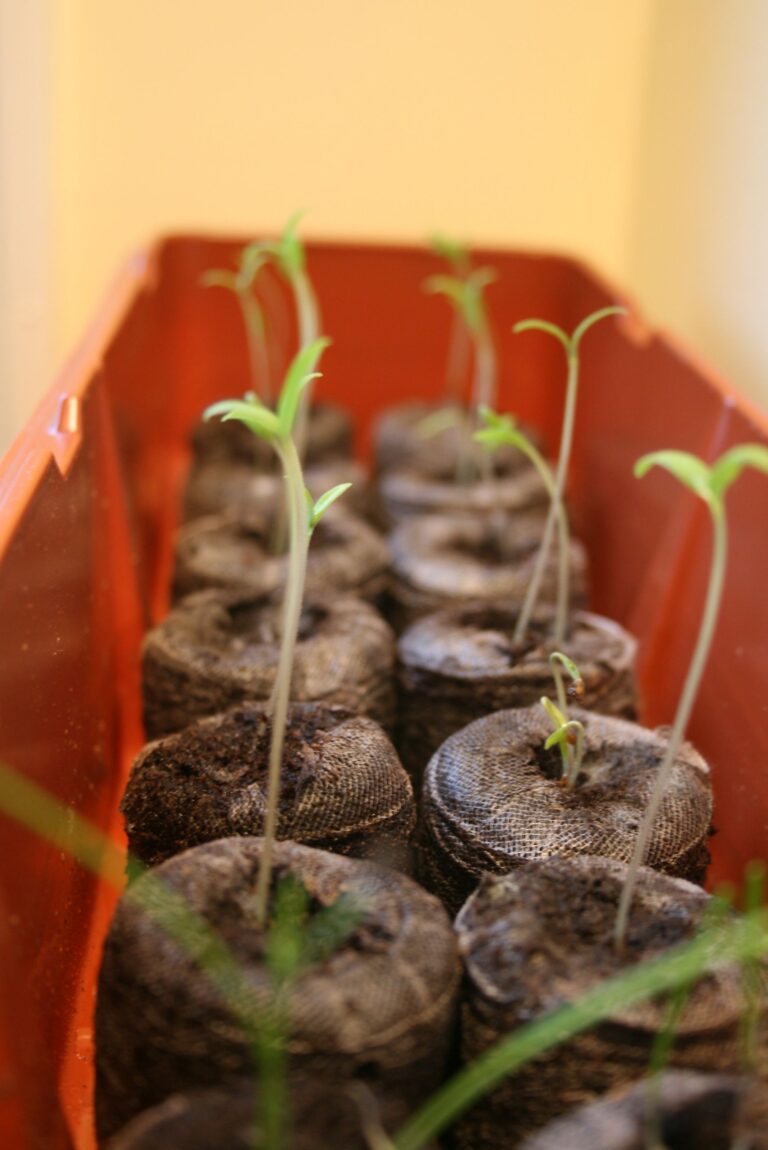
Photo: Ddra5202 (CC BY-SA 4.0, Wikimedia Commons)
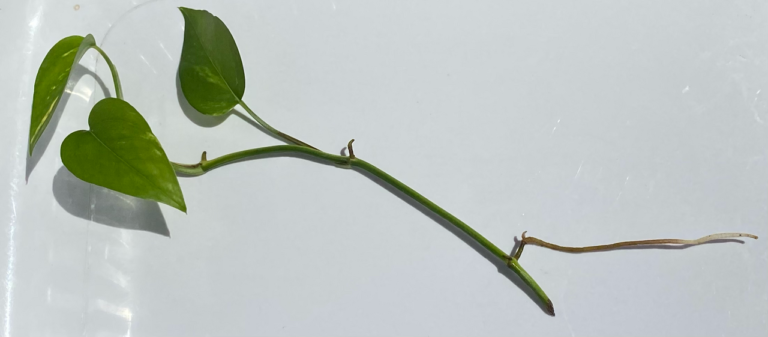
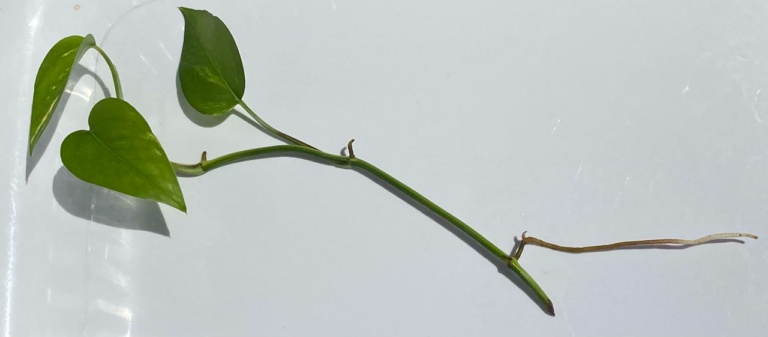
Photo: peganum from Small Dole, England (CC BY-SA 2.0, Wikimedia Commons)
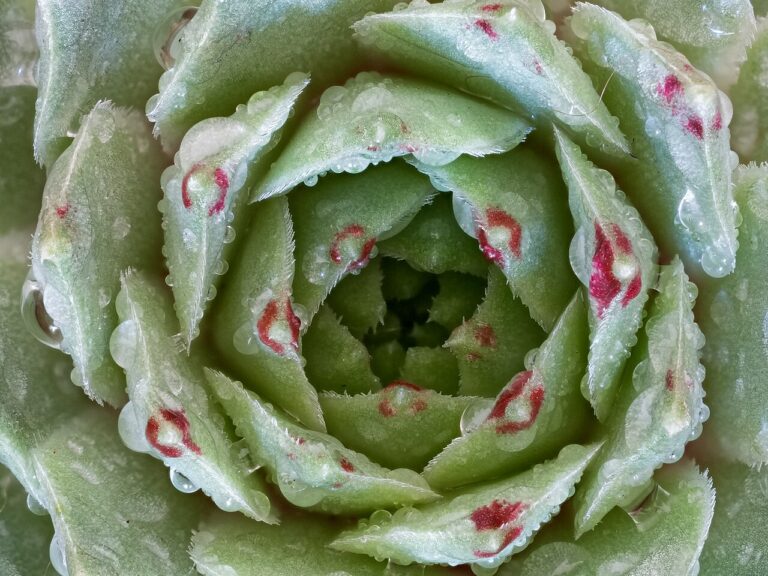
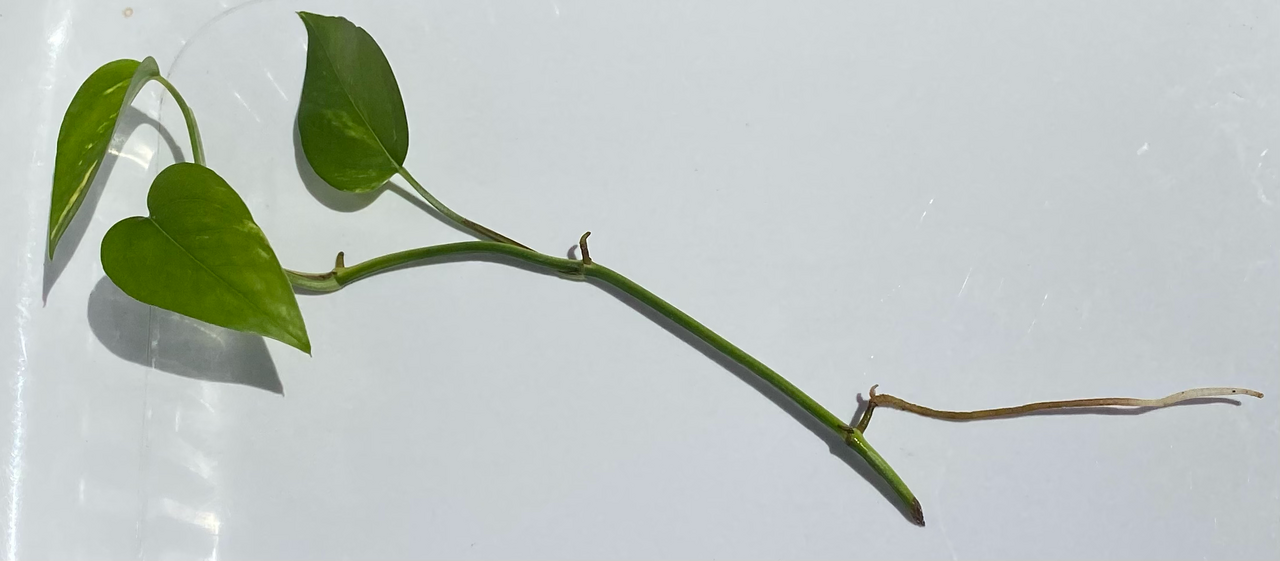
Photo: Jeremyida002 (CC BY-SA 4.0, Wikimedia Commons)
Taking cuttings is one of the easiest and most rewarding ways to multiply your houseplant collection for free. Instead of buying new plants, you can snip a healthy piece of stem from an existing plant and encourage it to grow its own roots. Many popular houseplants, including pothos, philodendron, tradescantia, coleus, and most succulents, root readily this way, making propagation a great skill for beginners.
Who This Is For
Choosing and Taking the Right Cutting
Start with a healthy, disease-free parent plant that is actively growing, ideally in spring or summer when growth hormones are at their peak. Using clean, sharp scissors or a knife, cut a section of stem just below a node (the small bump where a leaf or aerial root emerges) — this is where new roots will form. A good cutting is usually 10–15 cm long and includes at least two or three nodes and a couple of healthy leaves. Remove any leaves from the bottom section that would sit in water or soil, since submerged foliage tends to rot.
Buying Criteria
Rooting Methods: Water, Soil, and Perlite
Water propagation is the most popular method for beginners because you can watch the roots develop. Place the cutting in a clear jar with the nodes submerged but the leaves above water, set it in bright, indirect light, and change the water every few days to prevent stagnation and algae growth. Roots typically appear within two to four weeks, and the cutting can be potted into soil once the roots are a few centimetres long.
Product/Option Categories
Rooting directly in soil or a light mix of perlite and coco coir produces a slightly tougher root system that adapts faster to potting, since the roots never have to transition from water to soil. Keep the medium consistently moist but not soggy, and consider covering the pot with a clear plastic bag or propagator lid to maintain humidity around the leaves while roots establish. A rooting hormone powder or gel dabbed on the cut end can speed up root formation, particularly for woodier or slower-rooting species, though many common houseplants root well without it.
Trade-offs
Aftercare and Common Mistakes
Whichever method you choose, keep new cuttings out of direct sun, which can scorch tender leaves before roots are established to support the plant. Warmth helps: temperatures around 20–25°C encourage faster rooting than a cold windowsill. Avoid fertilising cuttings until they have a functioning root system, since unrooted stems cannot take up nutrients and excess fertiliser can burn the cut tissue.
Disclosure
This article may contain affiliate links. If you purchase a product through one of these links, Plantgecko may earn a commission at no extra cost to you. This never influences our editorial independence or which products we recommend.
| Product | Best For | Price | |
|---|---|---|---|
| rooting hormone powder or gel | Top Pick | Check price | View |
| propagator lid | Also Consider | Check price | View |
| perlite and coco coir | Budget Alternative | Check price | View |
Recommendation Framework
Cutting rots instead of rooting: usually caused by leaves touching water or soil, or by using a non-sterile cutting tool.
No root growth after several weeks: check that the node is actually submerged or buried, and that the cutting is getting enough warmth and indirect light.
Leggy, weak growth after potting: gradually increase light exposure once the plant is established rather than moving it straight into strong sun.
Conclusion
Once your cutting has a healthy set of roots several centimetres long, pot it into a well-draining potting mix in a container with drainage holes, and care for it as you would a mature plant of that species. With a little patience, propagating cuttings is a satisfying way to fill your home with new plants and share them with friends.