Repotting Step by Step: The Complete Guide for Healthy Houseplants
Repotting looks intimidating the first few times, but it follows a simple, repeatable process. Done carefully, it causes minimal stress to the plant and gives roots the fresh space and nutrients they need to keep growing. Here’s the complete step-by-step method.
Step 1: Water the Plant a Day Before
Water thoroughly 12–24 hours before repotting. Moist soil holds together better and slides out of the pot more easily than dry soil, and well-hydrated roots handle the disturbance of repotting with less stress than roots that are already dry or wilting.
Step 2: Choose the Right New Pot
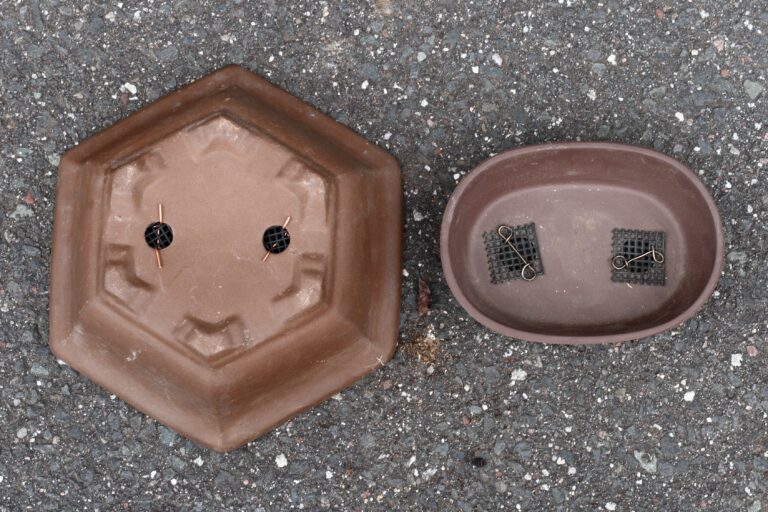
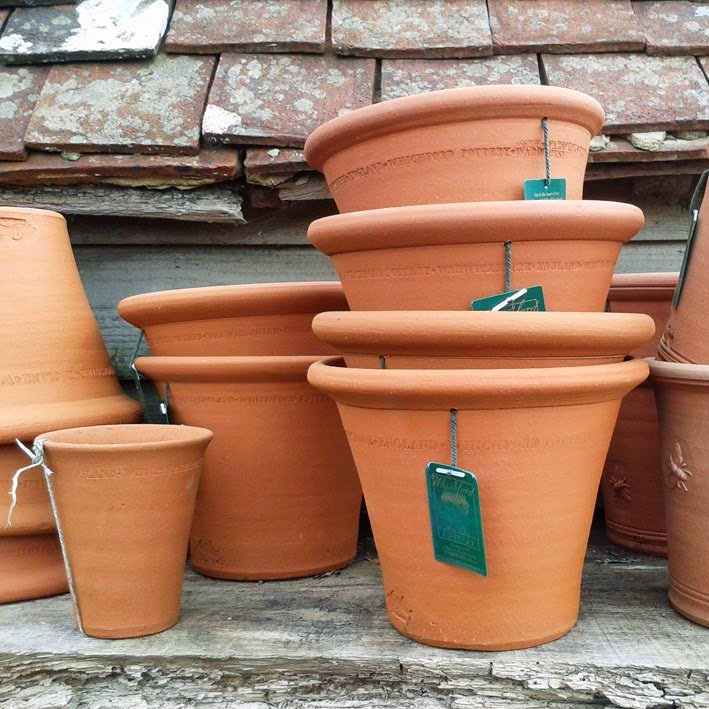
Size up by only 1–2 inches in diameter from the current pot. Going much larger than that leaves too much surplus soil around the roots, which stays wet for far longer than the plant can use and significantly raises the risk of root rot. Make sure the new pot has drainage holes; without them, excess water has no way to escape regardless of soil quality.
Step 3: Remove the Plant and Loosen the Roots
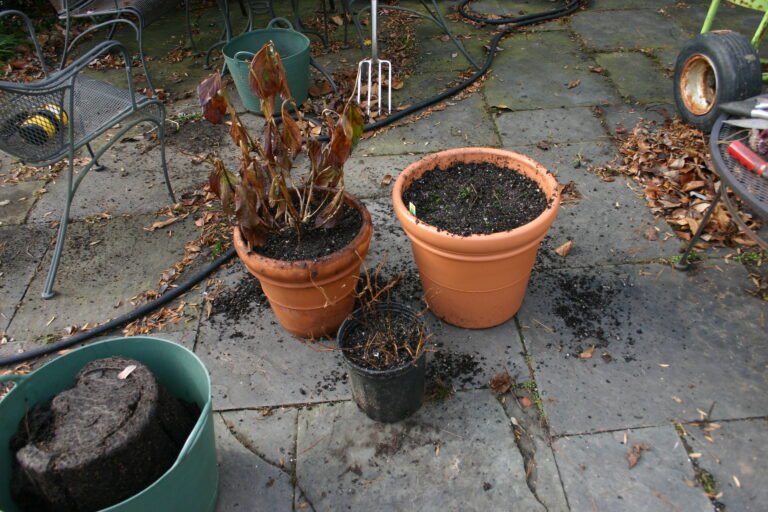
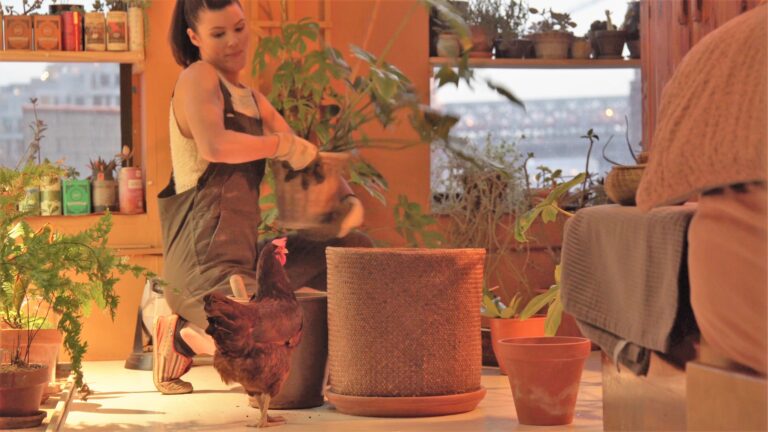
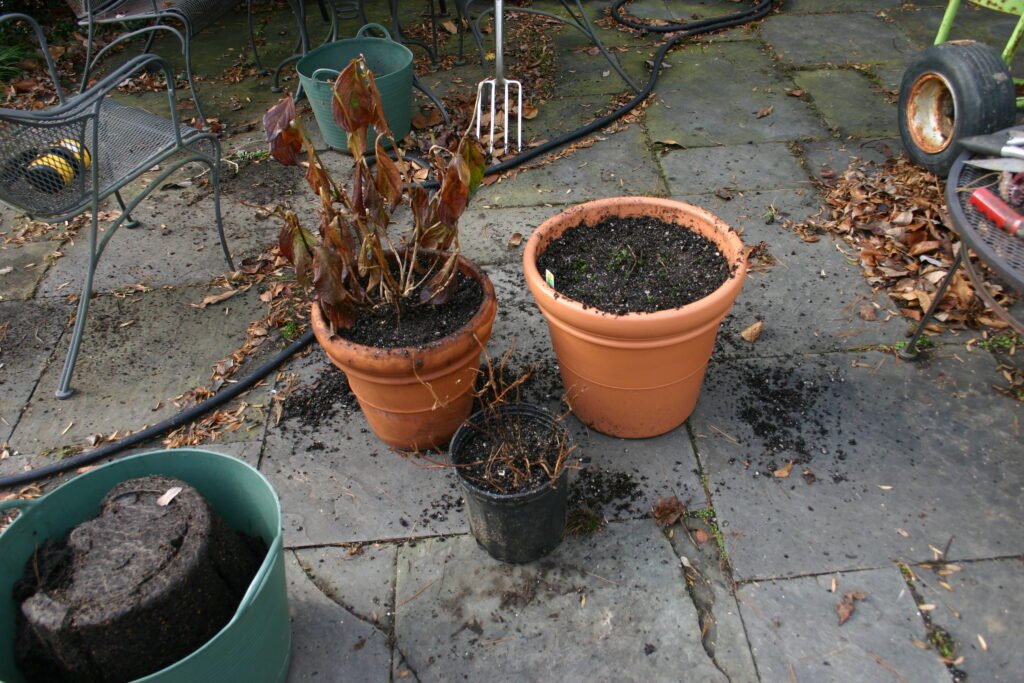
Tip the pot on its side and gently ease the plant out, supporting the base of the stem rather than pulling on it. If roots are circling the root ball, use your fingers (or a clean knife for very tightly wound roots) to gently loosen and tease them apart. This encourages roots to grow outward into the new soil instead of continuing their old circling pattern. Trim away any roots that are mushy, black, or clearly rotten — healthy roots are firm and typically white, tan, or light brown.
Step 4: Add Fresh Potting Mix
Use a potting mix appropriate to the plant type — a well-draining mix with perlite or bark for most tropical houseplants, a gritty cactus mix for succulents, or a chunky aroid mix for plants like monstera and philodendron. Add a layer of fresh soil to the bottom of the new pot, position the plant so the top of the root ball sits about half an inch below the rim, then fill in around the sides, gently firming the soil to eliminate large air pockets without compacting it too tightly.
Step 5: Water Thoroughly and Let It Settle
Water the freshly potted plant until it runs out of the drainage holes, which helps settle soil around the roots and eliminates remaining air gaps. Top off with a little more soil if the level has sunk noticeably after watering.
Step 6: Aftercare
- Keep the plant out of direct sun and in stable temperatures for one to two weeks while roots recover.
- Hold off on fertilizing for about four weeks — fresh potting mix usually has some nutrients already, and stressed roots are more prone to fertilizer burn.
- Expect some mild drooping or leaf loss in the days following repotting; this is normal transplant shock and typically resolves as new roots establish.
- Resume normal watering only once the top inch of soil has dried, since a larger pot holds more moisture and dries out more slowly than the old one.
This article may contain affiliate links. If you purchase a product through one of these links, Plantgecko may earn a commission at no extra cost to you. This never influences our editorial independence or which products we recommend.