Repotting Made Easy: A Step-by-Step Guide to Healthy Plants
Is your plant no longer growing properly, are the roots pushing out of the pot, and has the soil become depleted? Then it’s time to repot! Many plant owners shy away from this step, even though it’s easier than you’d think. In this step-by-step guide, you’ll learn everything you need to know for healthy, thriving plants.
How Do I Know It’s Time to Repot?
There are several clear signs that your plant needs a new pot:
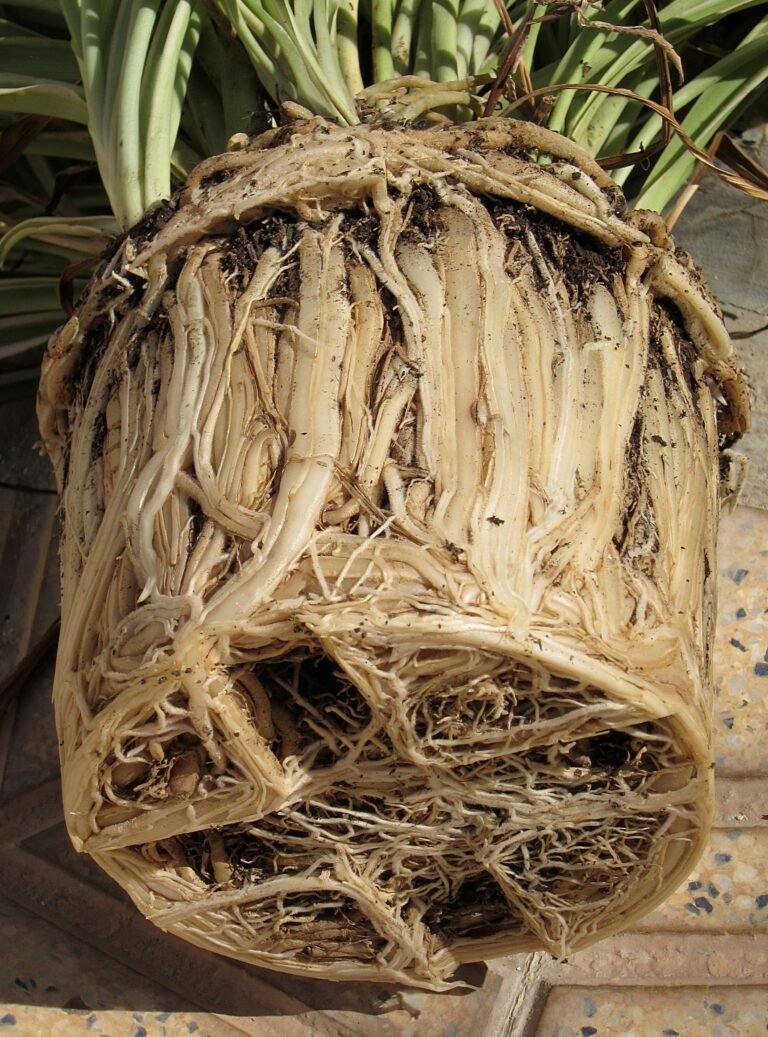
- Roots growing out of the drainage holes: A sure sign that the pot has become too small.
- Water runs straight through: If water runs out the bottom immediately when watering, the root ball has become too dense – the soil can no longer hold water.
- Stunted growth: Despite fertilizing and good care, the plant stops growing – the roots have no more room.
- Salt crusts on the soil: White deposits on the potting soil indicate depleted, salt-laden substrate.
- The plant keeps tipping over: The above-ground part has become too heavy for the too-small pot.
Rule of thumb: young, fast-growing plants should be repotted every 1–2 years. Older, slow-growing plants only need repotting every 3–4 years.
The Best Time to Repot
The ideal time is spring – between March and May, just before the main growing season begins. During this period, the plant recovers fastest from the stress of repotting and puts out vigorous new growth. Emergencies (such as root rot), of course, are always a reason to repot regardless of season.
Step-by-Step Guide
Step 1: Preparation
Gather everything you need: a new pot (2–3 cm larger in diameter), fresh potting soil, expanded clay or gravel for drainage, a clean pair of scissors, and newspaper as a work surface. Clean the new pot thoroughly beforehand – old pots can harbor pathogens.
Step 2: Removing the Plant from Its Old Pot
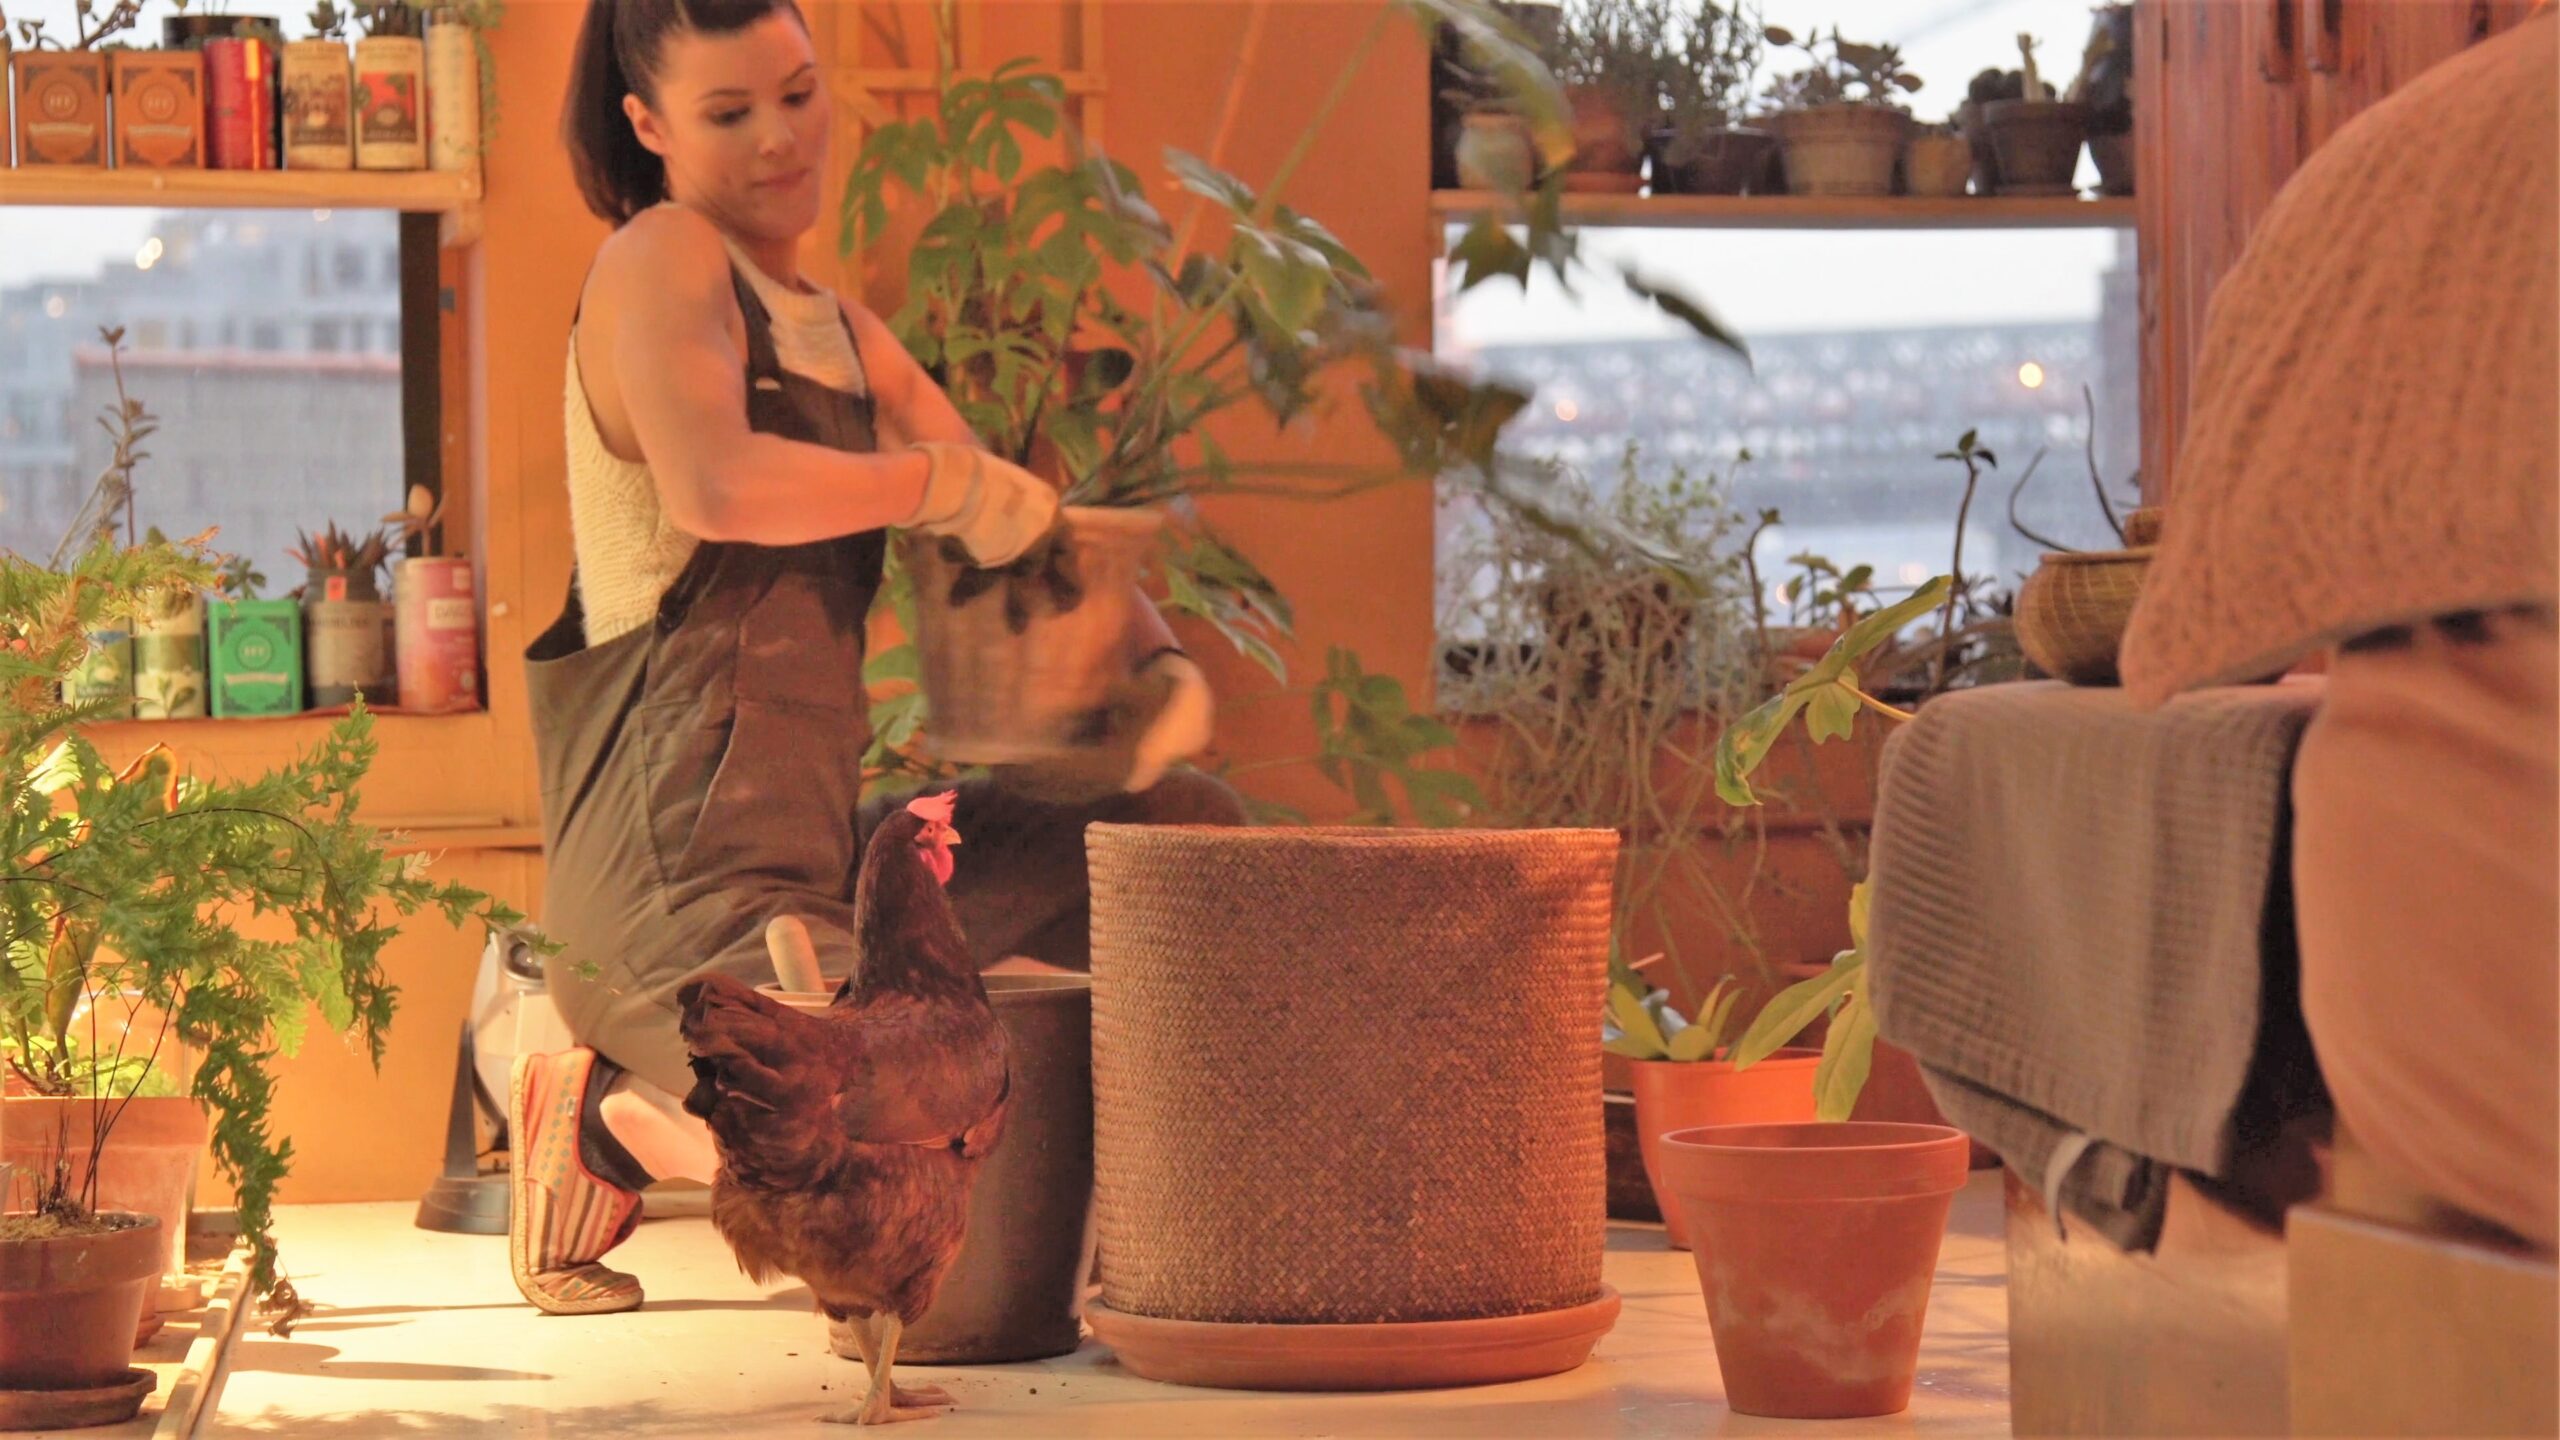
Gently press around the sides of the pot to loosen the root ball. For stubborn cases, tap the rim of the pot gently against the edge of a table. Hold the plant at the base of the stem and carefully pull it out. If the roots have grown firmly into the pot, cut the pot open if necessary (for plastic pots).
Step 3: Examining the Roots
Gently loosen the root ball with your fingers. Remove old, dead, or rotten roots (they are brown and mushy). Healthy roots are pale and firm. For heavily tangled root balls, you can lightly score the sides with a clean knife to encourage new root growth.
Step 4: Setting Up Drainage
Fill the new pot with a 2–3 cm layer of expanded clay or gravel. This prevents waterlogging and promotes healthy roots. For larger pots, you can place a piece of fleece or a coffee filter over the drainage holes so soil doesn’t fall through.
Step 5: Planting
Add a layer of fresh soil on top of the drainage layer. Place the plant in the center of the pot – it should sit at roughly the same height as before. Fill in fresh soil around it and press down lightly, without packing it too firmly. Important: leave 1–2 cm of space below the rim for watering!
Step 6: Watering and Letting the Plant Recover
Water the freshly repotted plant thoroughly, until water runs out of the drainage holes. Place it in a bright but not directly sunny spot for the first week. No fertilizer for the first 6–8 weeks – fresh potting soil is already pre-fertilized.
Following this guide, repotting is sure to succeed – and your plants will reward you with a strong new growth spurt!
This article may contain affiliate links. If you purchase a product through one of these links, Plantgecko may earn a commission at no extra cost to you. This never influences our editorial independence or which products we recommend.