How to Save an Overwatered Plant
Overwatering is the most common way houseplants die, but it’s also one of the most fixable — if you catch it early and act decisively. The damage isn’t from the water itself; it’s from waterlogged soil suffocating the roots and creating the perfect environment for rot-causing fungi and bacteria. Here’s how to diagnose the problem and bring a struggling plant back.
Recognize the Warning Signs
Overwatered plants often look surprisingly similar to underwatered ones, which is why so many people respond by watering more — making things worse. Look for these clues:
- Lower and older leaves turning yellow or translucent, often while feeling soft or mushy rather than crispy
- Soil that stays wet for days after watering and never fully dries out
- A sour, swampy, or rotten-egg smell coming from the pot
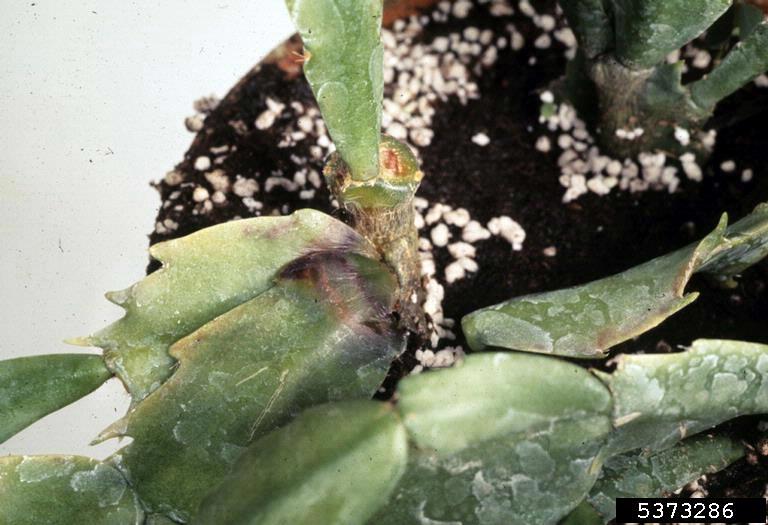
- Soft, dark, or mushy stems near the soil line
- Leaves dropping suddenly even though they still look green
- Fungus gnats hovering around the soil surface
If you see several of these together, stop watering immediately and move to inspection.
Inspect the Roots
Gently remove the plant from its pot and knock away as much loose soil as you can by hand. Healthy roots are firm, typically white, tan, or light brown, and hold together somewhat when touched. Rotten roots are dark brown or black, feel mushy or slimy, and may slough off their outer layer when you run your fingers along them, leaving a thin, stringy core behind.
Trim Away the Damage
Using scissors or pruning shears sterilized with rubbing alcohol, cut away every rotten root back to healthy, firm tissue. Don’t be afraid to remove a significant portion if the rot is extensive — leaving rot behind will let it spread to the remaining healthy roots. If more than half the root system is gone, also trim back some top growth (a third or so of the leaves or stems) to reduce the demand on what roots remain.
Repot in Fresh, Dry Mix
Discard the old, soggy soil entirely — it’s likely harboring fungal spores and won’t drain properly even once it dries. Clean the pot with soapy water (or use a different pot), and repot into a fresh, well-draining potting mix appropriate for the plant, ideally amended with perlite or orchid bark to improve aeration. Make sure the pot has a drainage hole; if it doesn’t, either switch pots or keep the plant in a plastic nursery pot set inside the decorative one so excess water can escape.
Do not water immediately after repotting. Let the plant settle for a few days to a week, giving any minor root wounds time to callus over before they’re exposed to moisture again.
Adjust Your Watering Habits Going Forward
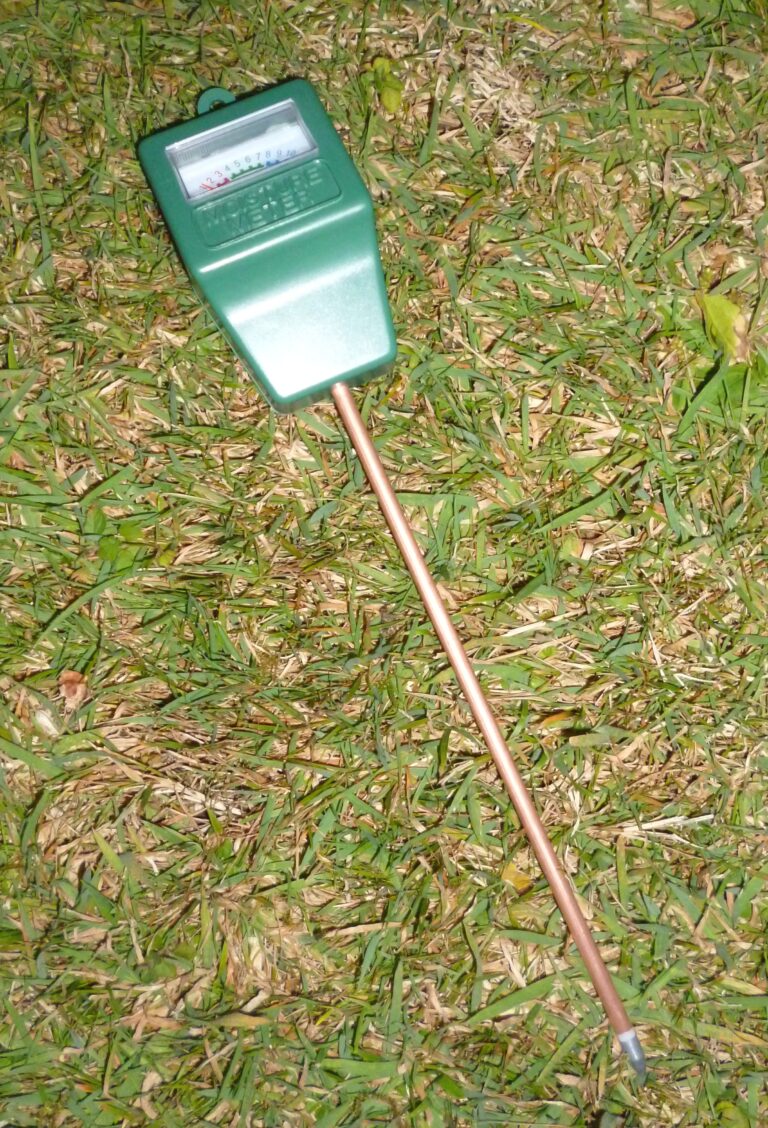
Once the plant is repotted, switch from a fixed watering schedule to checking the soil before every watering. Stick a finger about two inches into the mix, or use a moisture meter, and only water when it comes back dry for the top half to two-thirds of the pot, depending on the species. Reduce watering frequency further during winter or low-light periods when growth slows and roots use less moisture.
Monitor Recovery
Recovery isn’t instant. Expect to see continued yellowing or dropping of the most damaged leaves over the next week or two — this is normal as the plant sheds tissue it can no longer support. New growth, firmer leaves, and stabilized foliage over the following three to six weeks are signs the plant is rebuilding its root system. Keep the plant in bright, indirect light during recovery and avoid fertilizing until you see clear new growth, since fertilizer can stress a plant with a compromised root system.
If the stem base or crown feels mushy all the way through, or if rot has reached the main stem, the plant may be too far gone to save — but for most cases caught at the yellowing-leaves stage, prompt root surgery and a change in watering habits is enough to bring it back.