How to Repot a Monstera Without Killing It
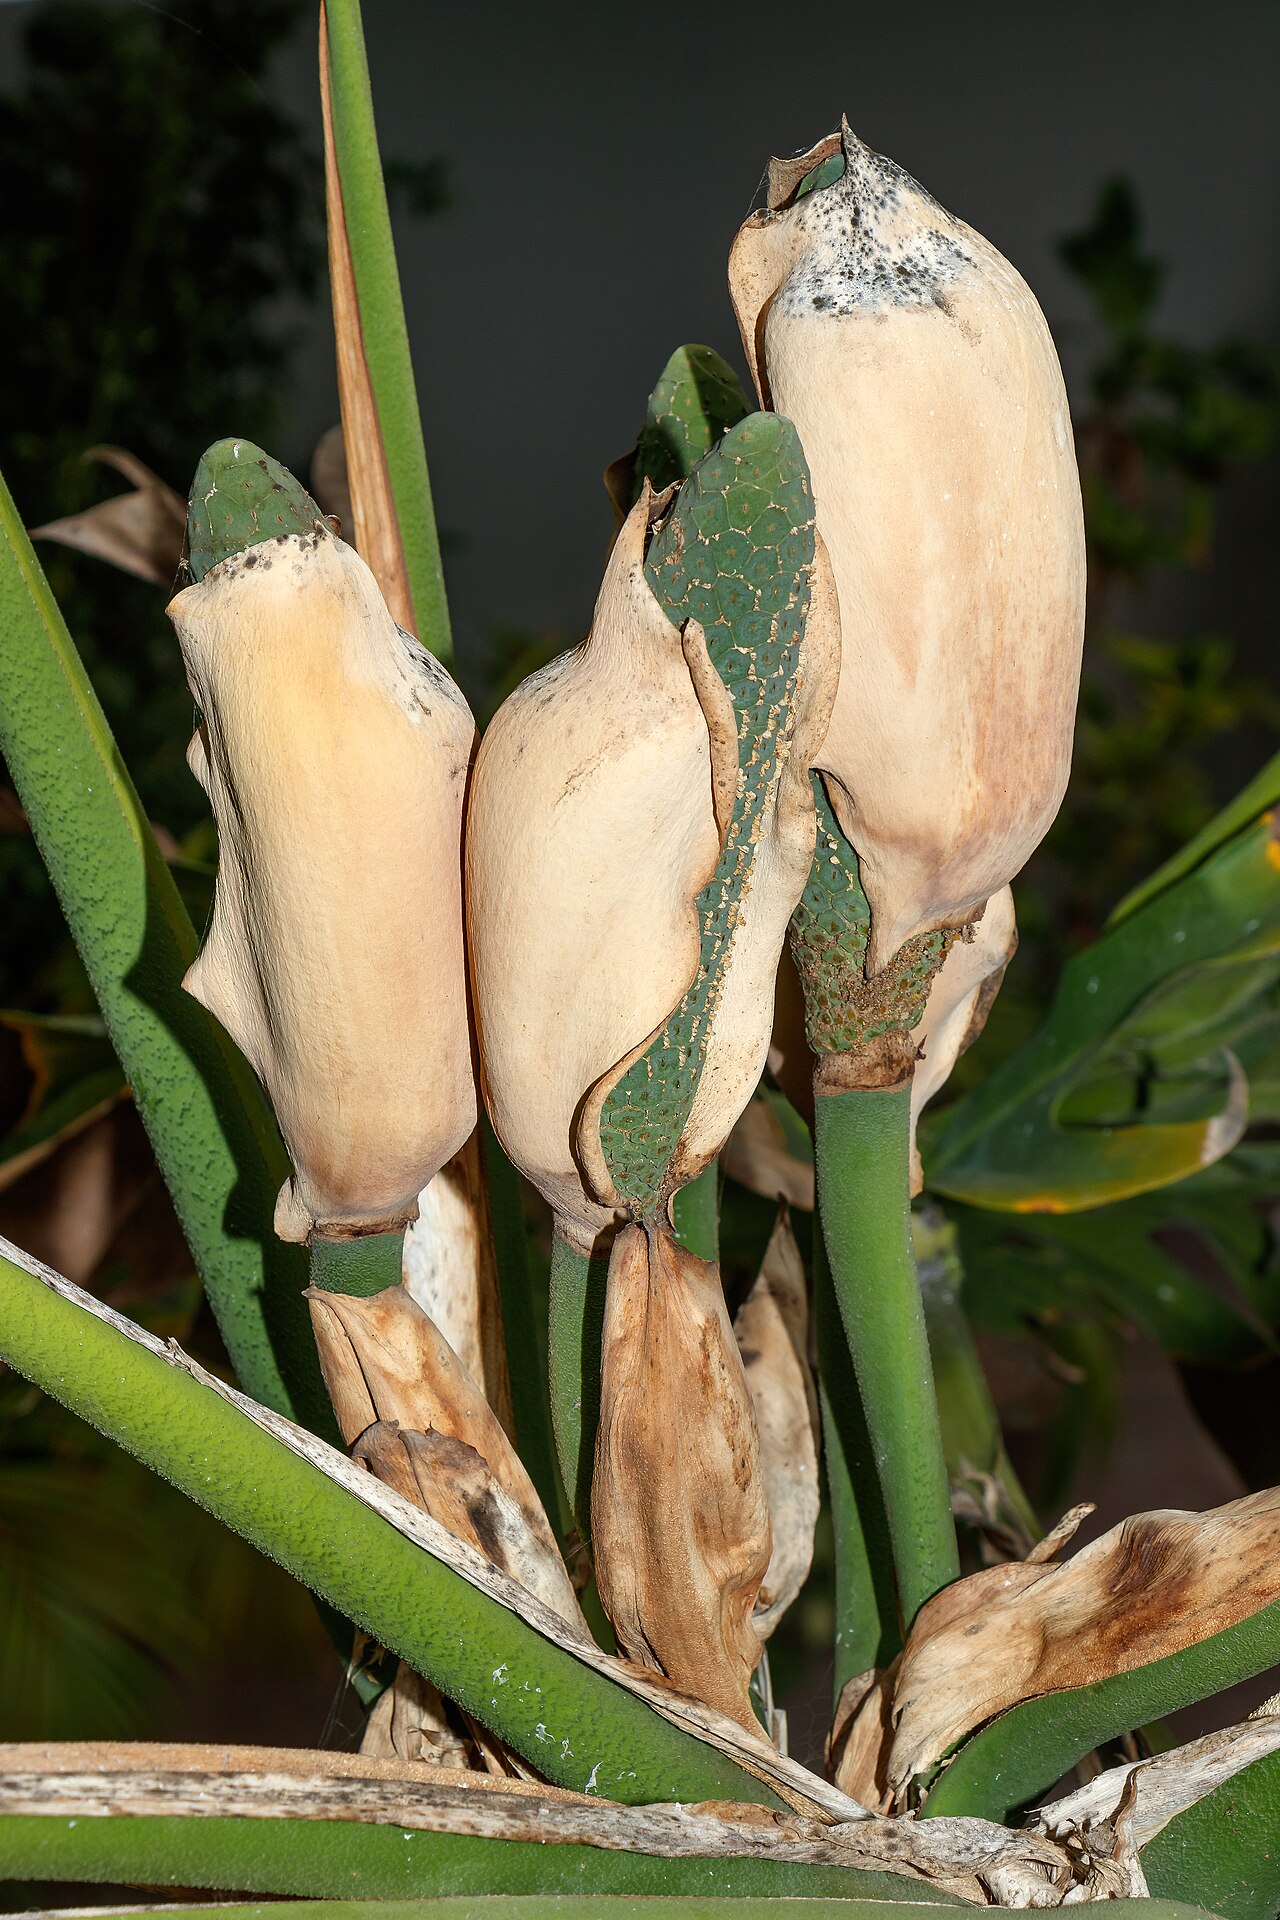
Monstera deliciosa is a fast grower, and sooner or later every healthy specimen outgrows its pot. Repotting at the right time, with the right mix and technique, lets it keep thriving instead of stalling out or going into shock.
Signs Your Monstera Needs Repotting
- Roots growing out of the drainage holes or circling visibly at the surface.
- Water runs straight through the pot without the soil seeming to absorb it, a sign roots have replaced most of the soil.
- Growth has slowed noticeably despite good light and a normal growing season.
- The plant needs watering far more often than it used to, because there’s little soil left to hold moisture.
- It’s been two or more years since the last repot, or the plant is visibly top-heavy for its pot.
Choose the Right Pot
Go up only one to two inches in diameter from the current pot. A pot that’s too large holds excess moist soil the roots aren’t using yet, which raises the risk of root rot. Always choose a pot with drainage holes — Monstera roots that sit in waterlogged soil are prone to rot quickly.
Use a Chunky, Aroid-Friendly Mix
As an aroid, Monstera’s roots need plenty of air pockets, not dense, water-retentive soil. A good base mix is roughly equal parts standard potting soil, orchid bark, and perlite, with a handful of horticultural charcoal optional for extra aeration and freshness. This chunky structure mimics the loose, debris-rich forest floor Monstera grows in naturally and prevents the compaction that leads to rot.
Step-by-Step Repotting
- Water the plant a day before repotting — hydrated roots handle the disturbance better and slide out more easily.
- Gently remove the plant from its old pot, tipping it on its side and easing the root ball out rather than pulling on the stem.
- Loosen any tightly circling roots by hand, and trim away roots that are mushy, black, or clearly dead.
- Add a layer of the new chunky mix to the bottom of the new pot.
- Position the plant so it sits at the same depth as before, then fill in around the sides with fresh mix, pressing gently to remove large air gaps without compacting it hard.
- Handle aerial roots carefully — you can tuck them into the soil where practical, direct them toward a moss pole or stake for support, or simply leave them exposed; all are fine, as they help the plant absorb humidity and anchor itself.
- Water thoroughly after repotting until it drains from the bottom, settling the mix around the roots.
Aftercare to Avoid Shock
Keep the freshly repotted Monstera out of direct sun and drafts for one to two weeks, in a spot with bright, indirect light. Hold off on fertilizing for about four to six weeks to let disturbed roots recover before asking them to take up extra nutrients. Some drooping or minor leaf yellowing in the days after repotting is normal transplant stress and usually resolves as new roots establish into the fresh mix. Resume normal watering based on soil moisture rather than a schedule, since the new, chunkier mix will likely dry out a bit faster than the old, denser soil.