Creating Compost — Step by Step to Black Gardener’s Gold
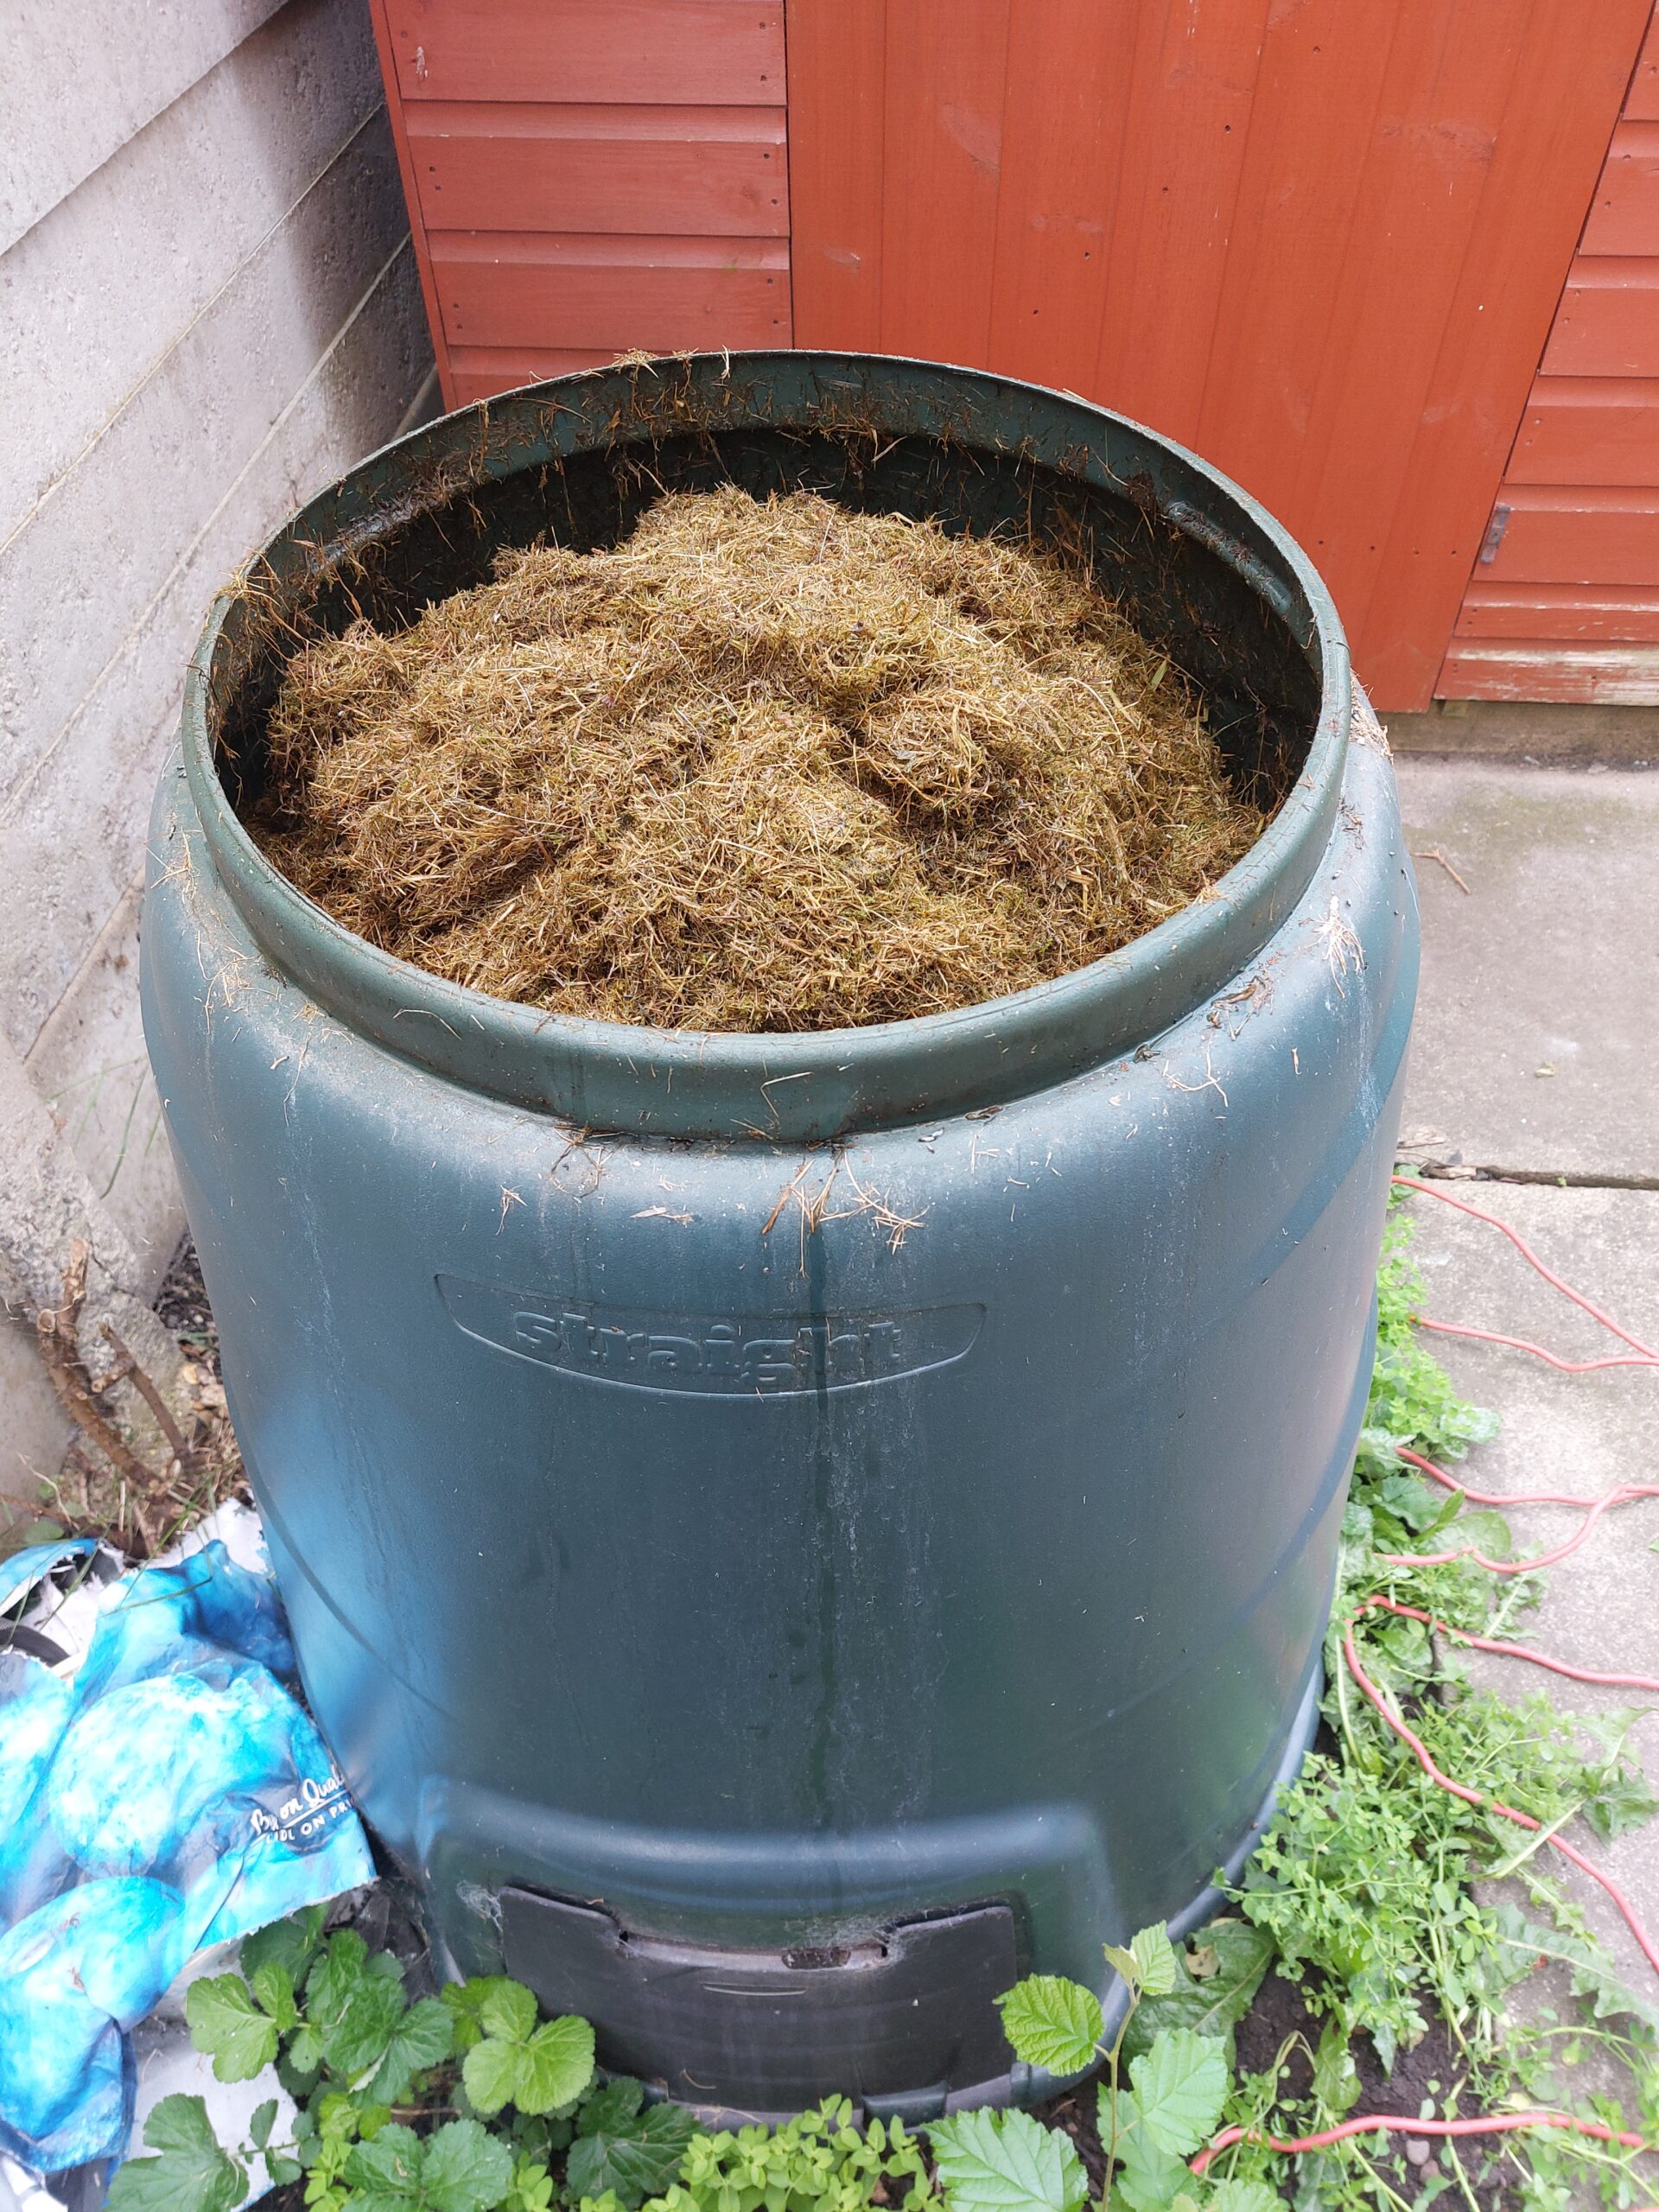
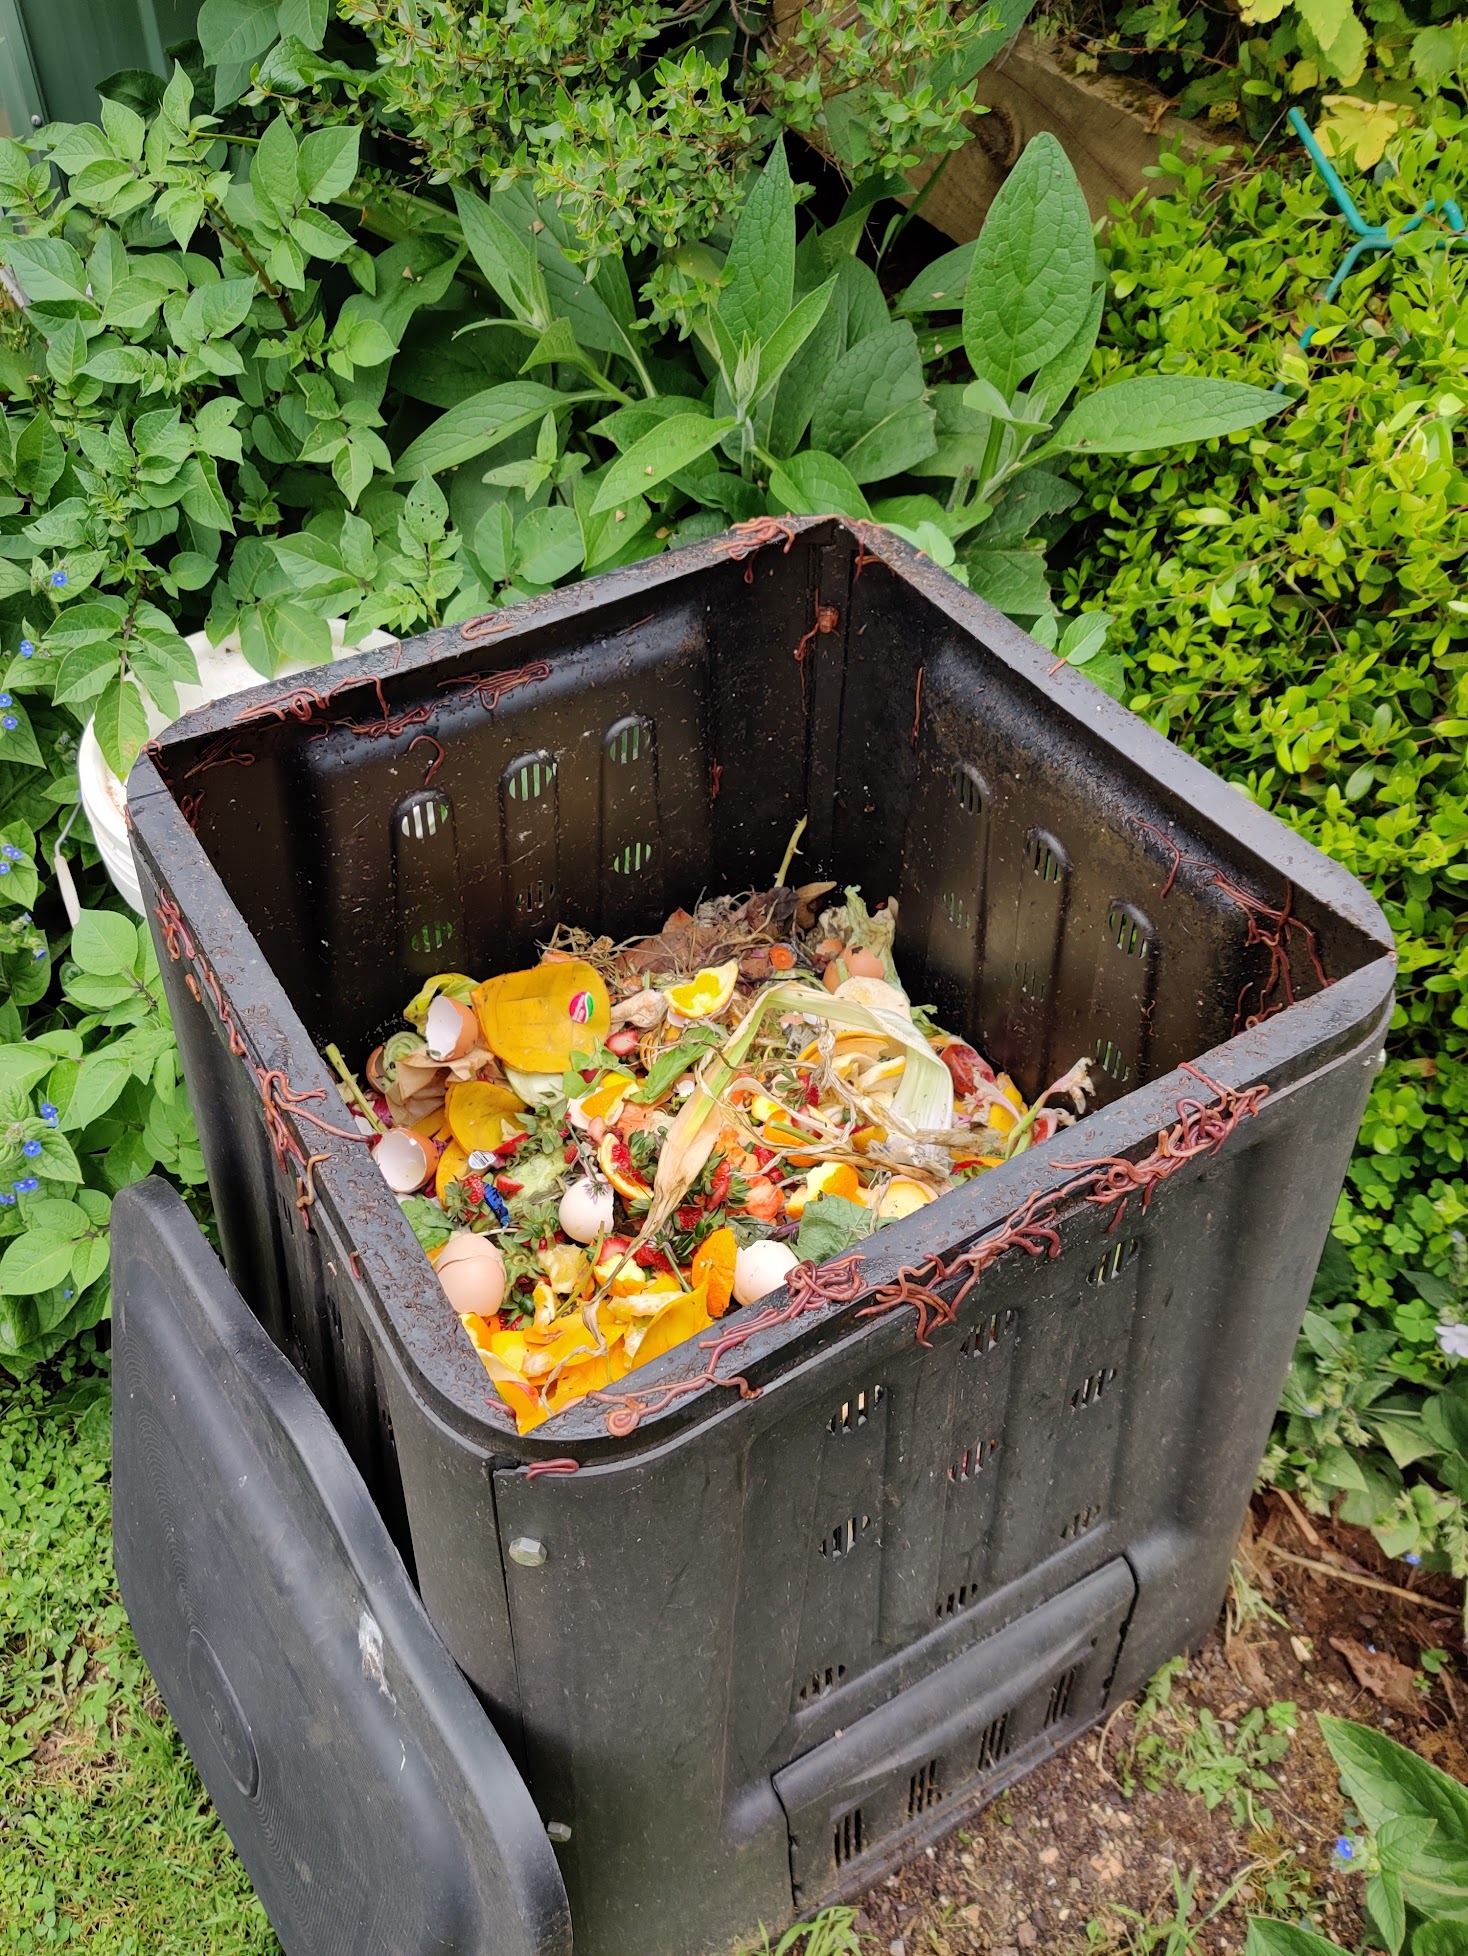
Good compost is made, not bought — and it costs almost nothing beyond kitchen scraps, yard waste, and a little patience. Whether you use a simple pile, a bin, or a tumbler, the same principles turn organic waste into rich, crumbly “black gold” that feeds soil life and improves nearly any growing medium.
Step 1: Balance Greens and Browns
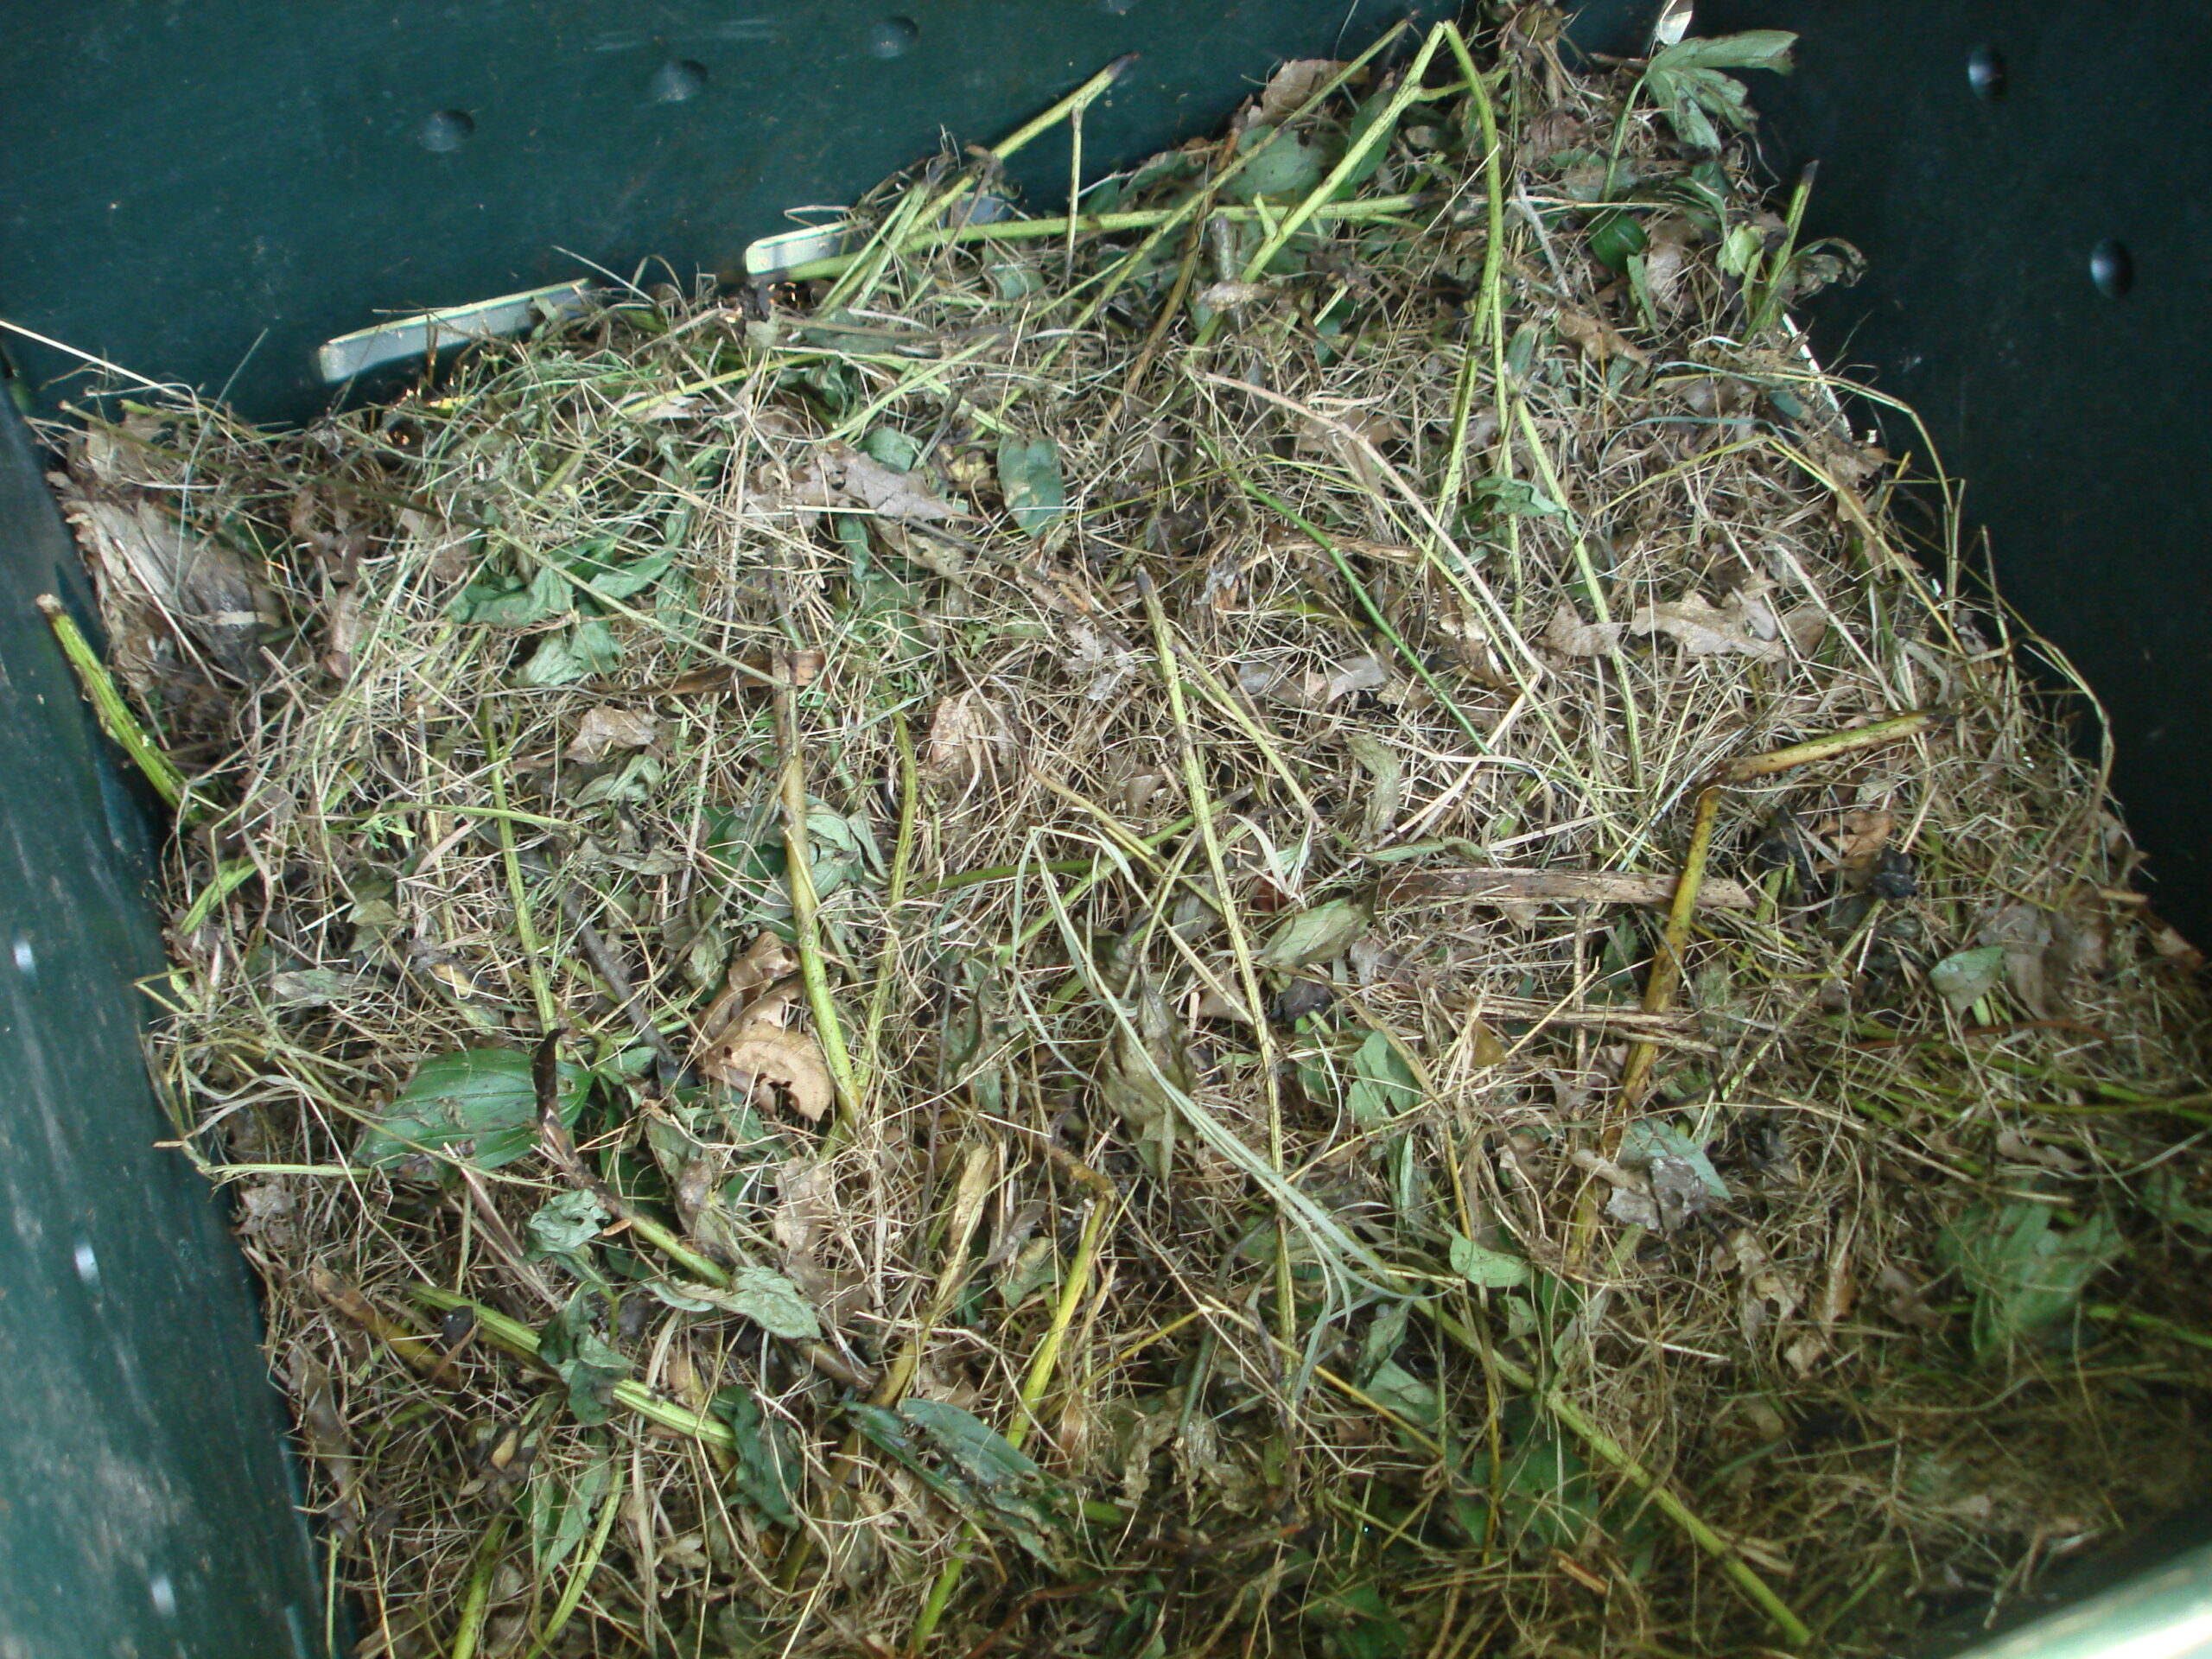
Compost needs a mix of nitrogen-rich “greens” and carbon-rich “browns,” roughly in a ratio of one part greens to two or three parts browns by volume. Greens include vegetable and fruit scraps, coffee grounds, fresh grass clippings, and plant trimmings. Browns include dry leaves, straw, cardboard, shredded paper, and small twigs. Too many greens turns the pile slimy and smelly; too many browns slows decomposition to a crawl.
Step 2: Layer and Build the Pile
Start with a coarse layer of twigs or straw at the base for airflow, then alternate layers of greens and browns as materials become available. A pile at least one cubic yard in size holds heat well; smaller piles work but decompose more slowly. Avoid adding meat, dairy, oily foods, or diseased plant material, which attract pests and can spread pathogens.
Step 3: Keep It Moist — Like a Wrung-Out Sponge
Microbes doing the actual composting need moisture to survive, but a soggy pile turns anaerobic and smells foul. Aim for the texture of a wrung-out sponge: damp but not dripping. Water during dry spells and cover the pile during heavy rain if it’s exposed.
Step 4: Turn It Regularly
Turning the pile every one to two weeks introduces oxygen, which the beneficial bacteria need to break material down efficiently and generate heat. A well-turned, well-balanced pile can heat up to 130–160°F (55–70°C) in the center, hot enough to kill most weed seeds and pathogens. If you don’t turn it, composting still happens — just far more slowly, over a year or more instead of a few months.
Step 5: Know When It’s Finished
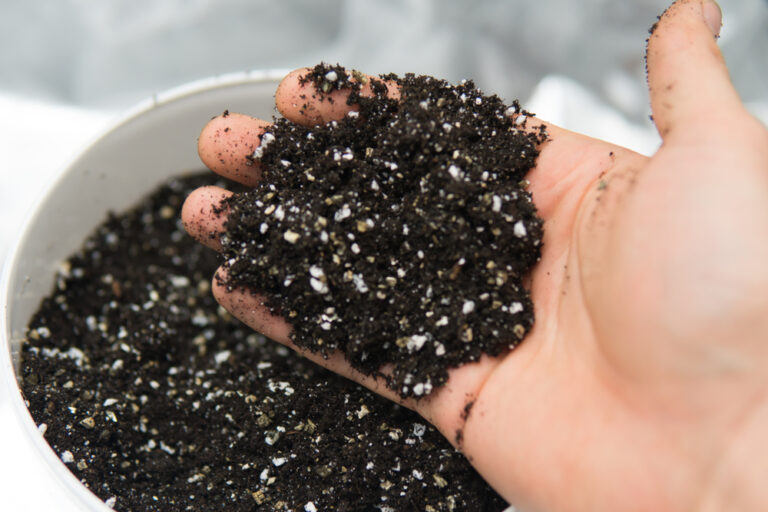
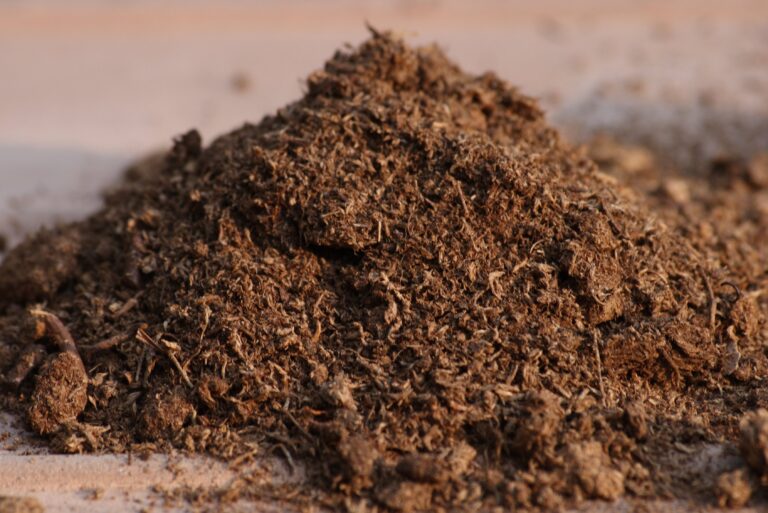
Finished compost is dark brown to black, crumbly, and smells earthy like a forest floor — not like rot or ammonia. You shouldn’t be able to recognize the original ingredients anymore. This typically takes two to six months with regular turning, or six months to a year with a passive, untended pile.
Troubleshooting Common Problems
- Bad smell (ammonia or rotten egg): Too many greens or too wet. Add dry browns like shredded cardboard or leaves and turn the pile to add air.
- Pile isn’t heating up: Usually too dry, too small, or too high in browns. Add water, more greens, and increase the pile’s overall size.
- Pests (rodents, flies): Almost always caused by meat, dairy, or oily scraps, or food waste left exposed on the surface. Bury fresh scraps under a layer of browns and stick to plant-based materials.
- Pile is dry and not breaking down: Water it thoroughly and turn to redistribute moisture evenly.
Once finished, sift out any large unfinished chunks and return them to a new pile. Use the finished compost to enrich garden beds, top-dress containers, or mix into potting soil — it improves drainage in heavy soil, boosts water retention in sandy soil, and feeds the microbial life that keeps plants healthy.