Propagating Hydrangeas from Cuttings
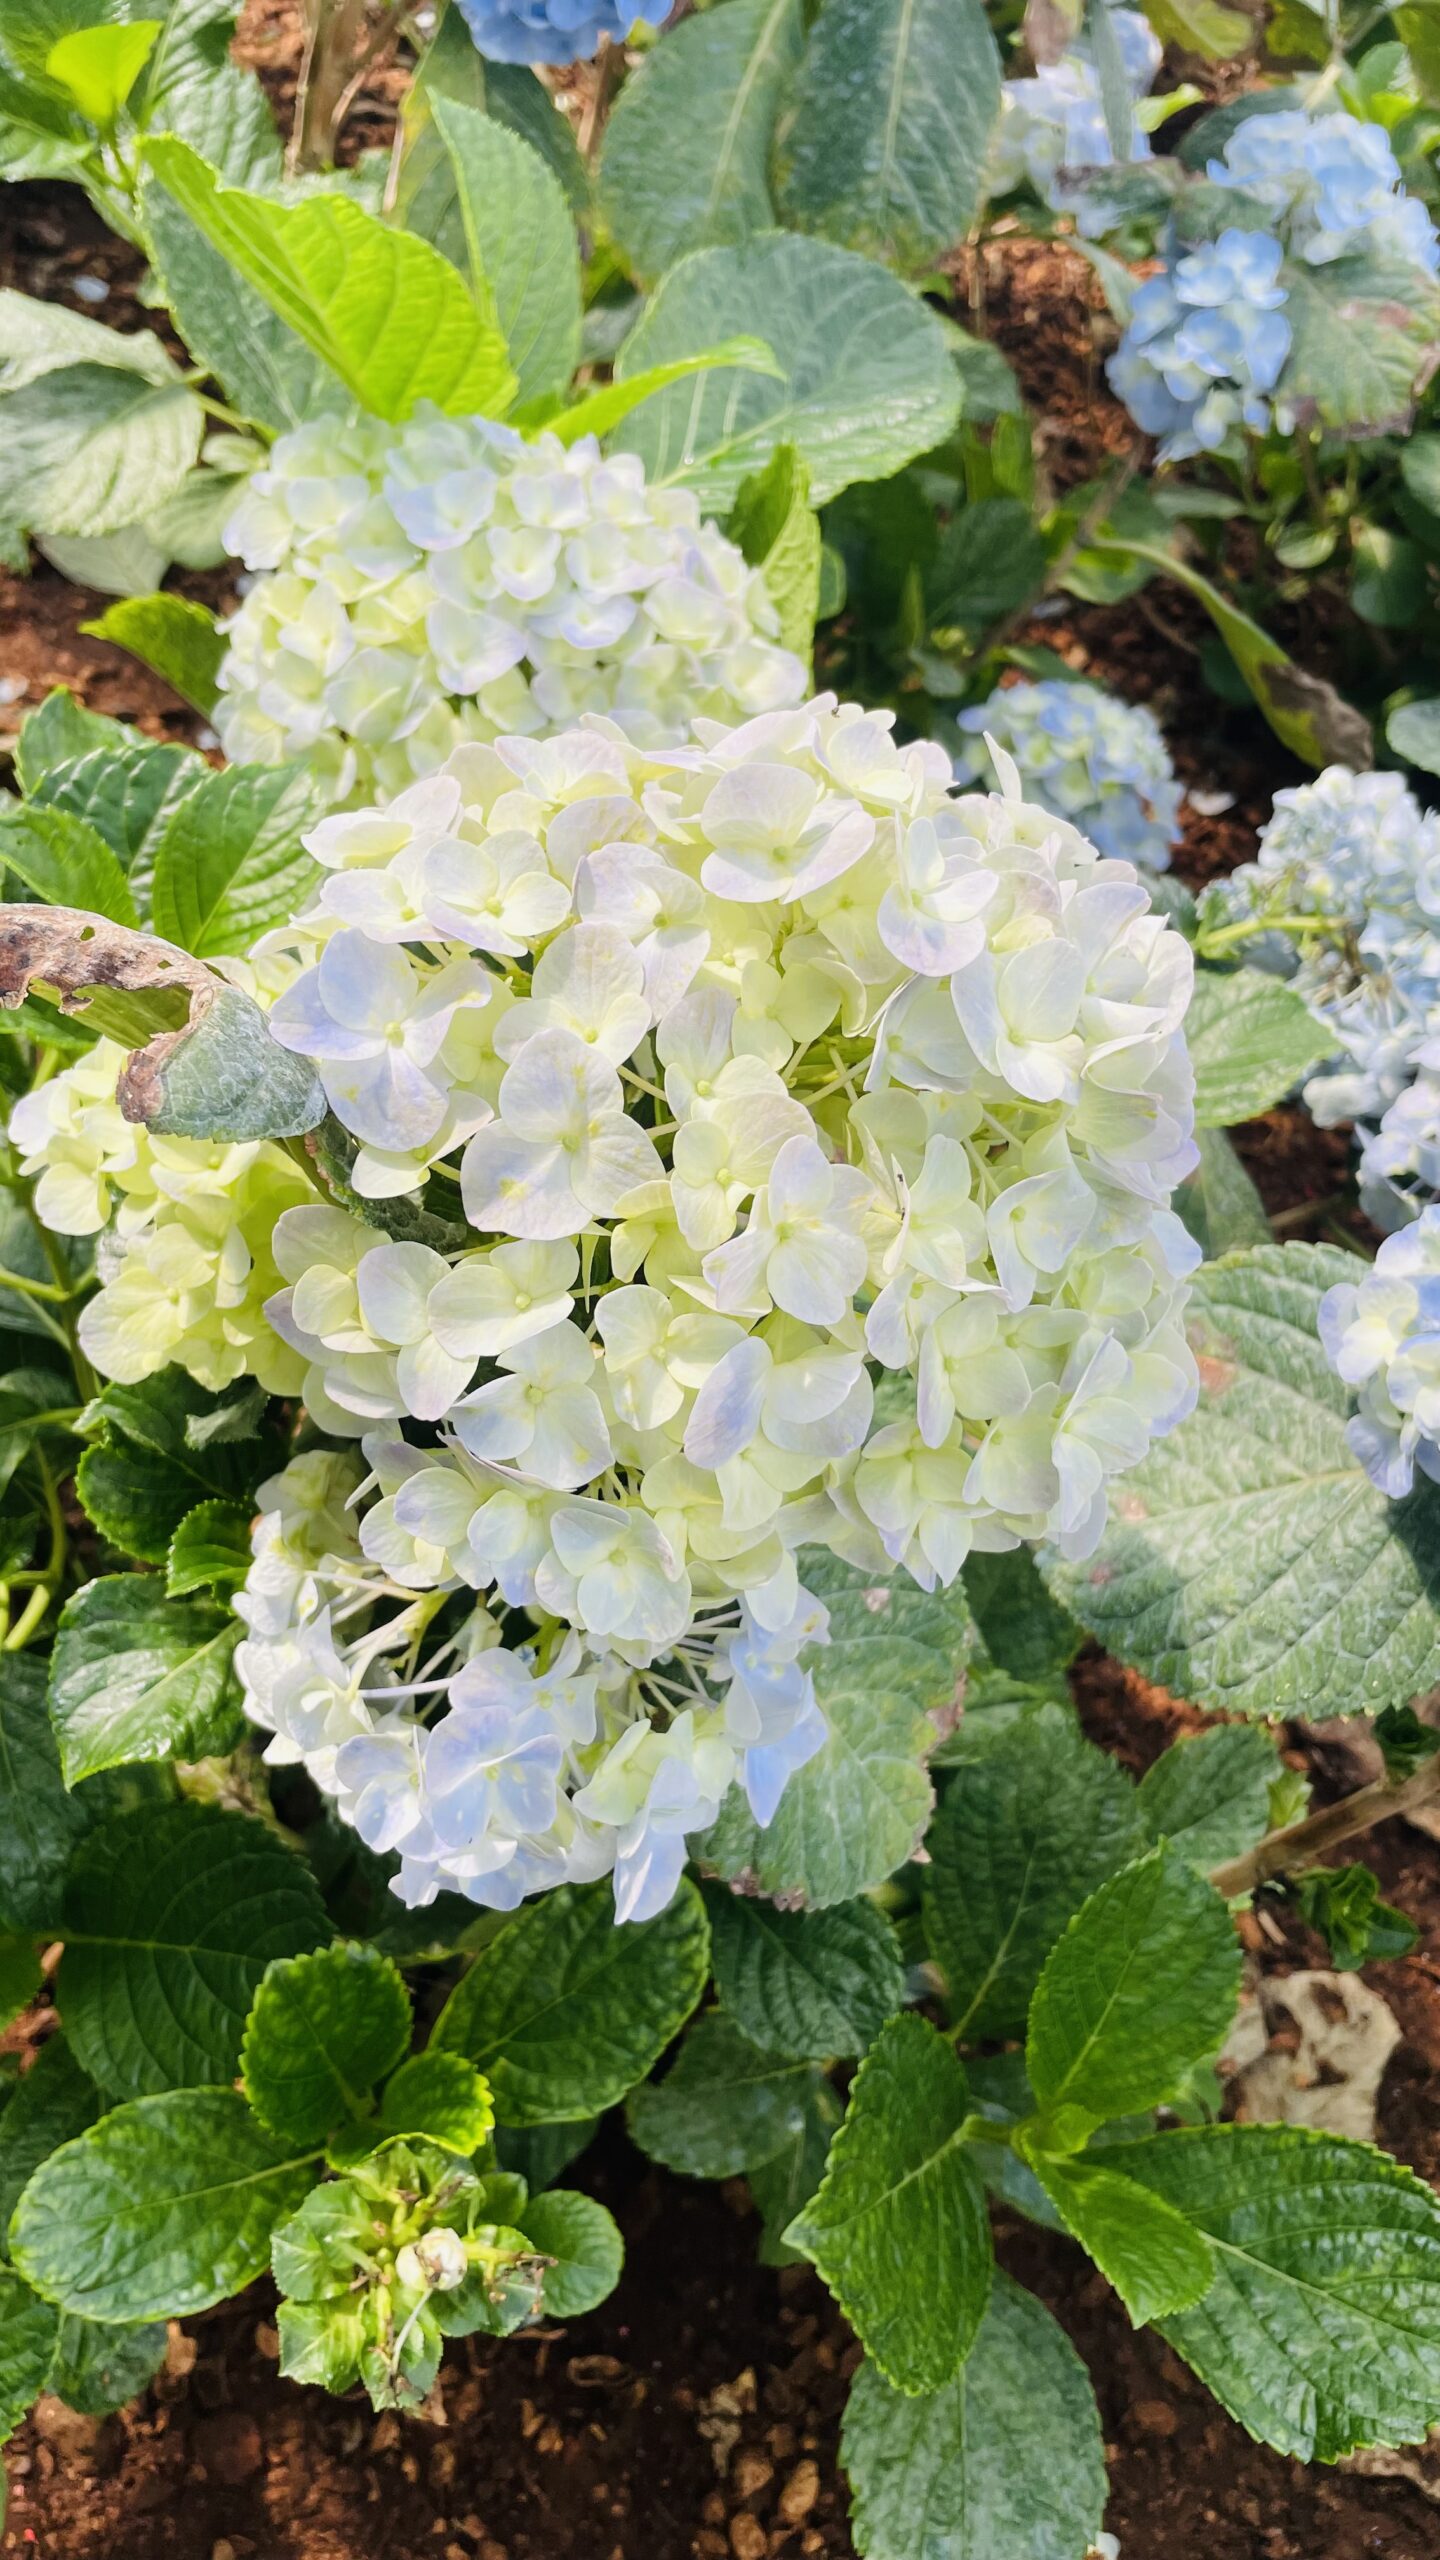
Hydrangeas are one of the easiest shrubs to propagate at home, and softwood cuttings let you turn a single favorite plant into several new ones for free. The technique is simple enough for a beginner, and with the right timing and a bit of humidity, you can expect roots within a few weeks.
Timing: Late Spring to Early Summer
The best time to take hydrangea cuttings is late spring through early summer, once the new season’s growth has firmed up slightly but is still flexible and green — this is called softwood. Avoid old, woody stems from previous years, and avoid cuttings that already have flower buds forming, since the plant’s energy needs to go into rooting rather than blooming.
Taking the Cutting
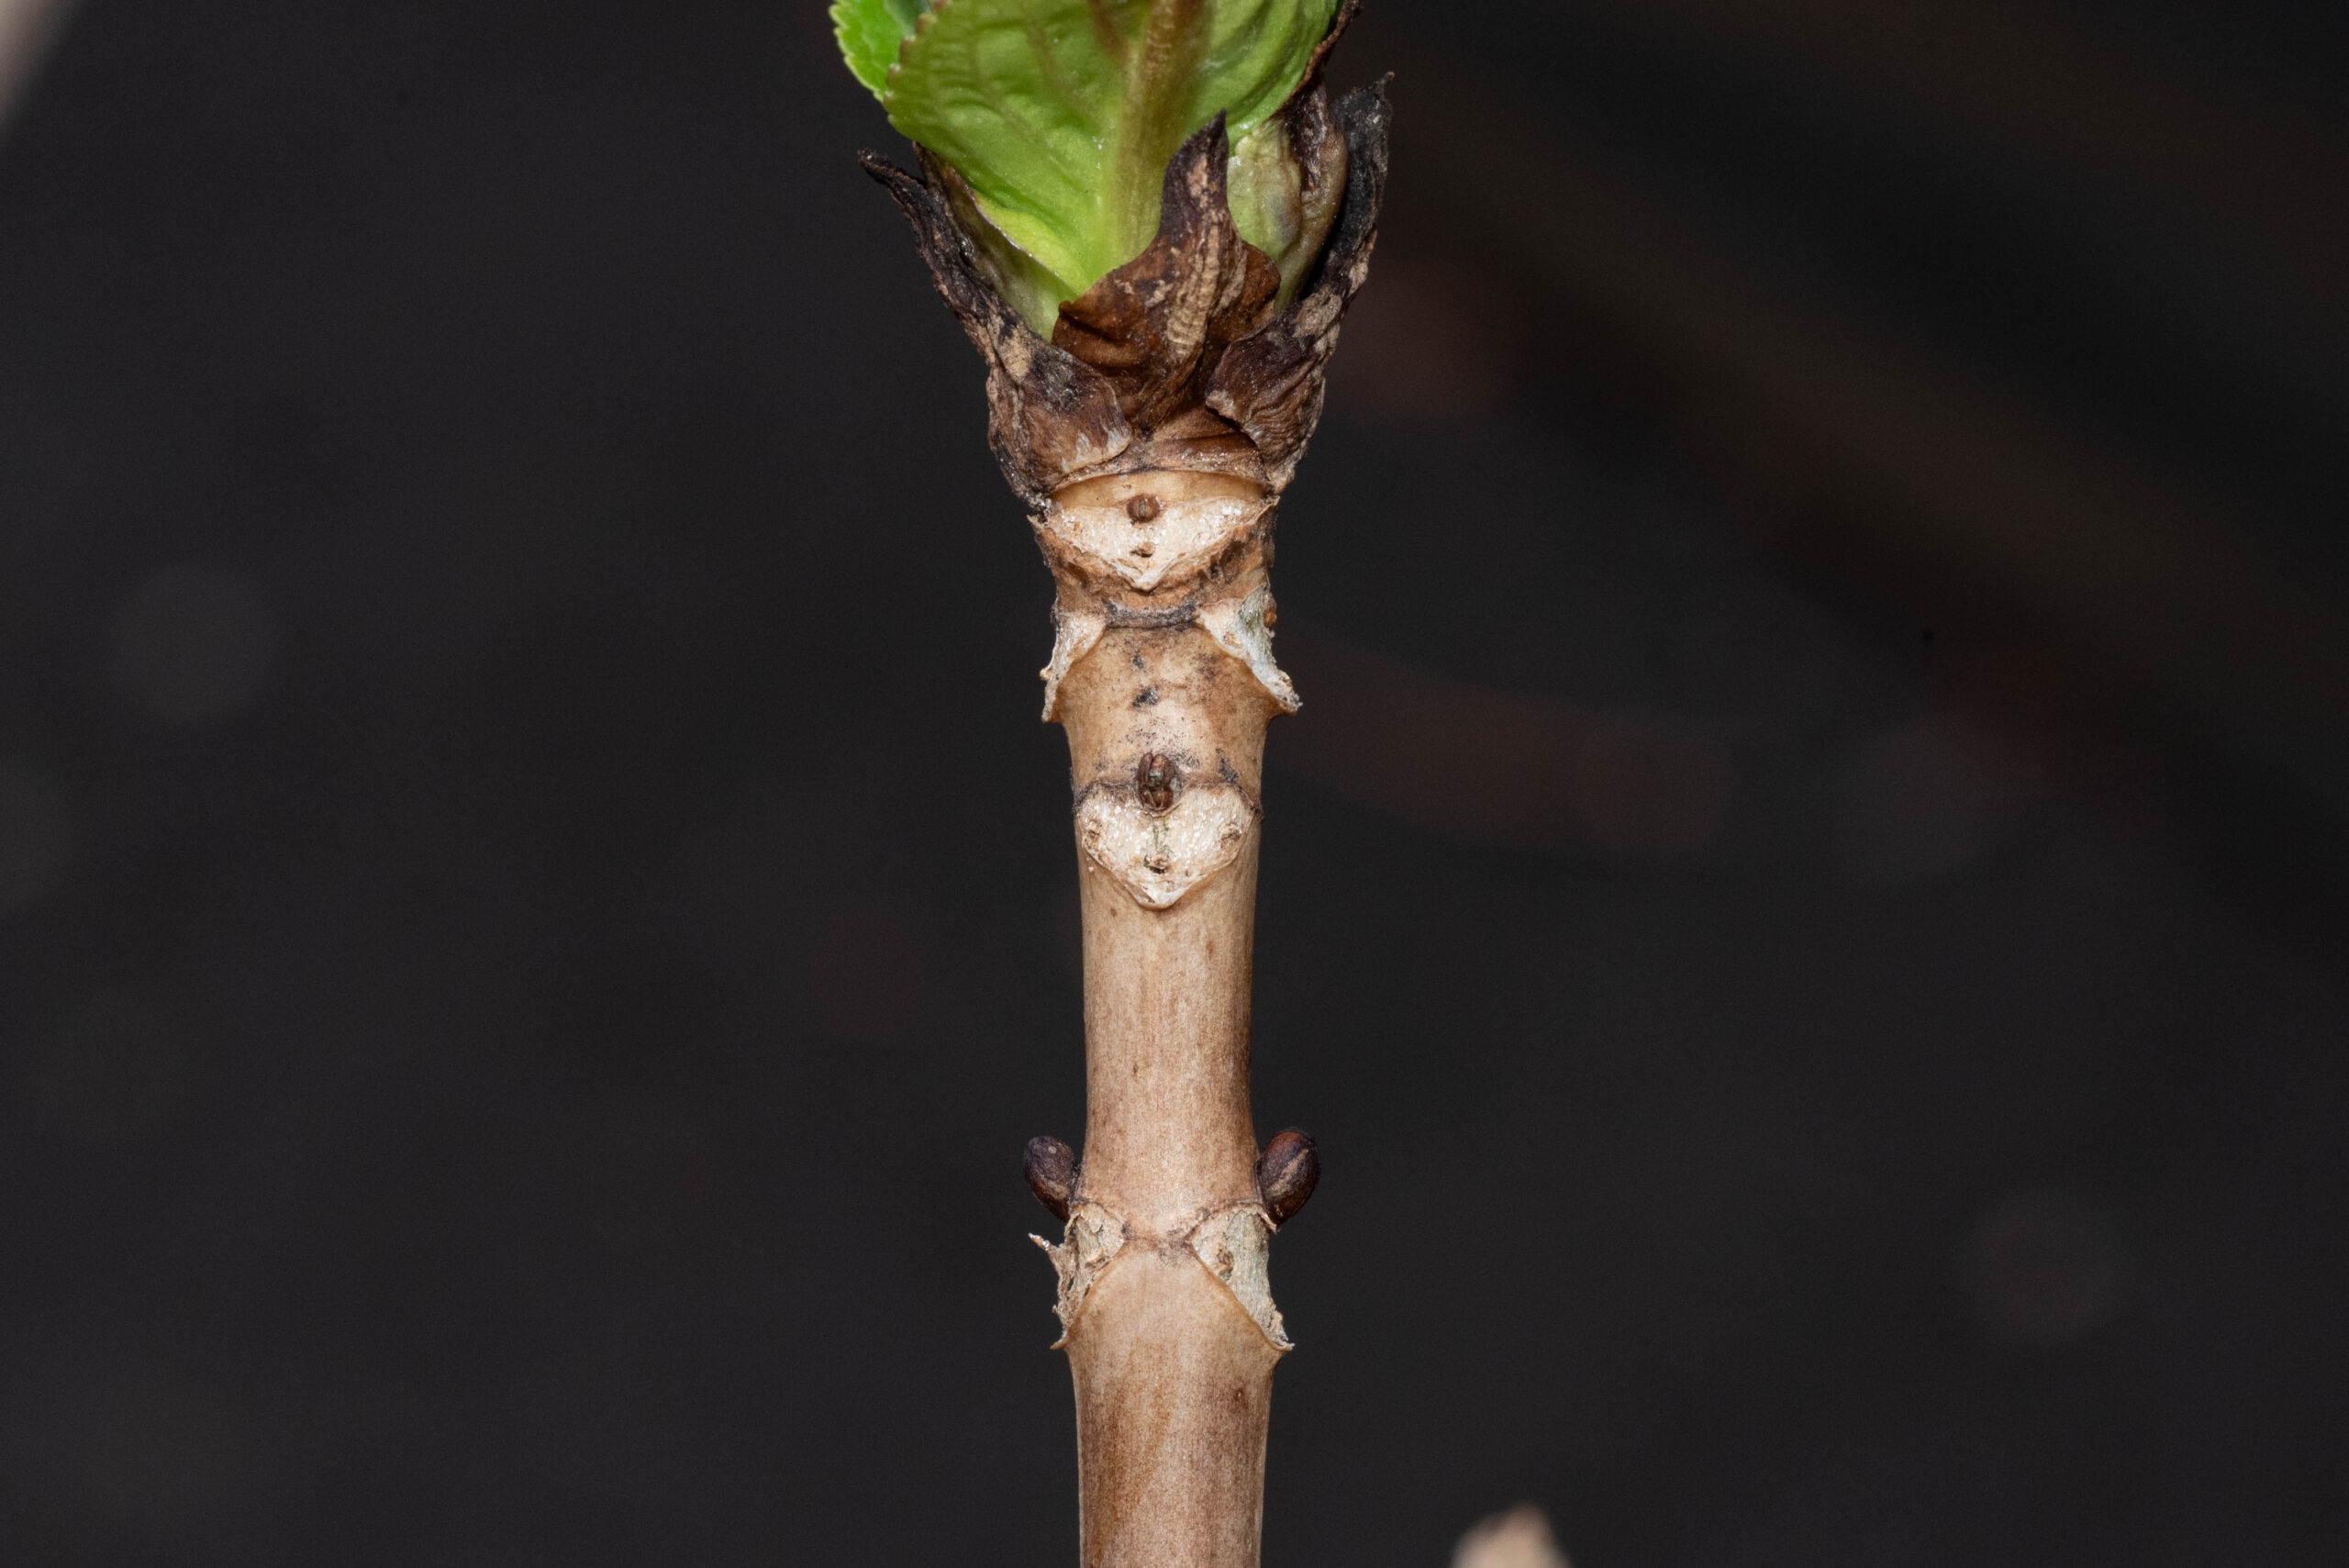
Choose a healthy, non-flowering shoot and cut a 4 to 6 inch section, making your cut just below a leaf node (the point where a leaf attaches to the stem) using clean, sharp pruners. Roots will form most readily from this node, so a clean, close cut matters. Strip the leaves from the lower half of the cutting, leaving just one or two pairs of leaves at the top. If those remaining leaves are large, trim them in half to reduce moisture loss while the cutting is working to establish roots.
Rooting Hormone (Optional)
Dipping the cut end in a rooting hormone powder or gel isn’t strictly necessary — hydrangeas root readily on their own — but it can speed things along and improve your success rate, especially with slower varieties. If you use it, dip only the bottom inch of the stem and tap off the excess before planting.
Rooting in Soil or Water
You have two reliable options. For soil rooting, insert the cutting into a small pot of moist, well-draining potting mix or a blend of perlite and peat, burying the bottom node or two beneath the surface. For water rooting, simply place the stem in a jar of clean water with the lower nodes submerged, changing the water every few days to keep it fresh and oxygenated. Soil rooting tends to produce a sturdier root system for eventual transplanting, but water rooting lets you watch progress easily and is a fun, foolproof method for beginners.
Keeping Humidity High
Whichever method you choose, humidity is the key to success. If rooting in soil, cover the pot with a clear plastic bag or a cut-off plastic bottle to create a mini greenhouse, keeping the plastic from touching the leaves. Place the cutting in bright, indirect light — never direct sun, which will scorch it through the plastic — and keep the soil consistently moist but not waterlogged. Vent the covering briefly every day or two to prevent mold, and mist the leaves if they start to look limp.
Transplanting Rooted Cuttings
Roots typically develop within three to four weeks. You’ll know a soil-rooted cutting has taken when you feel gentle resistance if you tug lightly on it, or when new leaf growth appears at the top. Water-rooted cuttings can be potted up once roots are an inch or two long. Move the new plant into a slightly larger pot with quality potting soil, keep it in a sheltered, partly shaded spot for a few weeks to acclimate, and then transition it gradually to its permanent garden location. With consistent moisture and a little patience, your cutting will be ready to plant out by the following spring.