How to Sharpen and Maintain Garden Shears
Most gardeners replace their shears long before they actually need to. In a lot of cases, what looks like a worn-out tool is really just a dull one — and a dull blade doesn’t cut so much as it crushes, tearing plant tissue instead of slicing through it cleanly. That ragged cut heals slower and gives fungal and bacterial problems an easier way in. Sharpening and maintaining a pair of shears properly takes maybe ten minutes and can add years to a tool you might otherwise have thrown out.
Signs Your Shears Need Sharpening
Run a test cut on a thin, green stem before you decide anything. A properly sharp blade goes through it with barely any resistance, leaving a clean, flat cut. If you’re having to squeeze hard, or the stem comes away frayed and pinched rather than sliced, the edge has gone dull. A dull edge often looks different too — check for a matte, slightly rounded sheen where the cutting bevel used to catch the light sharply, or small nicks along the blade where it’s caught on wire or a hard knot in the past.
Tools You’ll Need
- A sharpening stone or diamond file — medium grit is enough for most pruning shears
- Rubbing alcohol or dish soap and a rag, for cleaning off built-up sap
- A few drops of light oil for the pivot and blade
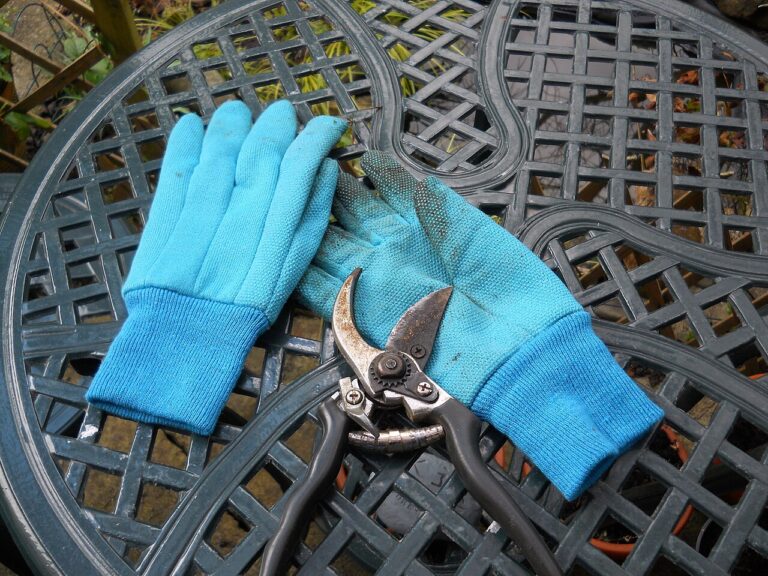
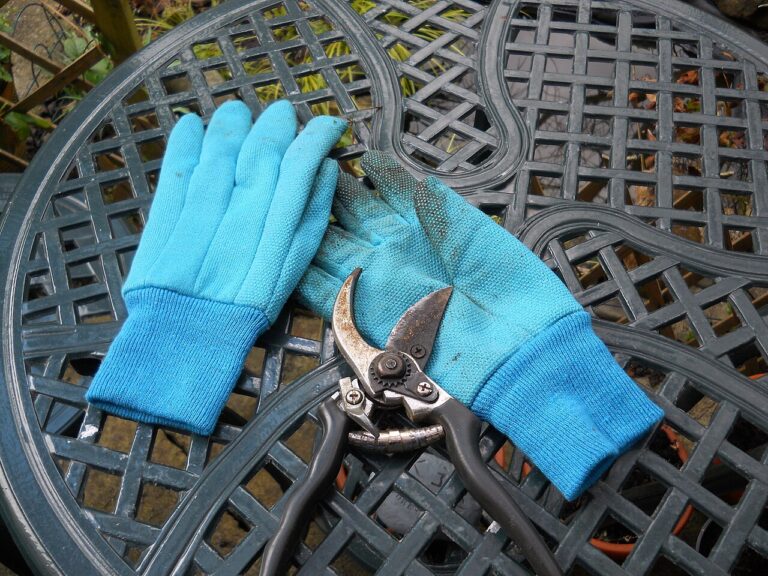
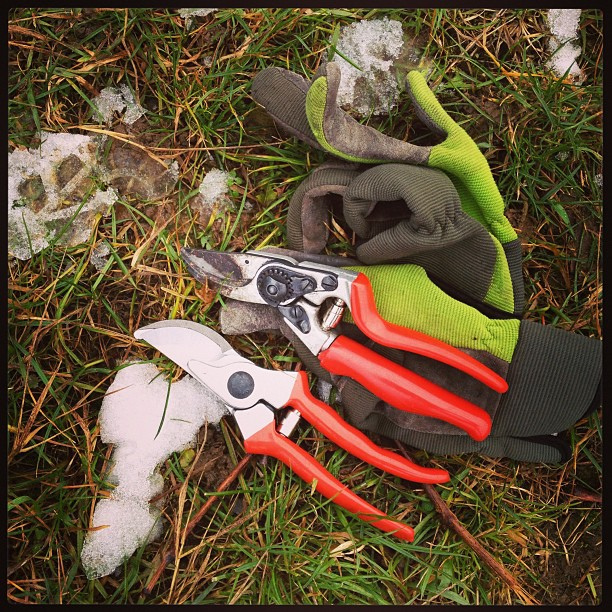
- Gloves, since you’ll be handling an exposed, freshly sharpened edge
Sharpening Your Shears
Start by taking the shears apart if the design allows it — most bypass pruners separate at the pivot bolt without needing any special tools. Before you touch the stone, get the blade properly clean; dried sap left on the metal will gum up your stone and make it much harder to feel what you’re doing. A rag with a bit of alcohol or dish soap, left to sit on stubborn residue for a minute, usually lifts it without much scrubbing.
Look closely at the blade before you sharpen anything. There’s already a bevel ground into the edge, usually somewhere between 20 and 30 degrees, and your job is to match that angle rather than pick a new one. Hold your stone or file against the existing bevel and you’ll feel roughly where it wants to sit.
Work the stone from the base of the blade toward the tip in one direction only — never back and forth, which tends to round the edge unevenly instead of sharpening it. Keep the pressure light and consistent. You’ll know you’re getting close when a very fine burr starts to form along the opposite side of the blade; that’s the sign the edge has actually been ground down to a point, not just polished.
That burr needs to come off before the shears are ready to use. Lay the stone flat against the back of the blade and pass it across once or twice, just enough to knock the burr loose without disturbing the angle you just spent time getting right. Reassemble the shears, snug the pivot bolt (tight enough to hold, loose enough that the blades still swing freely), and work a drop of oil into the joint by opening and closing them a few times.
Keeping Them Sharp Between Sharpenings
You won’t need to repeat the full sharpening process very often if you build a few habits into your regular pruning routine:
- Wipe sap off the blades before it has a chance to dry and harden onto the metal.
- Switch to alcohol when moving between a diseased plant and a healthy one, so you’re not spreading the problem with the blade itself.
- Dry the shears fully before storing them, and leave a light film of oil on the pivot to keep rust from starting.
- Use a sheath or holster instead of tossing them loose into a tool bag, where the edge picks up small dings from knocking against other metal tools.
When Sharpening Isn’t Enough
Rust pitting, deep nicks, or blades that have visibly thinned from years of sharpening are all signs you’ve reached the limit of what a stone can fix. A professional sharpening service can sometimes bring the geometry back on a higher-quality pair, but for shears that were inexpensive to begin with, replacing them is usually the more sensible call.
Still, a solid pair that’s looked after properly can realistically last for years rather than seasons. If you haven’t settled on which shears to buy yet, our garden shears buying guide compares several models worth considering, including ones built to be easy to take apart and maintain.
Just building out your gardening kit? Our beginner’s guide to essential garden tools covers what else is worth having on hand alongside a good pair of pruners.