How Often to Water Indoor Plants: A Complete Watering Guide
Why Watering Goes Wrong
If you ask ten houseplant owners what went wrong with their last plant, at least seven will say something about watering. Either they watered too much, or too little, or at the wrong time, or with the wrong method. Improper watering kills more houseplants than pests, diseases, and poor light combined. Yet watering is not complicated once you understand the principles. This guide explains how to determine when your plants actually need water, how to water them properly, and how to recognize and correct the common watering mistakes that send so many plants to an early grave.
The Fundamental Principle: Water Deeply, Then Let It Dry
In nature, plants experience rain followed by a drying period. Rain saturates the soil, and then gravity, evaporation, and plant uptake gradually draw the moisture down over days or weeks. The roots have access to both water and oxygen during this cycle because air refills the pore spaces as water drains away. This natural wet-dry cycle is what you are trying to replicate when you water a houseplant.
The most common watering mistake is giving plants small, frequent sips of water. This keeps the top of the soil moist while the deeper roots remain dry, encouraging shallow root development and creating the perpetually damp conditions that breed fungus gnats and root rot. The correct approach is to water deeply and thoroughly, fully saturating the root ball, and then allow the potting mix to partially dry before watering again.
How to Know When to Water
Schedules are useful as reminders to check your plants, but they should never dictate when you water. The rate at which a pot dries out depends on light levels, temperature, humidity, pot material, pot size, plant size, and the composition of the potting mix. A Monstera in a terracotta pot near a sunny south-facing window in July might need water twice a week, while the same plant in a plastic pot in a dim corner in January might need water once every three weeks. There is no universal schedule.
Here are four reliable methods for determining when to water, in order of reliability:
1. The Finger Test (Most Reliable and Always Available)
Insert your index finger into the potting mix up to the second knuckle, approximately 5 centimeters deep. If the soil feels moist or cool at that depth, wait. If it feels dry, water. This method has the advantage of requiring no equipment and giving you a direct tactile sense of the soil moisture. After a few months of consistent use, you will develop an intuitive feel for it.
2. The Weight Method (Excellent for Experienced Growers)
Lift the pot immediately after a thorough watering and note how heavy it feels. Then let the plant dry out and lift it again. A pot that feels surprisingly light relative to its size is dry and needs water. This method works especially well for smaller pots and for plants in terracotta, where the weight difference between wet and dry is dramatic. Many experienced growers stop using other methods entirely once they learn to read pot weight.
3. Moisture Meters (Useful but Not Foolproof)
A soil moisture meter with a metal probe gives you a numerical reading of moisture at different depths. These can be helpful if you are unsure about your finger test results, but they have limitations. They measure electrical conductivity, which is affected by soil composition, fertilizer salts, and water quality. A meter may read “wet” in dry soil if the soil is high in salts. Use a moisture meter as a supplementary tool, not as a replacement for your own observation.
4. Visual and Tactile Leaf Cues (Species-Specific)
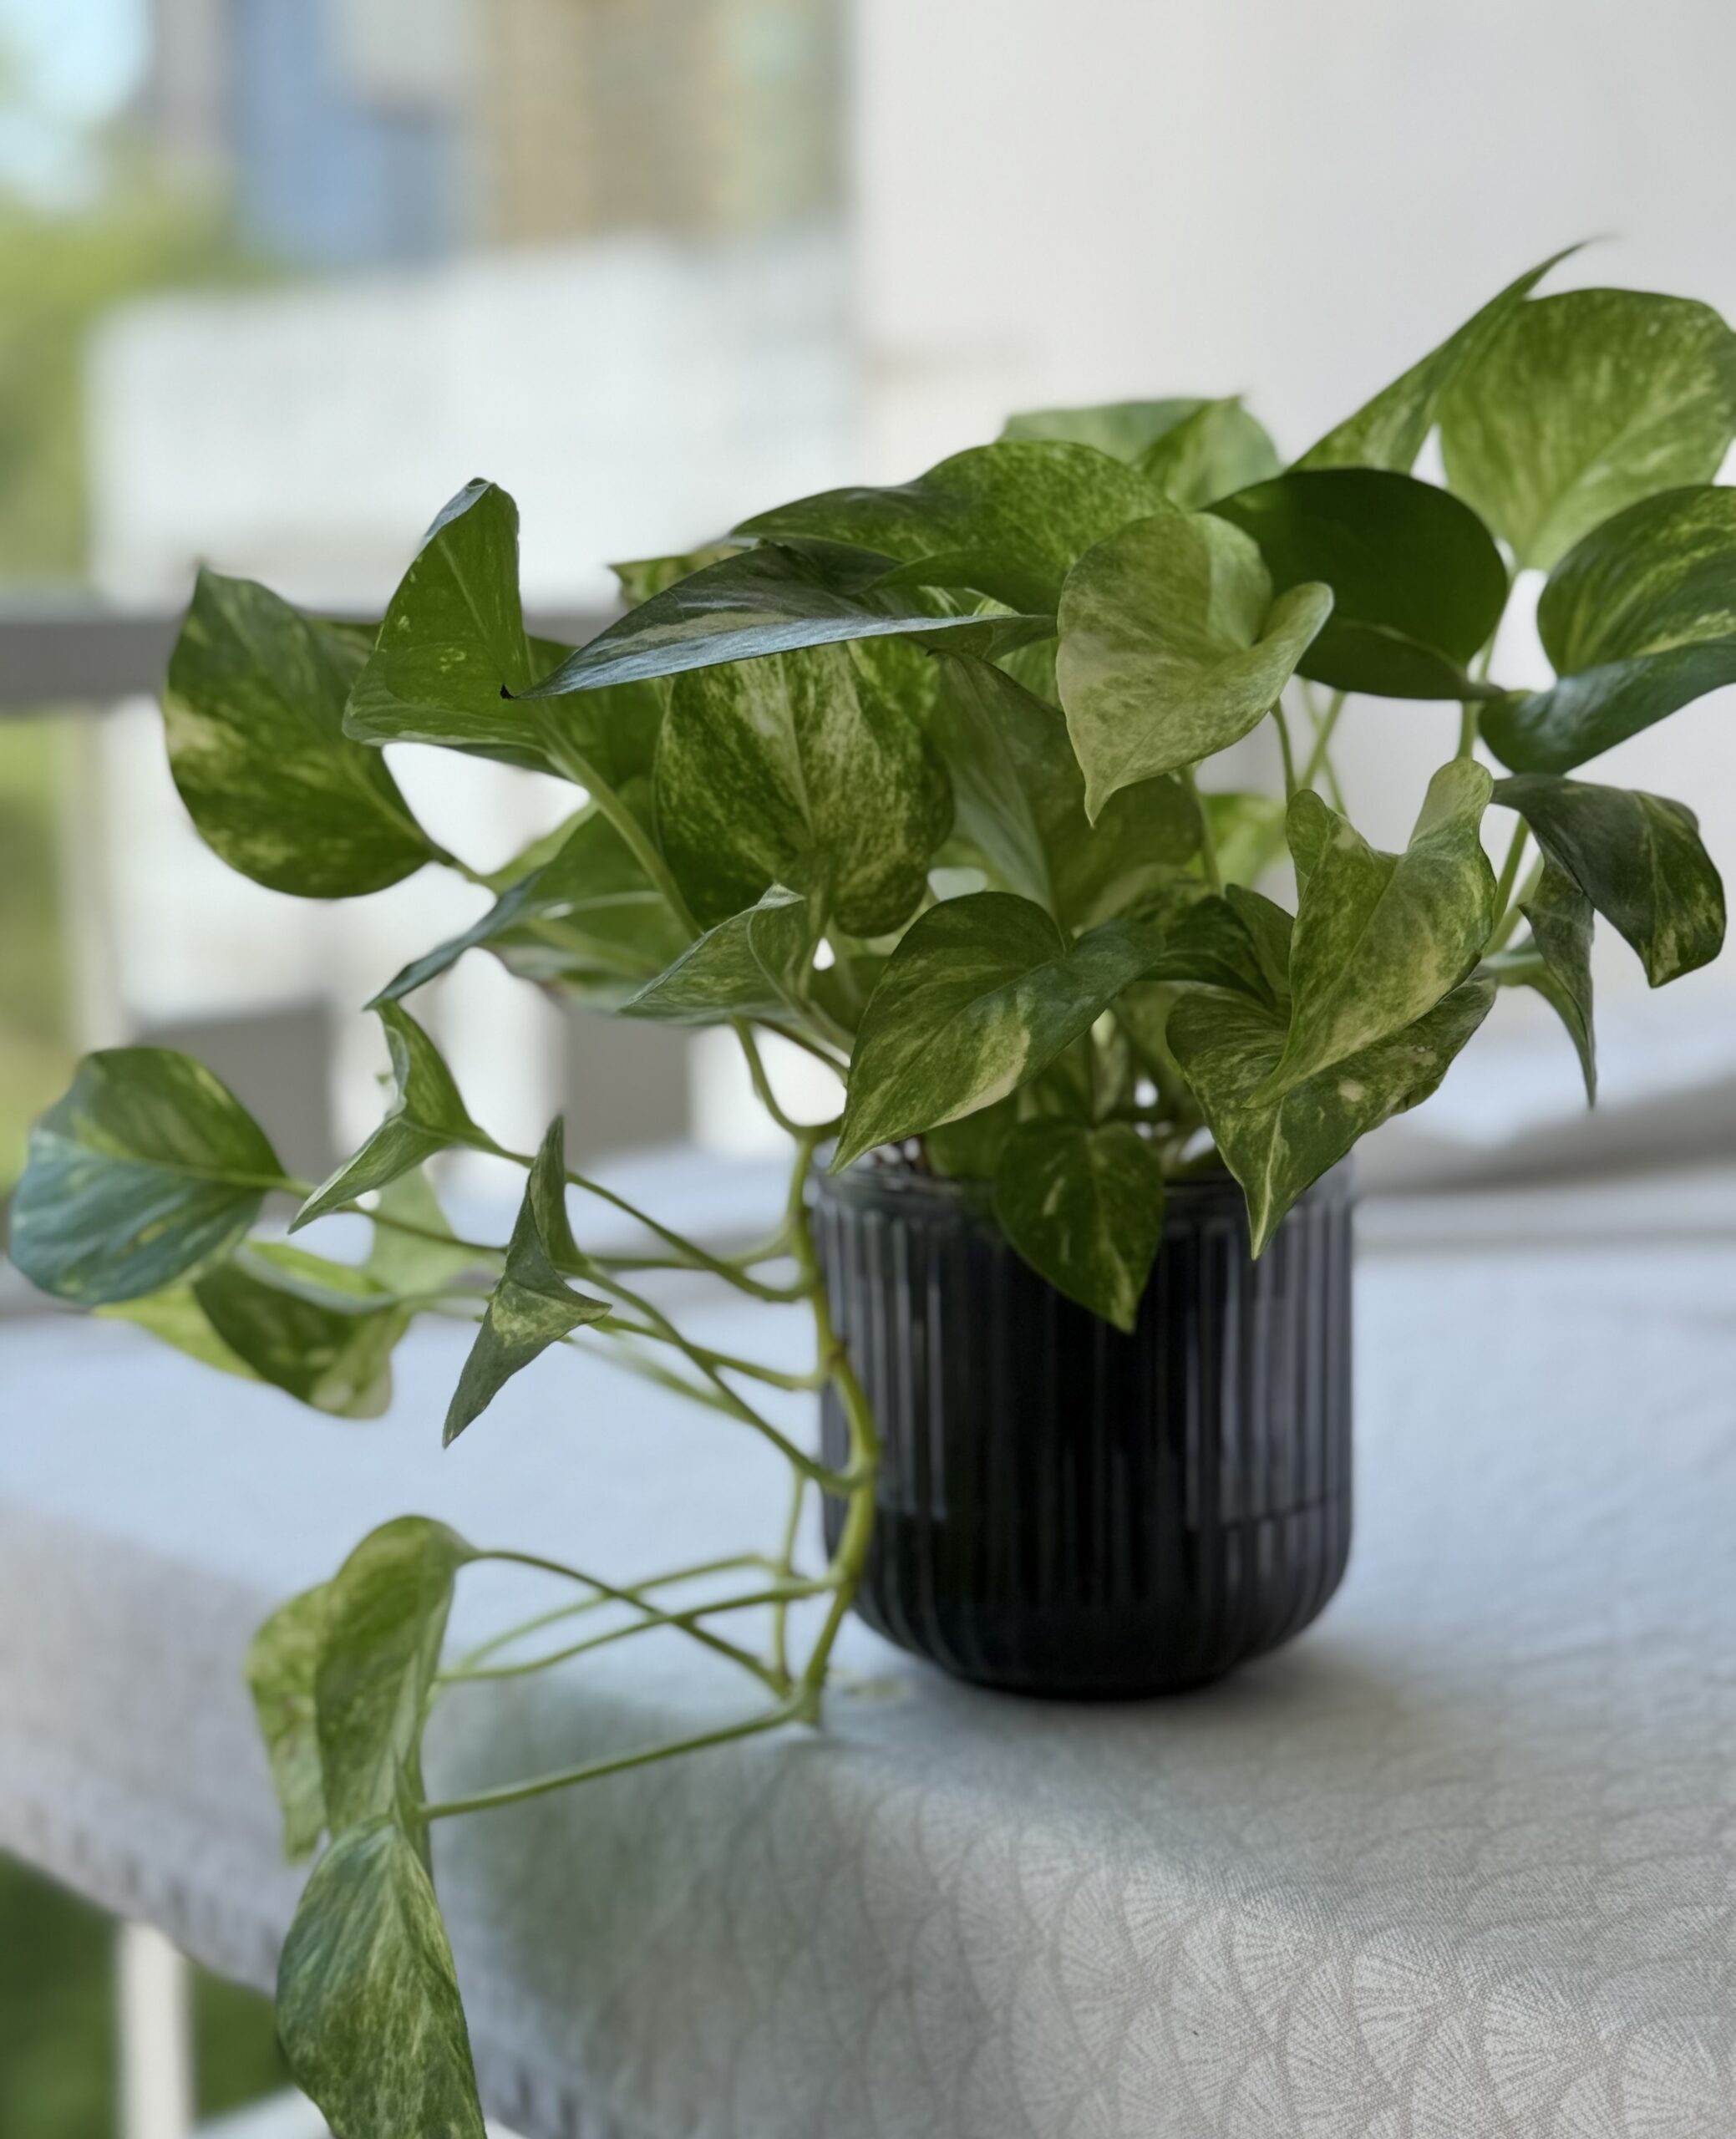
Some plants visibly communicate thirst. Peace lilies droop dramatically. Pothos leaves curl slightly and feel thinner and more pliable. Succulent leaves wrinkle or lose their plumpness. These visual cues are reliable once you learn them for a specific plant. The caution is that by the time a plant shows visible signs of water stress, it has already been dry longer than ideal, and chronic under-watering can cause cumulative stress over time.
How to Water Properly
The technique of watering matters almost as much as the timing. Here is the step-by-step method:
- Take the plant to a water source. Watering a plant in place, with a saucer catching the runoff, means you cannot water thoroughly. Take the pot to a sink, bathtub, shower, or outdoors.
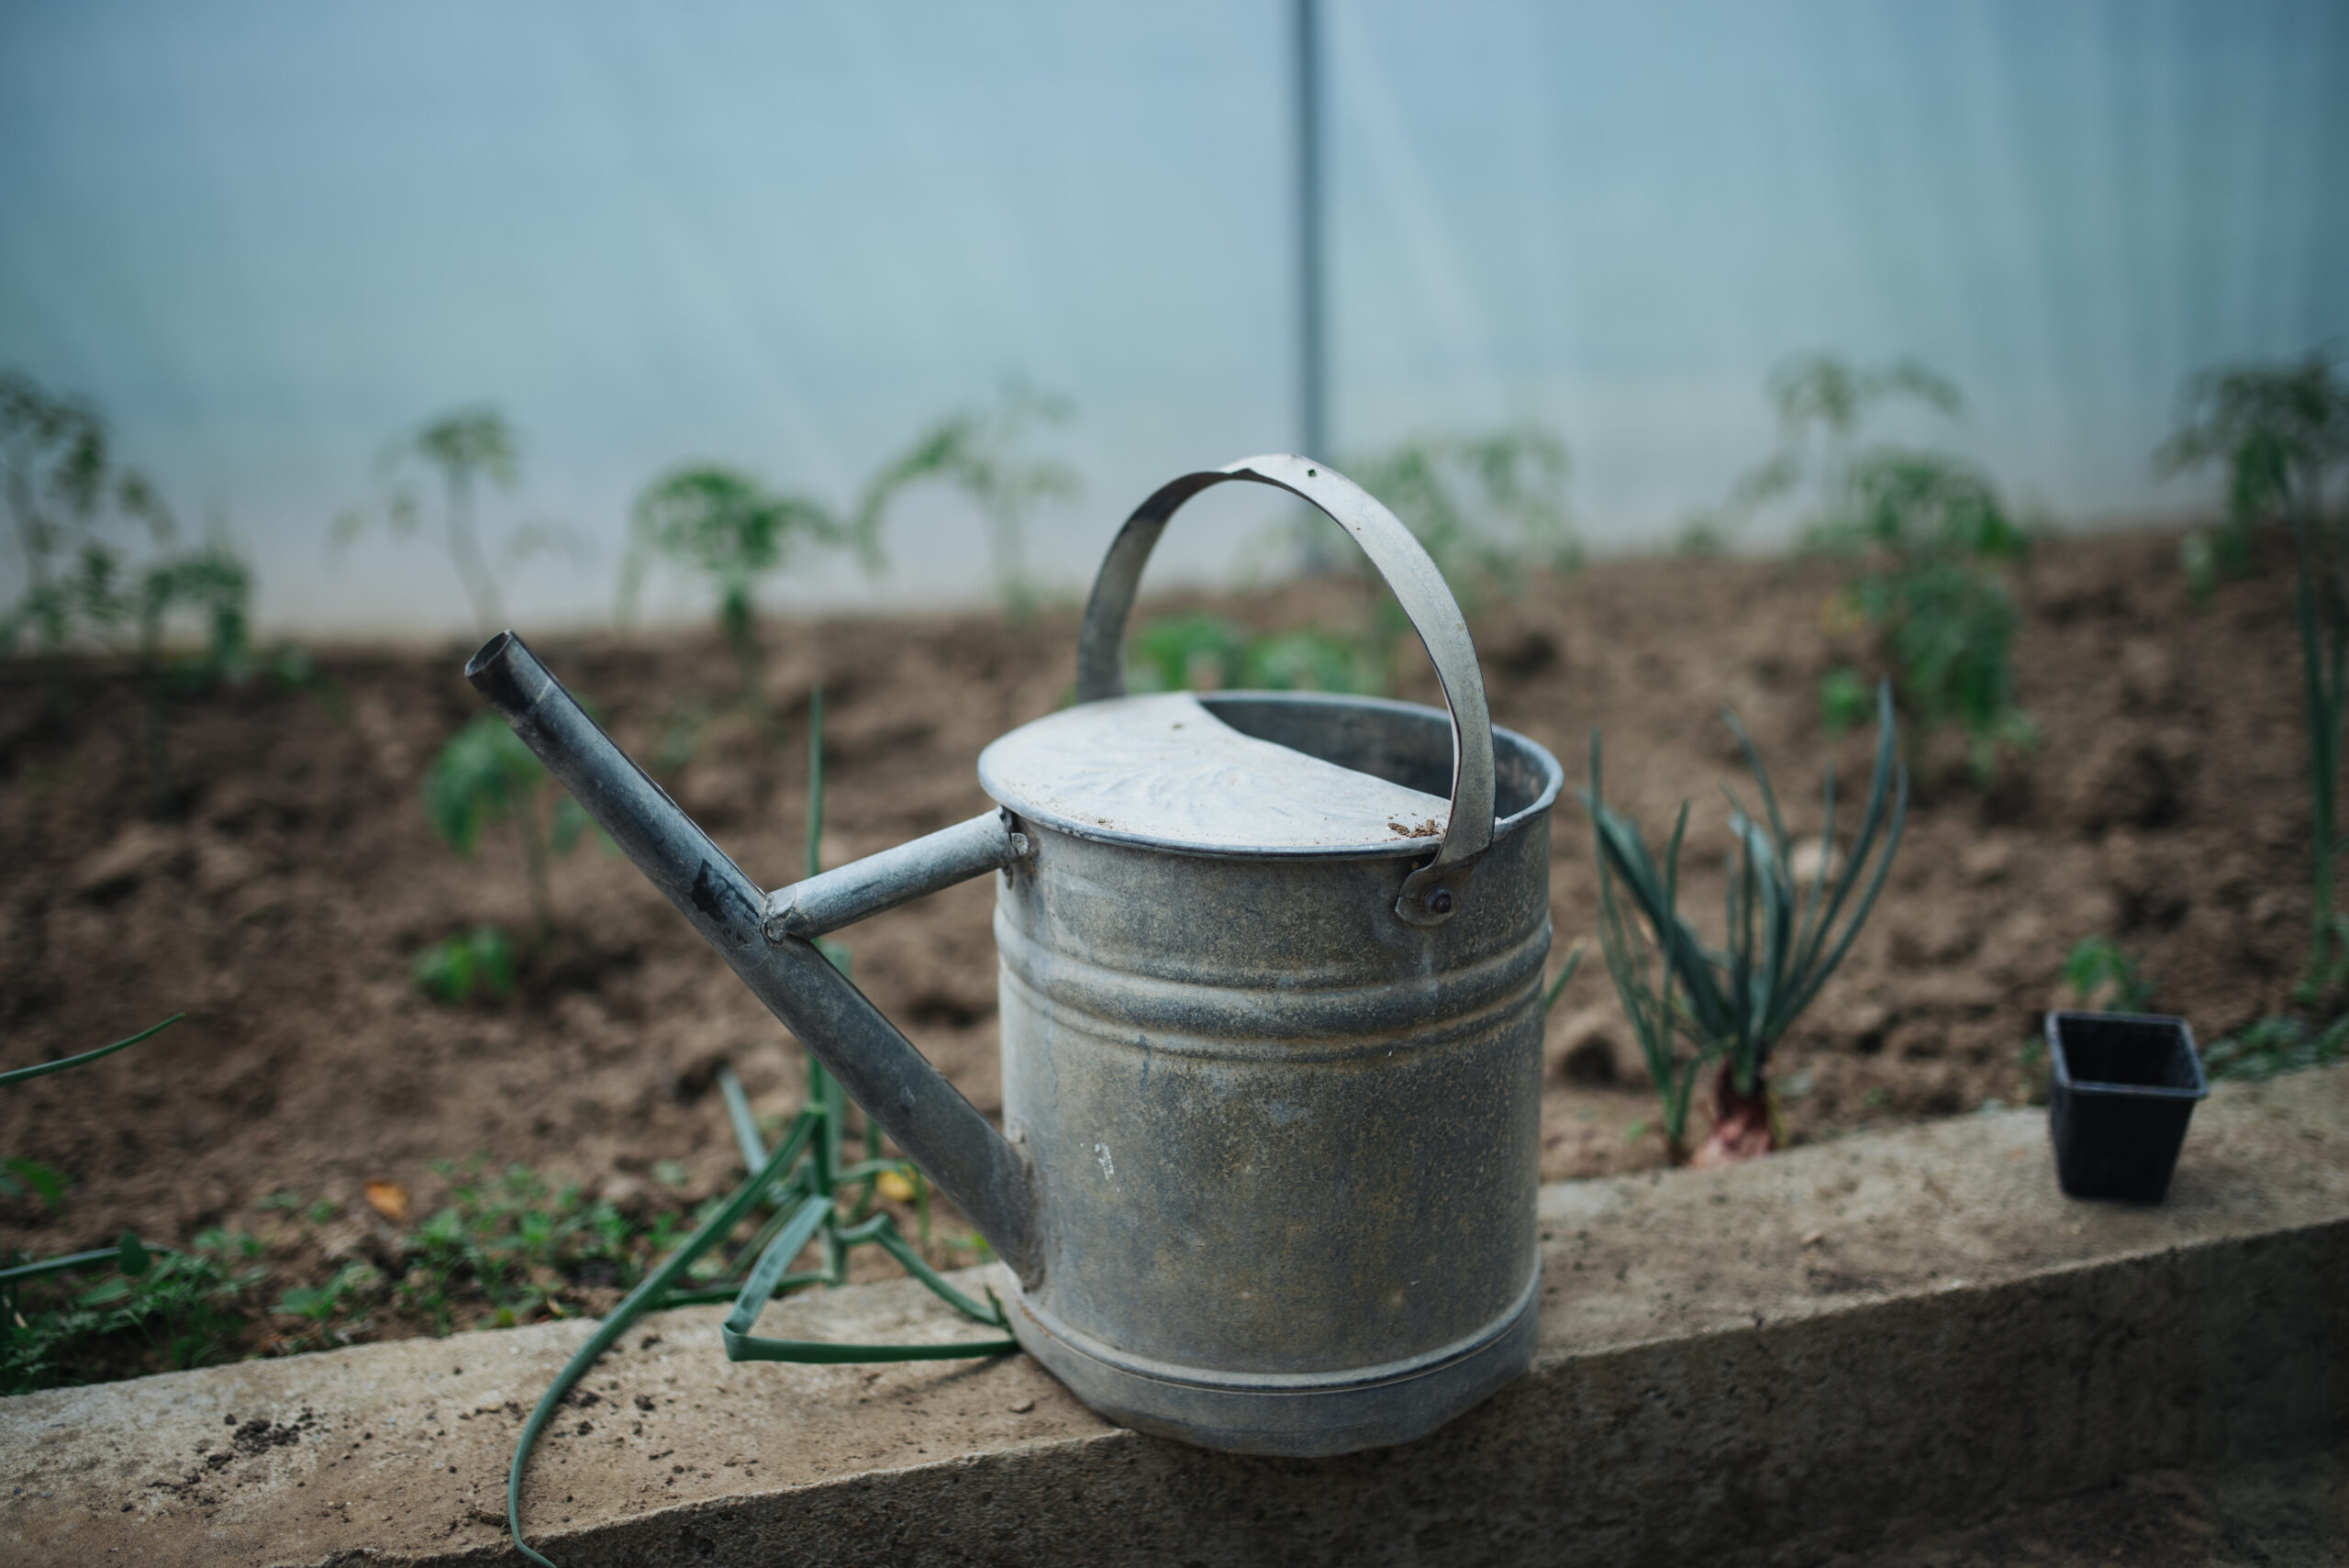
- Use room-temperature water. Cold water shocks the roots. Fill your watering can and let it sit for an hour, or simply use water that is neither warm nor cold to the touch.
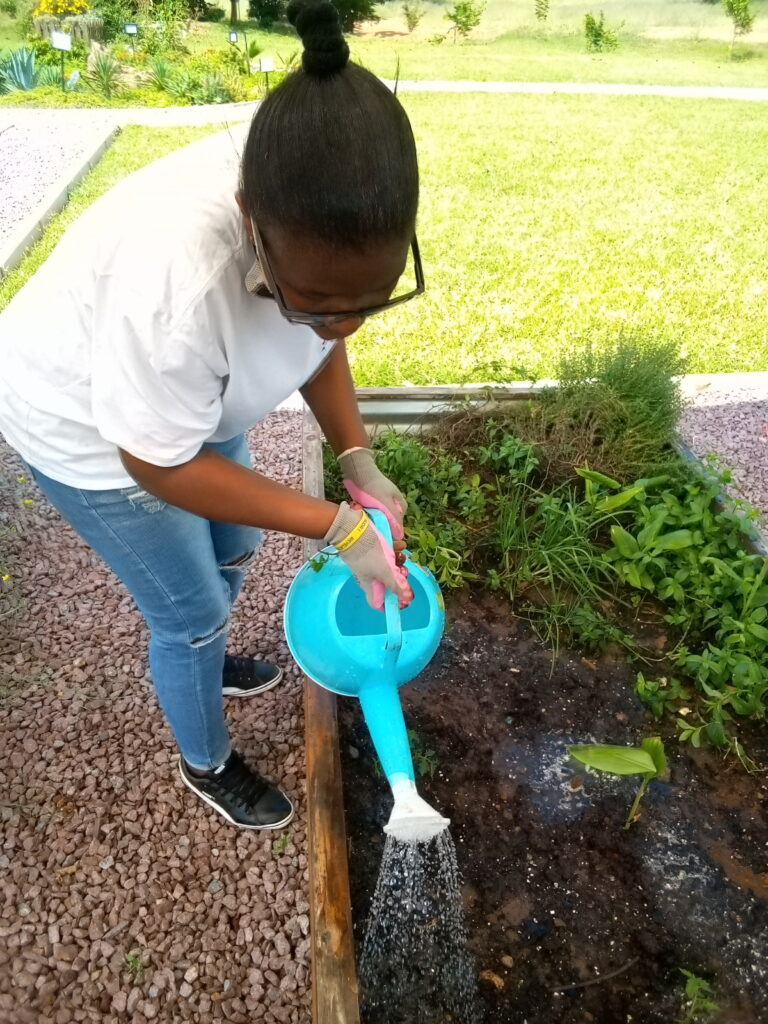
- Water slowly and evenly across the entire soil surface. Pour water in a slow, steady stream, moving around the pot to cover the entire surface. Do not pour all the water in one spot, which creates a channel that bypasses most of the root ball.
- Keep watering until water runs freely from the drainage holes. This is the signal that the root ball is fully saturated. If your pot does not have drainage holes, repot the plant into one that does. Pots without drainage holes are decorative outer pots (cachepots), not functional growing containers.
- Let it drain completely. Leave the pot in the sink or on a draining board until water has stopped dripping from the bottom. This usually takes 10 to 20 minutes. Returning a still-dripping pot to its saucer means the plant sits in a puddle, which is a fast track to root rot.
- Empty the saucer or cachepot after 30 minutes. If any water has collected in the saucer or outer pot, dump it out. Never let a plant sit in standing water.
Top Watering vs. Bottom Watering
Both methods have their place, and neither is inherently better. The choice depends on the plant, the potting mix, and your preferences.
Top Watering (Standard Method)
Pouring water over the soil surface is the standard method for most plants. It is fast, simple, and effective. The main concern is that top watering can contribute to fungus gnat problems if the soil surface stays constantly wet, and water can pool on the leaves of plants with tight rosettes (such as African violets), causing rot.
Bottom Watering
Place the pot in a tray or basin of water and let the potting mix absorb water through the drainage holes via capillary action. Leave the pot in the water for 15 to 30 minutes, or until the soil surface feels moist to the touch. Then remove the pot and let it drain. Bottom watering keeps the soil surface dry, which discourages fungus gnats, and it is the safest method for plants with fuzzy or water-sensitive leaves (African violets, Begonia rex, streptocarpus). It is also excellent for plants in very chunky, bark-based mixes that can be difficult to saturate from above because water runs straight through.
The downside of bottom watering is that it takes longer, and mineral salts from fertilizer can accumulate at the soil surface because they are never flushed through from the top. Watering from the top occasionally, even for plants you normally bottom-water, helps flush out these salts.
Water Quality: Does It Matter?
For most houseplants, tap water is perfectly fine. However, certain plants are sensitive to the chemicals commonly found in municipal water supplies:
- Fluoride sensitivity: Dracaena, Chlorophytum comosum (spider plant), Calathea, Maranta, and peace lilies (Spathiphyllum) are all sensitive to fluoride. Brown leaf tips on these plants are often caused by fluoride toxicity, not inconsistent watering. Use filtered water, distilled water, or collected rainwater for fluoride-sensitive species.
- Chlorine and chloramine: Most plants tolerate standard chlorine levels. If your tap water has a strong chlorine smell, let it sit uncovered for 24 hours before using it; chlorine will dissipate. Chloramine, used by some municipalities instead of chlorine, does not dissipate and must be filtered out.
- Hard water: Water with high mineral content (calcium and magnesium) can leave white deposits on leaves and soil. Most plants tolerate hard water, but carnivorous plants (Venus flytraps, pitcher plants, sundews) require distilled or rainwater because they have evolved in nutrient-poor bogs and are extremely sensitive to dissolved minerals.
- Water softener salt: Never use water from a salt-based water softener on plants. The sodium in softened water is toxic to plants and will kill them over time. If your home has a water softener, use water from an outdoor tap (which is usually bypassed from the softener) or use filtered water.
Recognizing Overwatering vs. Underwatering
Many of the symptoms overlap, which is why watering mistakes can be confusing. Here is how to tell them apart:
| Symptom | Overwatering | Underwatering |
|---|---|---|
| Leaf appearance | Soft, limp, yellow, often starting with lower leaves | Crispy, dry, curled edges, brown tips, drooping |
| Leaf feel | Mushy, water-soaked patches possible | Papery, brittle, thin-feeling |
| Soil condition | Constantly damp or wet, may smell musty | Bone dry, pulling away from pot edges, hard surface |
| Stems | Soft, mushy at the base, may blacken | Wrinkled, shriveled (succulents), otherwise firm |
| Roots (if checked) | Brown, mushy, slimy, easily pulled apart | Dry, brittle, but intact and not rotten |
| Fungus gnats | Often present | Rarely present |
Seasonal Adjustments
Watering frequency must change with the seasons, even for indoor plants. Most houseplants slow their growth significantly in winter due to reduced light levels and shorter day lengths. A plant that needs water every 7 days in June may only need water every 14 to 21 days in December. Continuing a summer watering schedule through winter is a common cause of winter root rot.
The adjustment should be gradual. As autumn progresses and days shorten, extend the interval between waterings by a few days at a time. By mid-winter, many plants in low-light conditions will have significantly reduced water needs. When spring arrives and growth resumes, gradually increase watering frequency.
Special Cases
Vacation Watering
If you will be away for 1 to 2 weeks, water all your plants thoroughly before leaving. Group them together in a spot with indirect light (grouping slows evaporation). For plants in small pots that dry out quickly, wick-watering systems and self-watering stakes work well. For longer absences, enlist a plant-savvy friend and provide specific, written instructions rather than general guidelines like “water once a week.”
Plants in Terracotta vs. Plastic
Terracotta pots are porous and wick moisture from the soil, causing it to dry out significantly faster than in glazed ceramic or plastic pots. A plant in terracotta may need watering twice as often as the same plant in plastic. This is a feature, not a bug, for plants that need sharp drainage (succulents, cacti, many aroids). For moisture-loving plants, plastic or glazed ceramic is a better choice.
Newly Repotted Plants
A freshly repotted plant needs time to adjust. Water it thoroughly immediately after repotting to settle the soil around the roots. Then, monitor it more frequently than usual for the first few weeks. The root system has been disturbed and is less efficient at taking up water until new roots establish. The soil may also dry at a different rate in the new pot.
Recommended Watering Tools
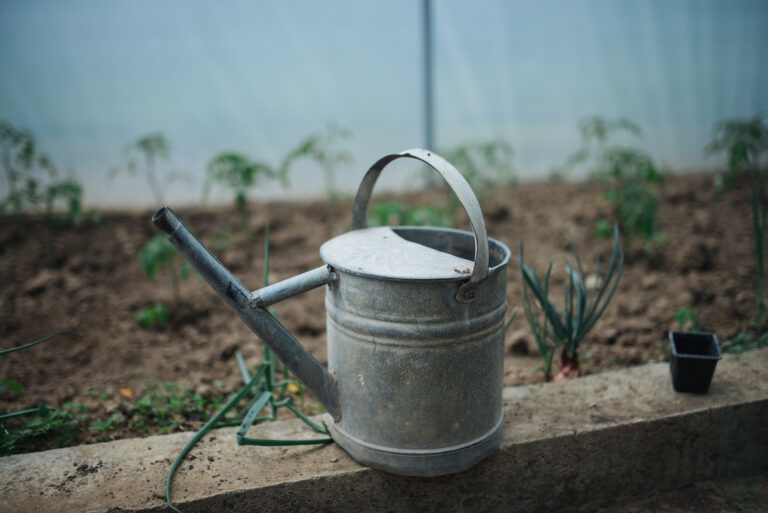
- Watering Can with Narrow Spout: A watering can with a long, narrow spout lets you direct water precisely to the soil without splashing the leaves or crown.
- Moisture Meter: A 3-in-1 soil moisture, pH, and light meter provides additional data to support your watering decisions.
- Self-Watering Stakes: Terracotta self-watering stakes paired with a bottle or reservoir provide consistent moisture for vacation periods.
- Plant Saucers: Sturdy plant saucers in various sizes catch runoff and protect your furniture and floors.
- Water Filter Pitcher: A water filter pitcher removes chlorine and reduces fluoride, benefiting sensitive plants like Dracaena and Calathea.