How to Propagate Succulents: Leaf, Stem, and Offset Methods
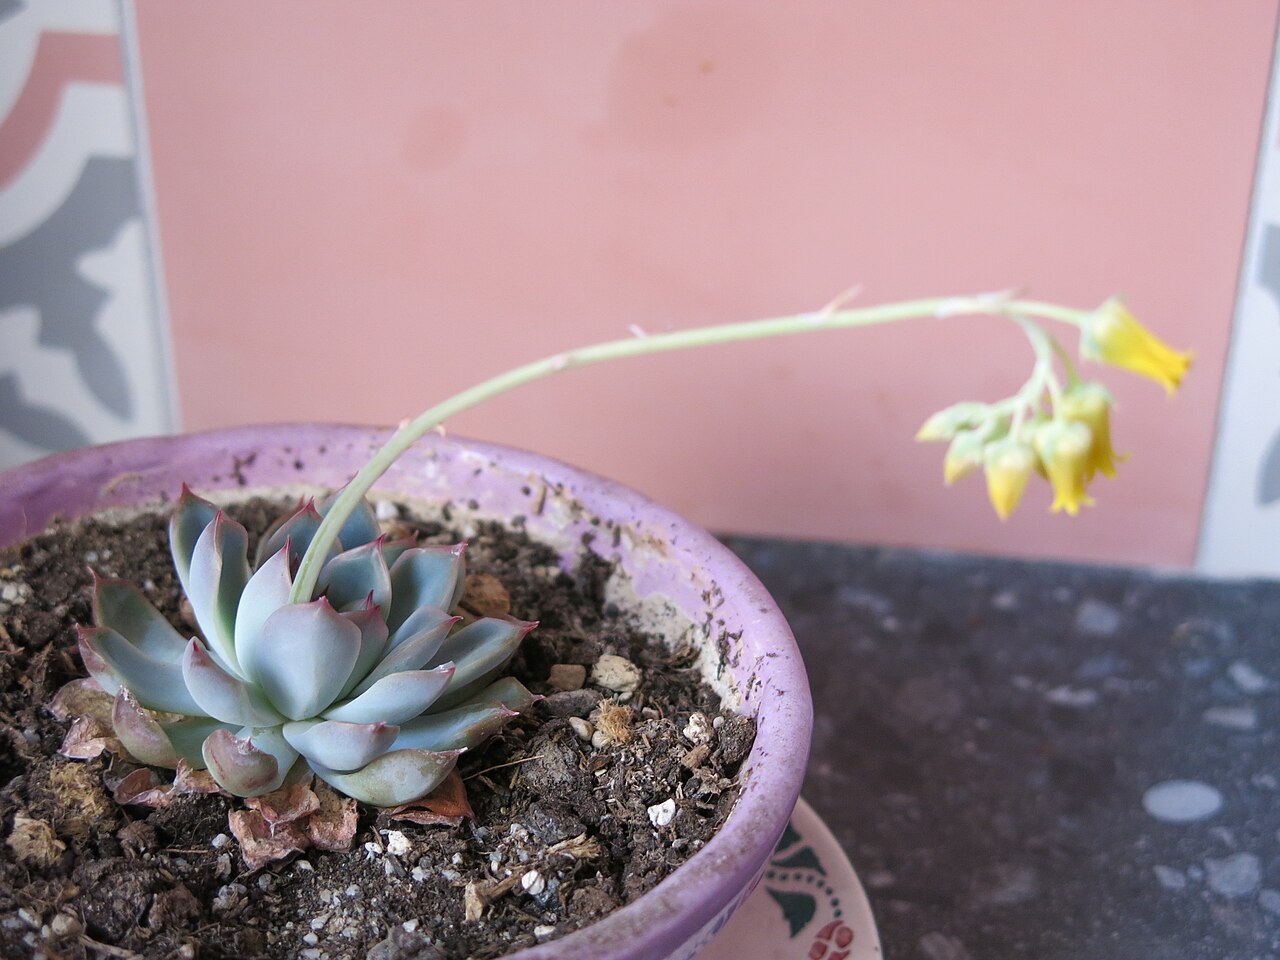
Why Propagate Succulents?
Succulent propagation is one of the most satisfying activities in indoor gardening. There is something almost magical about watching a single plump leaf sprout tiny roots and eventually develop into a complete, independent plant. Unlike many other houseplants that require specialized equipment or techniques, succulents propagate readily from leaves, stem cuttings, and offsets with minimal intervention. This natural generosity is one reason succulent collections tend to expand so quickly.
Beyond the joy of creating new plants for free, propagation serves several practical purposes. It allows you to rescue a succulent that has grown leggy and unattractive by starting fresh from a cutting. It lets you multiply a rare or sentimental variety. And it provides a steady supply of plants for gifting, trading, or filling out arrangements. This guide covers the three main propagation methods in detail, with step-by-step instructions for each.
Method 1: Leaf Propagation
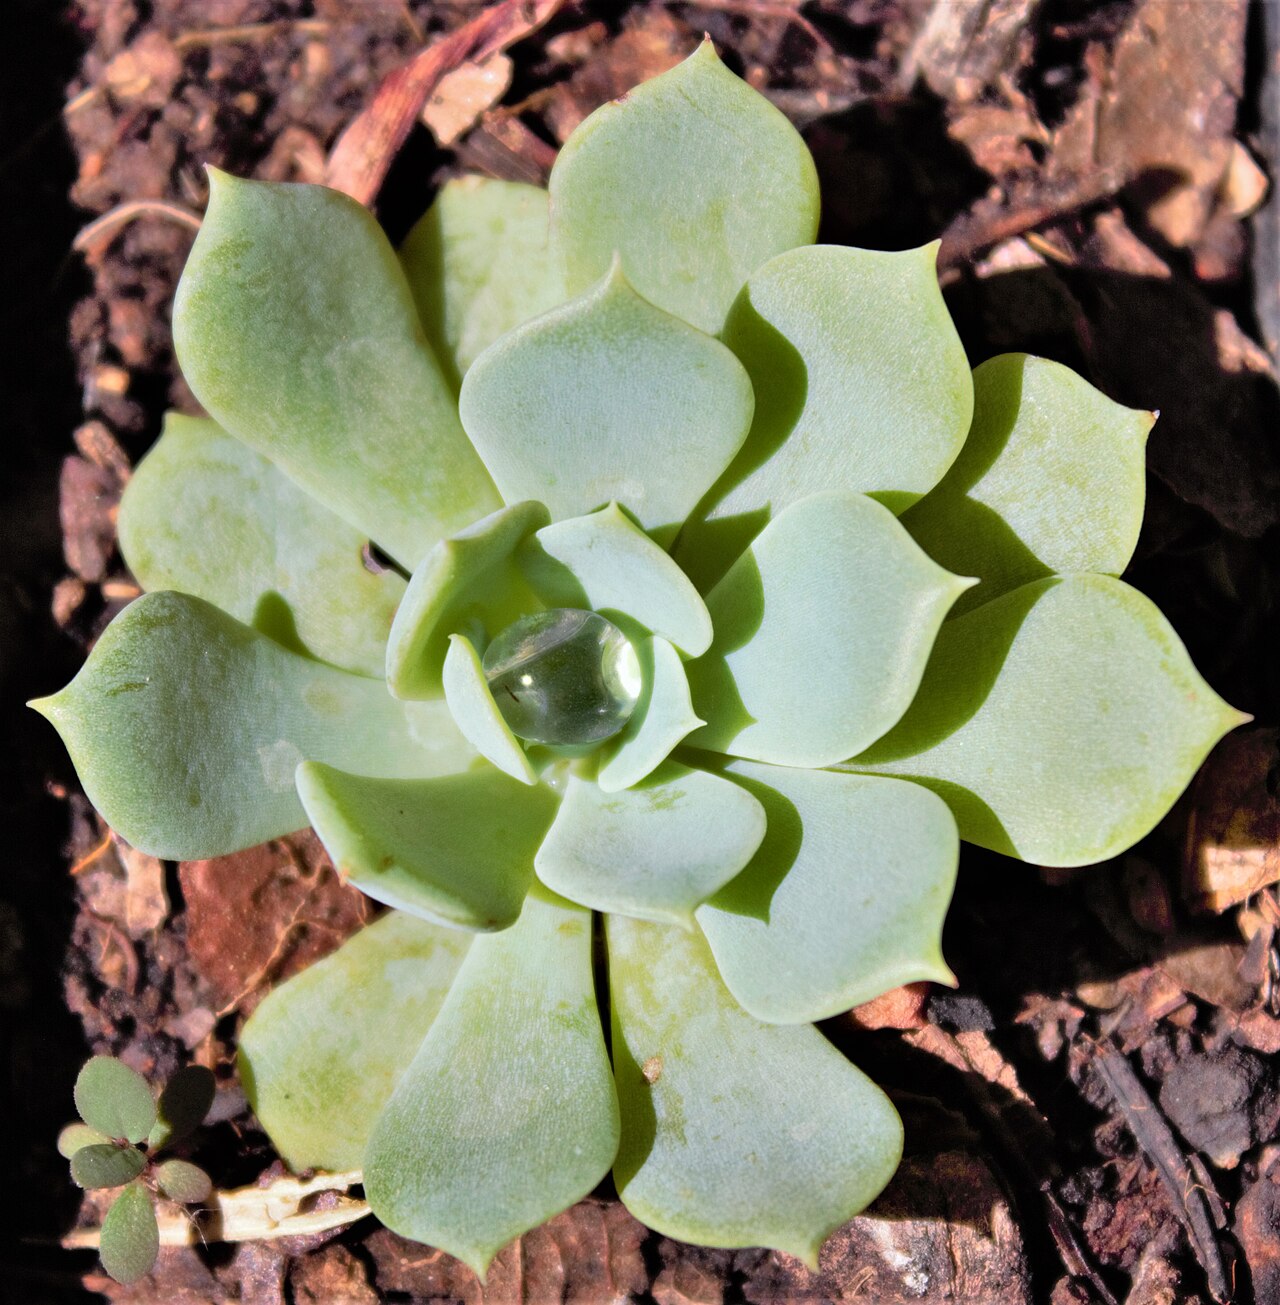
Leaf propagation is the method most people associate with succulents, and it works reliably for genera including Echeveria, Graptopetalum, Sedum, Pachyphytum, and many Crassula species. The process takes patience, typically 4 to 8 weeks before you see a viable new plantlet, but the success rate is high when you follow the right steps.
Step 1: Selecting and Removing Leaves
Choose a healthy, mature leaf from the middle or lower portion of the plant. Avoid the oldest leaves at the very bottom, which may be depleted of energy, as well as the youngest leaves at the center of the rosette, which are too small to survive on their own. The ideal leaf is firm, plump, and free of blemishes, spots, or pest damage.
To remove the leaf, grasp it gently between your thumb and forefinger near the base where it attaches to the stem. Wiggle it slowly from side to side while applying gentle downward pressure. The goal is a clean break right at the stem attachment point, with no part of the leaf torn off and left behind. A torn or broken leaf will not propagate because the meristematic tissue at the base of the leaf, where new roots and leaves originate, has been damaged. If the leaf does not come off cleanly, try a different leaf rather than forcing it.
Step 2: Callousing
Place the detached leaves on a dry paper towel or a shallow tray in a bright location out of direct sunlight. Do not water them, do not mist them, and do not place them on soil yet. The cut end of each leaf needs to dry and form a callous, a protective layer of dried tissue that prevents rot when the leaf eventually contacts moisture. This process takes 2 to 4 days depending on humidity and air circulation. A properly calloused leaf will have a dry, slightly shriveled appearance at the severed end.
Skipping the callousing step is the most common beginner mistake. Placing a freshly detached leaf directly on moist soil almost guarantees it will rot before roots can form.
Step 3: Laying on Soil
Once the leaves have calloused, prepare a shallow tray or pot filled with a well-draining propagation mix. A blend of equal parts cactus soil and perlite or coarse sand works well. The mix should be barely moist, not wet. Spread the leaves across the surface of the soil with the calloused ends resting lightly on or near the soil. Do not bury the leaves or push them into the soil. In nature, fallen succulent leaves root while lying on the surface, and the same principle applies in propagation.
Place the tray in bright, indirect light. Direct sun at this stage will desiccate the leaves before they can develop roots. A spot near an east-facing window or a few feet back from a south-facing window is ideal.
Step 4: Waiting and Misting
For the first week, do nothing. The leaves contain enough stored water and nutrients to sustain themselves while they produce roots. After about a week, begin misting the soil surface lightly every 2 to 3 days. The goal is to keep the very top layer of soil slightly moist to encourage root development without saturating it. Avoid getting water directly on the leaves, as pooled water on the leaf surface can cause rot.
Within 2 to 4 weeks, you should see tiny pink or white roots emerging from the calloused end of the leaf. Shortly after, a miniature rosette of new leaves will appear at the same point. The mother leaf will gradually shrivel and dry up as the new plantlet consumes its stored resources. Do not remove the mother leaf; let it wither naturally, as it continues to feed the developing plantlet until the very end.
Step 5: Potting Up
When the new plantlet has developed a rosette at least 1 to 2 centimeters across and has its own root system, it is ready for its own small pot. Gently lift the plantlet with its roots intact and plant it in a small pot (5 to 7 centimeters diameter) filled with standard cactus and succulent mix. Water lightly and treat it as a young succulent: bright indirect light, infrequent watering, and protection from extreme temperatures.
Method 2: Stem Cuttings
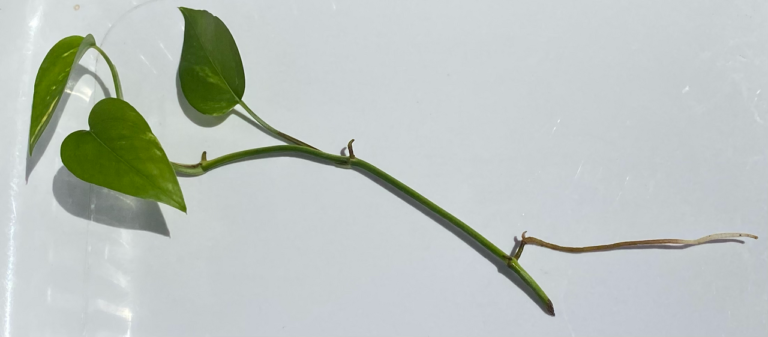
Stem cuttings are the fastest way to produce a new succulent of substantial size. This method is ideal for succulents with distinct stems, including many Aeonium, Crassula (such as jade plants), Senecio, and Portulacaria species. It is also the best approach for rescuing a succulent that has grown tall and leggy (etiolated) due to insufficient light.
Step-by-Step Stem Cutting Process
- Select and cut: Using clean, sharp scissors or a knife sterilized with rubbing alcohol, cut a healthy stem section 7 to 15 centimeters long. Make the cut clean and straight. If you are rehabilitating a leggy plant, cut the stem just below a leaf node, and leave at least a few leaves at the top of the cutting.
- Strip lower leaves: Remove the leaves from the bottom 3 to 5 centimeters of the cutting. This exposes the nodes from which roots will emerge and prevents leaves from rotting when the stem is eventually placed in soil. You can save these stripped leaves for leaf propagation.
- Callous the cutting: Place the cutting in a dry, shaded spot for 3 to 7 days. The cut end must form a firm, dry callous. A cutting with a stem thicker than 1 centimeter may need a full week. Do not rush this step.
- Plant the cutting: Fill a small pot with dry cactus and succulent mix. Insert the calloused end of the cutting 3 to 5 centimeters deep into the soil. If the cutting is top-heavy, use a small stake or prop it against the side of the pot for support.
- Wait before watering: Do not water the cutting for at least one week after planting. The cutting has no roots to absorb water, and moisture in the soil will only promote rot. Place the pot in bright, indirect light.
- Begin watering cautiously: After 1 to 2 weeks, give the soil a light watering. From this point, water only when the soil is completely dry. Roots typically develop within 2 to 4 weeks, though thick-stemmed succulents may take longer.
- Test for roots: After about 3 weeks, gently tug on the cutting. If you feel resistance, roots have formed. At this point, you can transition to a normal succulent watering routine.
Method 3: Offsets and Pups
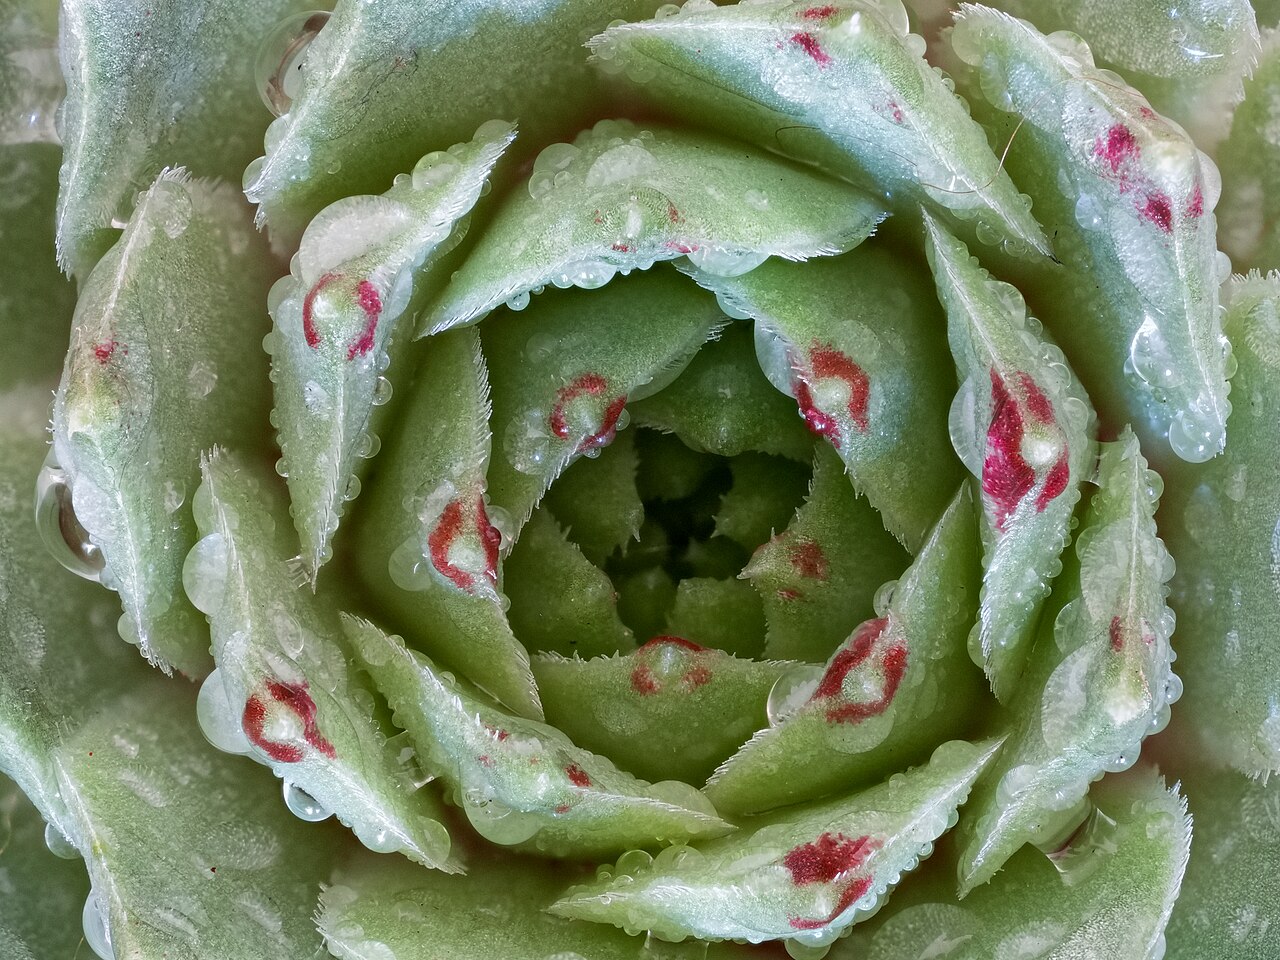
Many succulents produce offsets, also called pups or chicks, that cluster around the base of the mother plant. Aloe, Haworthia, Gasteria, Agave, and Sempervivum (hens and chicks) are classic examples. Offset propagation is the easiest and fastest method because each offset already has a partial root system and stored energy reserves.
How to Separate and Plant Offsets
- Wait for adequate size: Let the offset grow until it is at least one-third the size of the mother plant and has developed several of its own leaves. Very small offsets have a lower survival rate.
- Unpot the mother plant: Gently remove the entire plant from its pot and shake off excess soil to expose the root system and the connection point between the mother plant and its offsets.
- Separate carefully: Tease the roots apart with your fingers. If the offset is firmly attached to the mother plant by a thick rhizome-like connection, use a clean, sharp knife to cut through it. Ensure each offset retains some of its own roots.
- Let wounds dry: Place the separated offsets in a dry, shaded spot for 24 to 48 hours to allow any cut surfaces or torn roots to callous over.
- Pot individually: Plant each offset in its own small pot with dry cactus and succulent mix. Wait 3 to 5 days before watering to allow any remaining root damage to heal.
- Provide gentle care: Keep newly potted offsets in bright indirect light for the first 2 to 3 weeks, then gradually introduce them to more light as they establish.
Common Propagation Mistakes and How to Avoid Them
- Watering too soon: This is the most frequent cause of propagation failure. Leaves, cuttings, and offsets need calloused tissue before they can safely encounter moisture. When in doubt, wait an extra day or two.
- Direct sunlight on propagating leaves: Detached leaves and unrooted cuttings cannot replace the water they lose through transpiration. Direct sun will cook them. Bright indirect light only.
- Using garden soil: Garden soil is far too dense and moisture-retentive for succulent propagation. Always use a dedicated cactus and succulent mix or a custom blend with plenty of perlite or coarse sand.
- Impatience: Succulent propagation is a slow process. Some species take 6 to 8 weeks to produce visible roots. Do not discard leaves that appear to be doing nothing; as long as they remain firm and are not rotting, they are still viable.
- Burying leaves: Leaves should rest on the soil surface, not be inserted into it. Burying the leaf traps moisture against its surface and invites rot.
Best Succulents for Propagation
If you are new to propagation, start with species known for high success rates:
- Echeveria: Most Echeveria species propagate readily from both leaves and offsets. Echeveria ‘Perle von Nurnberg’ and Echeveria elegans are particularly reliable.
- Graptopetalum paraguayense (Ghost Plant): Exceptionally easy from leaves, with success rates approaching 100% when done correctly.
- Sedum morganianum (Burro’s Tail): The plump leaves root almost effortlessly, though they detach at the slightest touch, making them both easy and messy to propagate.
- Crassula ovata (Jade Plant): Reliable from both stem cuttings and individual leaves, though leaf propagation is slower than with Echeveria.
- Kalanchoe daigremontiana (Mother of Thousands): This plant propagates itself by producing tiny plantlets along the edges of its leaves that drop off and root wherever they land. It almost cannot be stopped.
Recommended Propagation Supplies
- Propagation Tray: A shallow propagation tray with drainage holes provides the ideal surface for rooting succulent leaves.
- Cactus Soil Mix: A quality cactus and succulent potting mix ensures the fast drainage that propagating succulents need.
- Perlite: Adding extra horticultural perlite to your propagation mix improves aeration and prevents rot.
- Small Terracotta Pots: Small terracotta pots are perfect for potting up newly rooted succulents and help prevent overwatering.
- Mister Bottle: A fine-mist spray bottle lets you moisten the soil surface without disturbing delicate new roots.