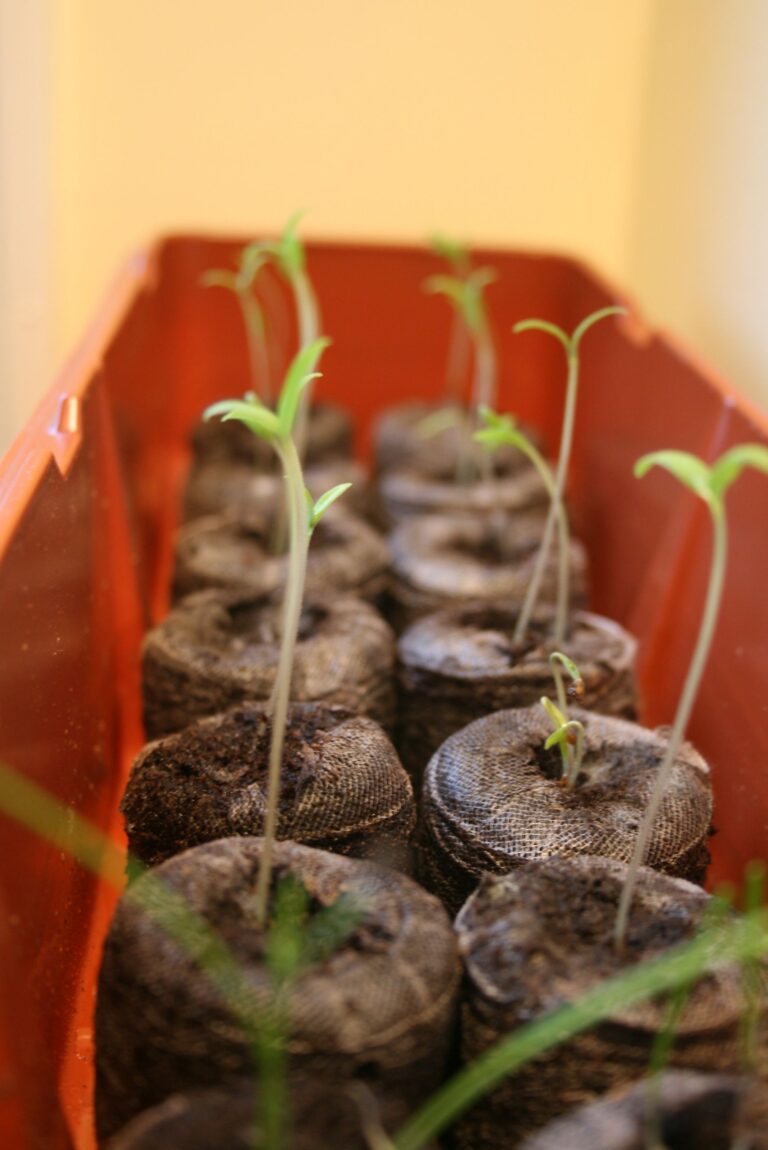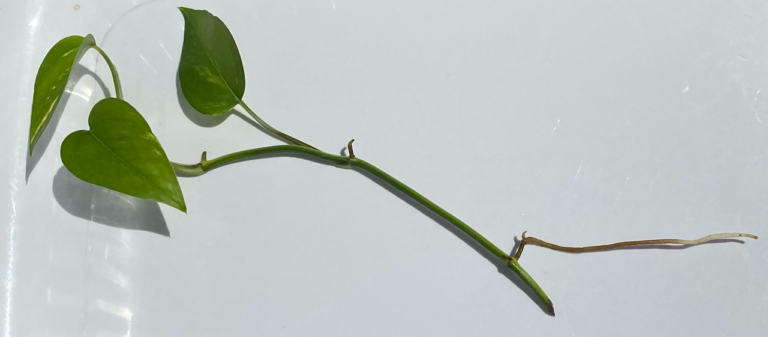
Setting Up a Propagation Station: The Perfect Nursery Corner for Cuttings and Seedlings
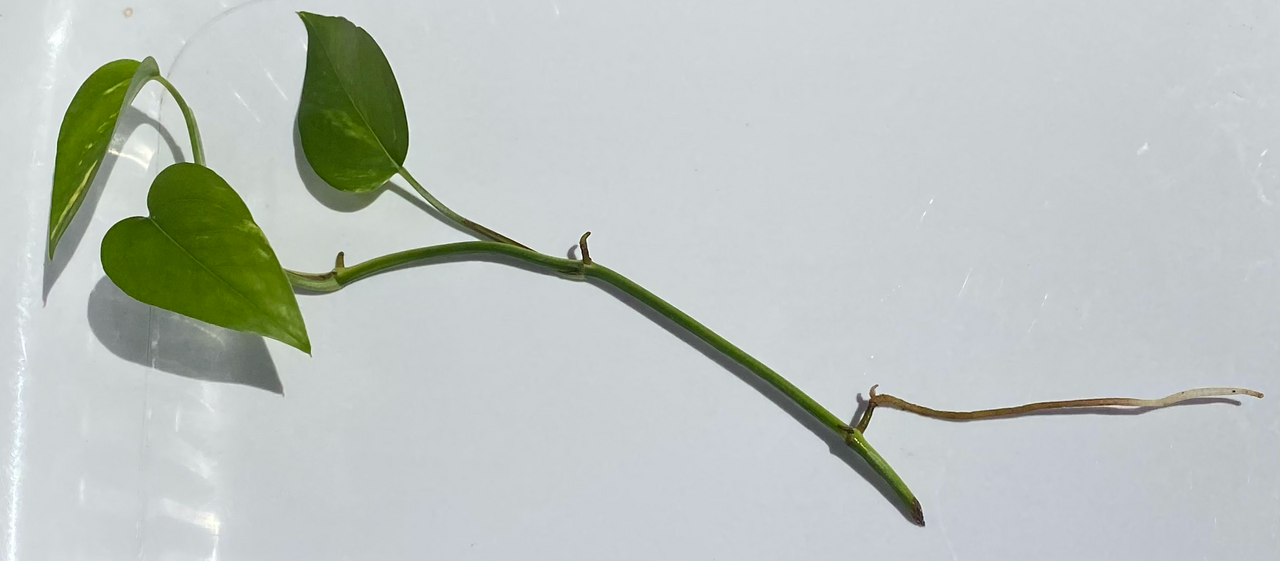
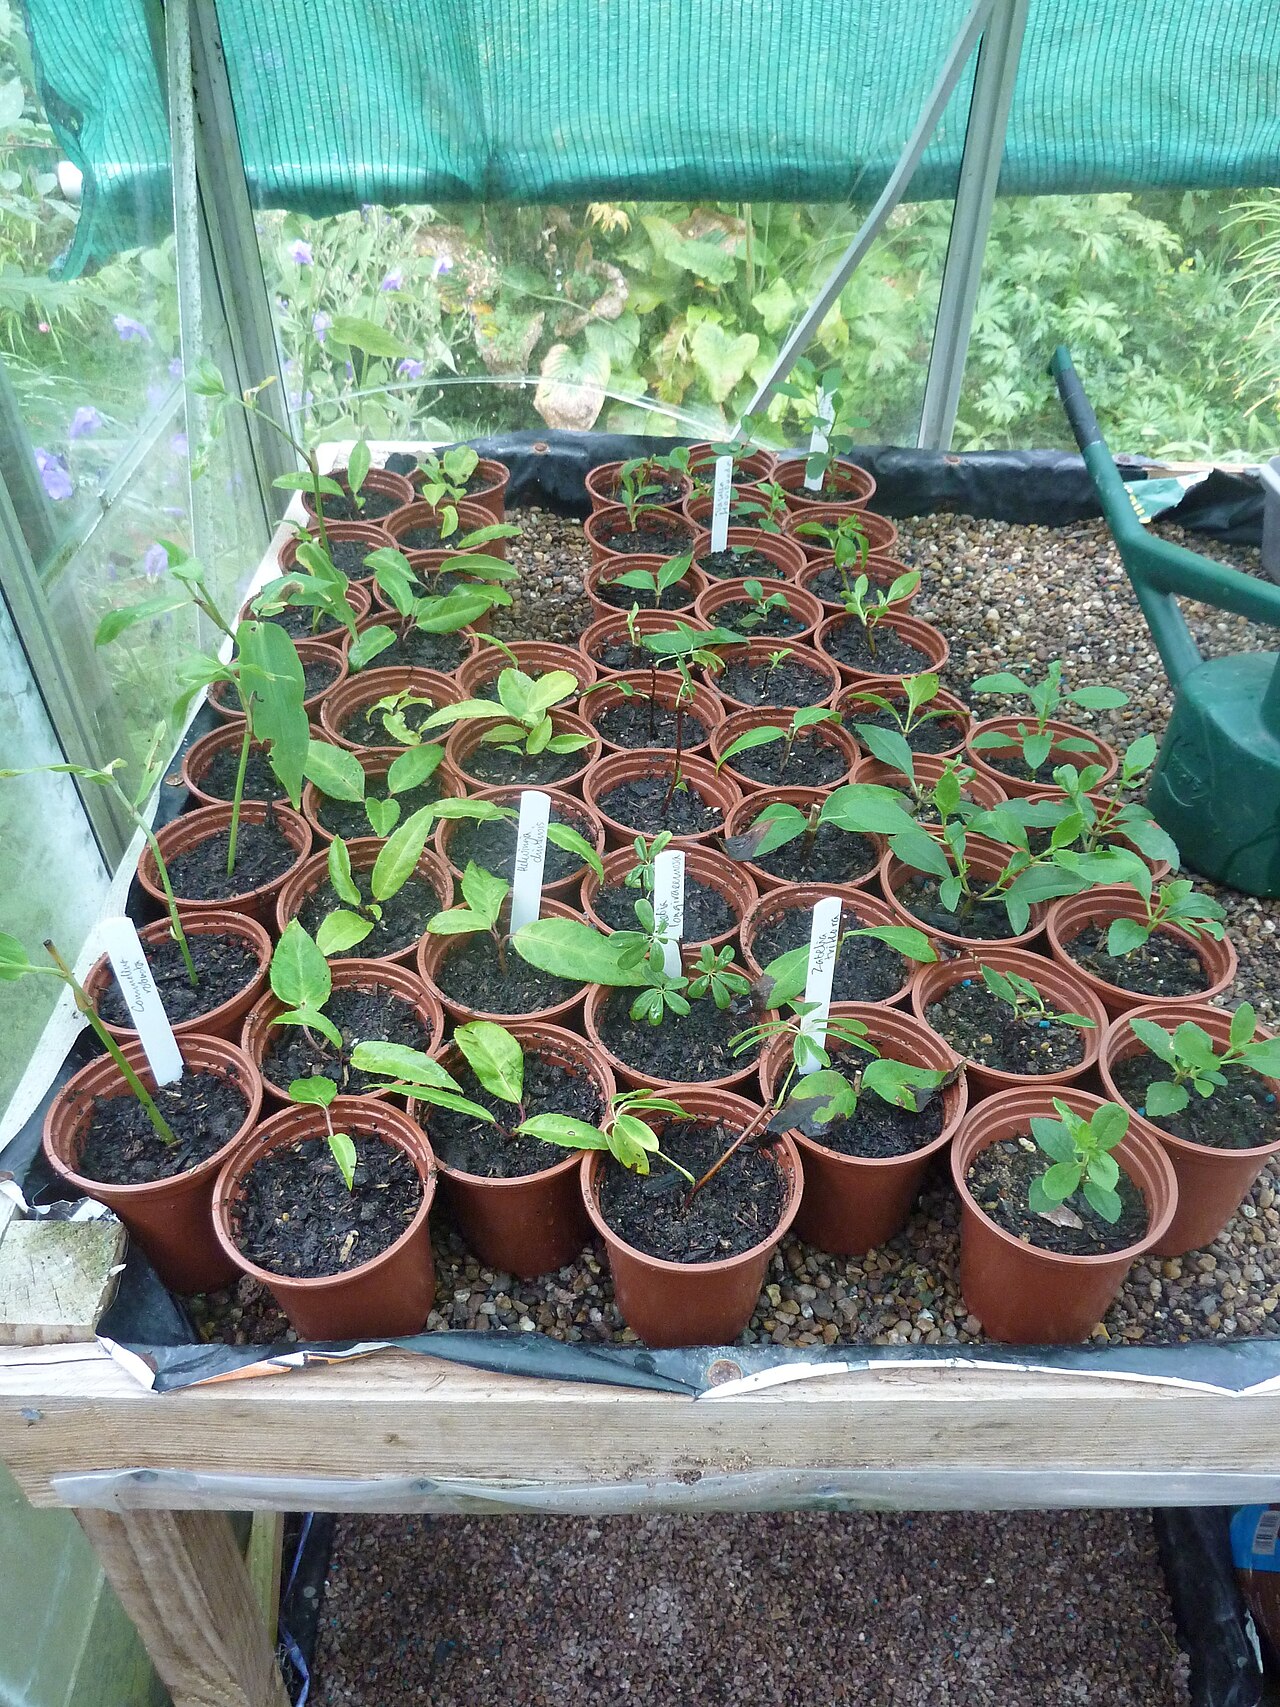
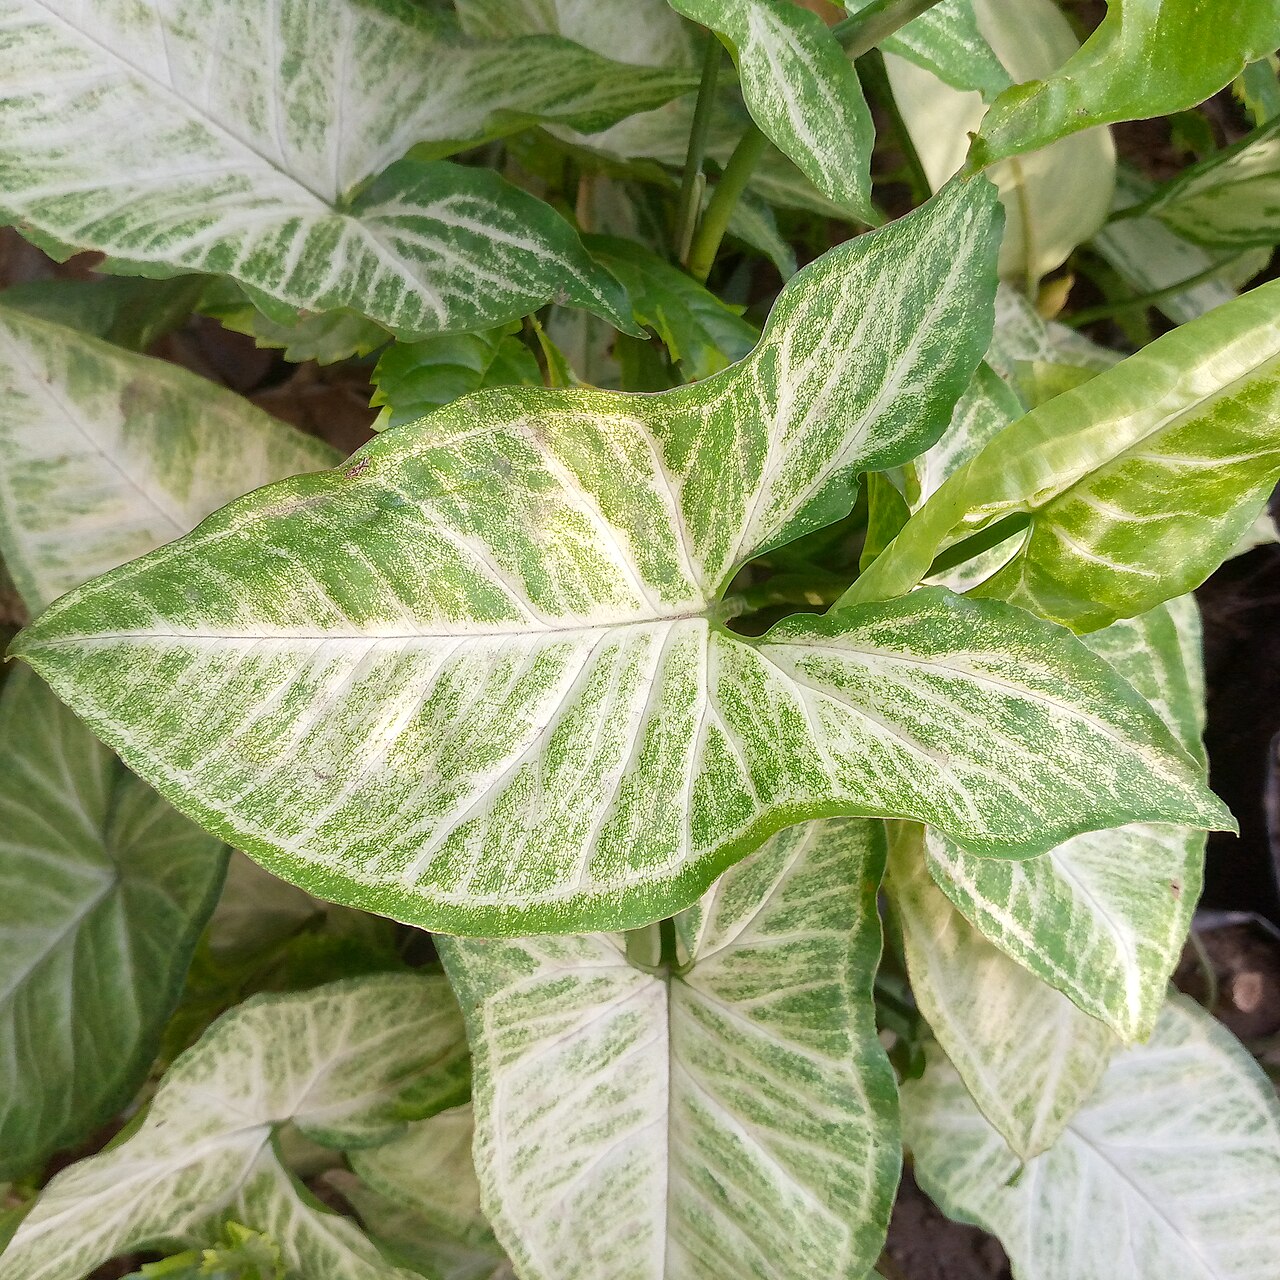
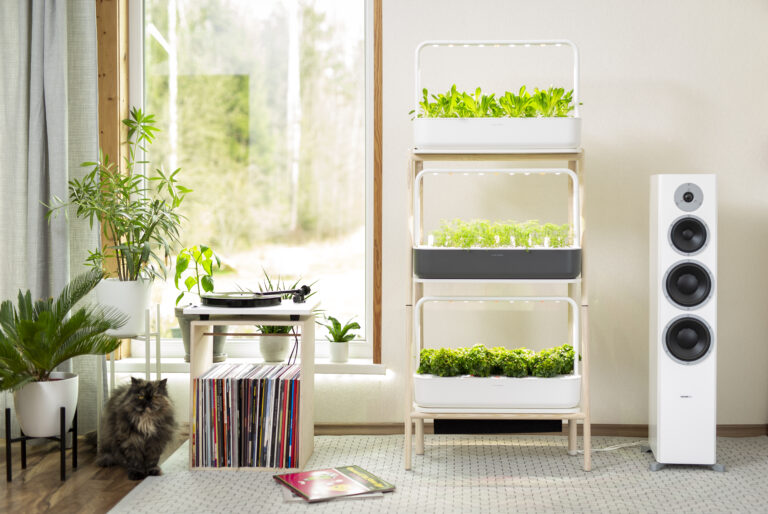
If you find yourself propagating more than the occasional cutting, a dedicated propagation station makes the whole process easier to manage and far more successful. Instead of jars scattered across windowsills, a small nursery corner keeps cuttings organized, consistently lit, and easy to check on.
Choosing Containers
Clear or lightly tinted glass containers are the most practical choice for water propagation because they let you monitor root growth without disturbing the cutting. Narrow-necked bottles or vases hold a single stem upright and reduce evaporation; wider jars work well for multiple cuttings of the same plant. For soil propagation, small pots with drainage holes set inside a shared tray keep things tidy and make watering easier. Whatever you use, dedicate it to propagation rather than repurposing decorative pieces you’ll want back later.
Water Changes and Cleanliness
Stagnant water grows algae and bacteria, which can rot a cutting’s developing roots before they get established. Change the water every 3–5 days, rinsing the container each time to prevent slime buildup. Use room-temperature water — cold water can shock tender new roots. If you notice the water turning cloudy or smelling off between scheduled changes, replace it immediately rather than waiting.
Light Without Direct Sun
Cuttings need light to fuel the energy for root growth, but direct sun through a window can overheat water in glass containers and scorch tender leaves that have no root system yet to support recovery. A spot with bright, indirect light — a few feet back from a south- or west-facing window, or directly in an east-facing window — is ideal. Many growers supplement with a small LED grow light on a timer (12–14 hours a day), which gives consistent results regardless of season or window orientation.
Labeling and Organization
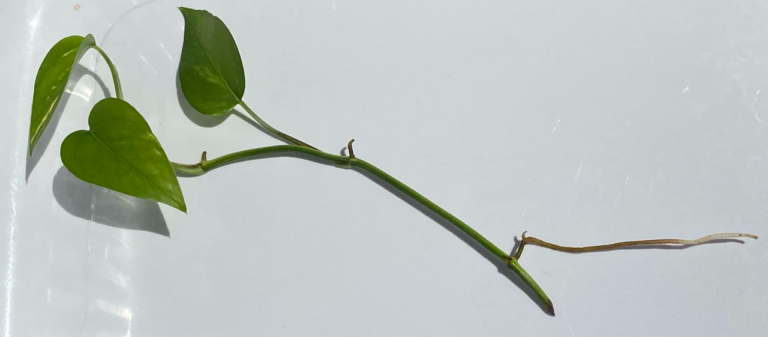
Once you have more than two or three cuttings going, it’s easy to lose track of which jar is which, especially with plants like pothos or philodendron that have many similar-looking varieties. Simple waterproof plant tags or masking tape labels noting the plant name and the date the cutting was taken make a real difference — the date lets you track how long rooting is taking compared to what’s typical for that species.
Moving Cuttings to Soil
Water-rooted cuttings should be potted into soil once roots are at least an inch or two long, ideally with some visible branching rather than just a single long root. Roots grown in water are more brittle and adapted to constant moisture, so the transition can be stressful — pot into a small container with moist (not soggy) potting mix, and keep humidity elevated for the first week or two by covering loosely with a clear bag or placing in a humid spot. Expect a short adjustment period where growth pauses; steady new leaves afterward confirm the cutting has settled into its new medium.
This article may contain affiliate links. If you purchase a product through one of these links, Plantgecko may earn a commission at no extra cost to you. This never influences our editorial independence or which products we recommend.