Lavender Care and Pruning: The Ultimate Guide to Fragrant Garden Beauty
Introduction
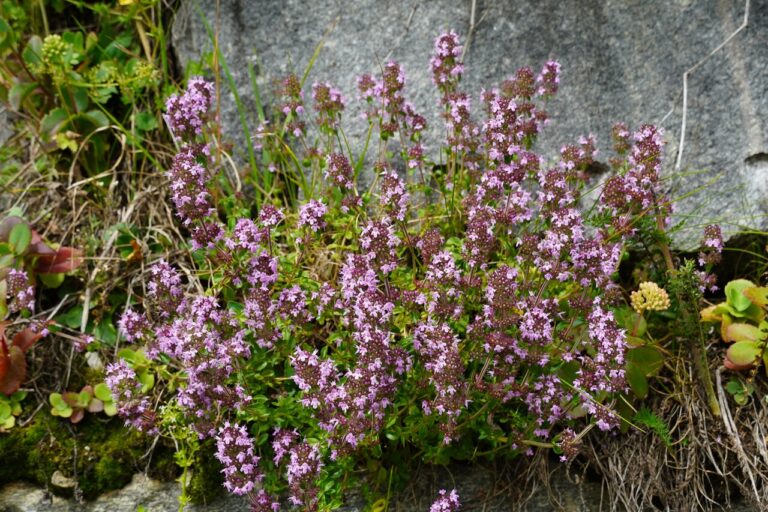
Photo: Laslovarga (CC BY-SA 4.0, Wikimedia Commons)
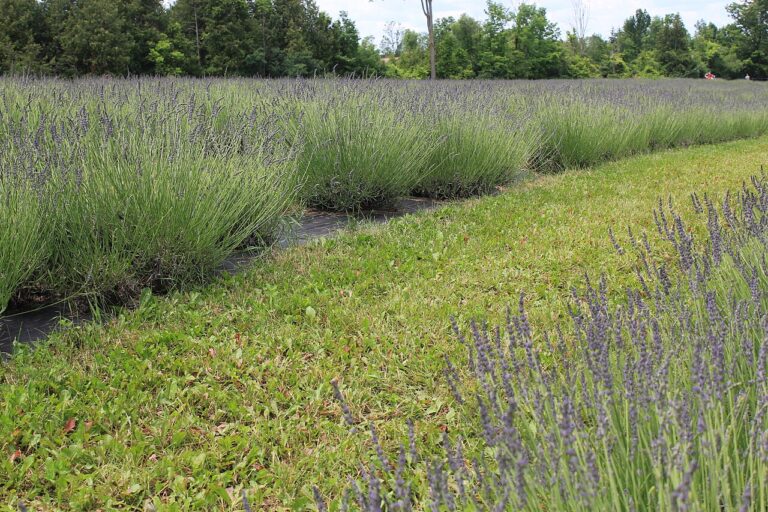
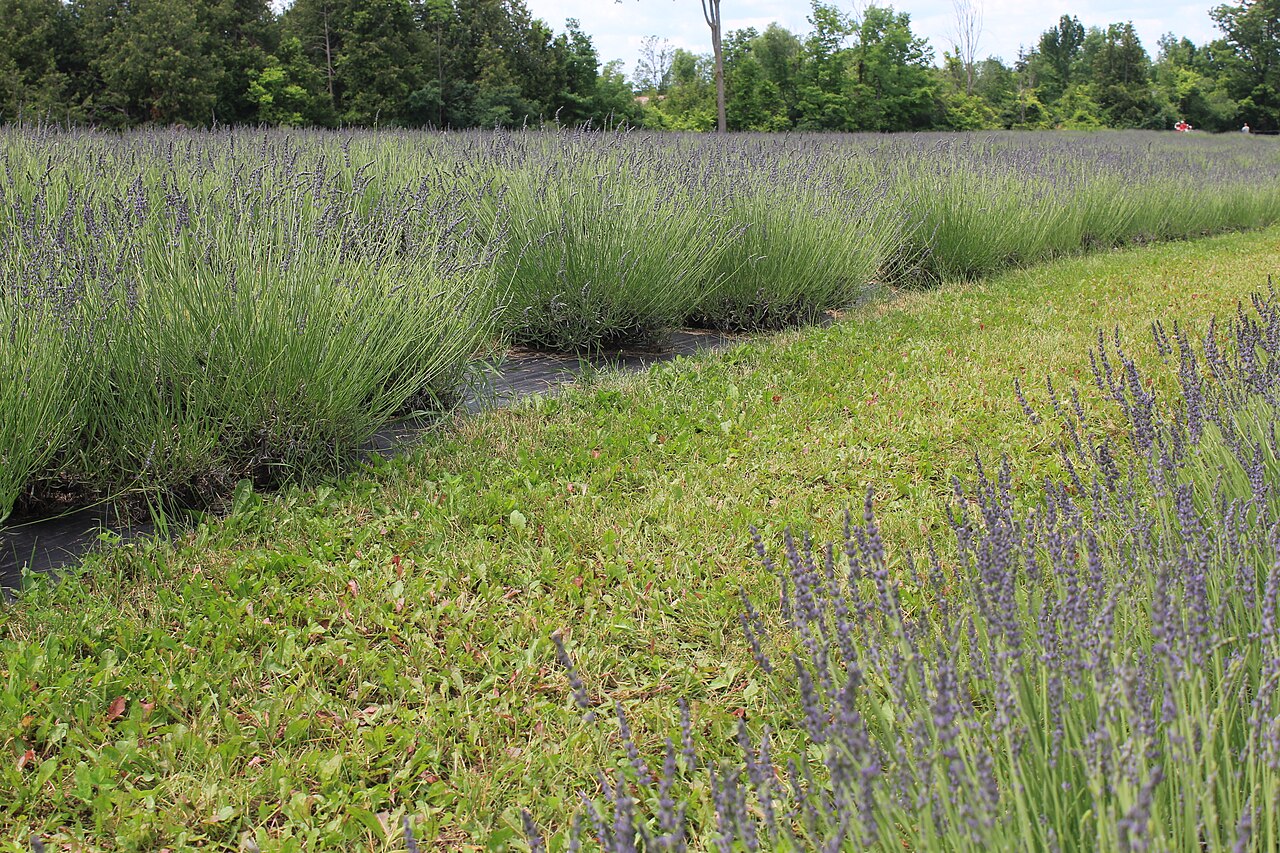
Lavender (Lavandula angustifolia) is one of the most beloved perennials in the garden. With its silvery-green foliage and intensely fragrant purple blooms, it’s not just a visual delight but also a valuable source of food for bees. In this comprehensive guide, you’ll learn everything about proper care, the right pruning technique, and choosing the ideal location for healthy, richly blooming lavender.
Who This Is For
The Right Location for Lavender
Lavender originates from the Mediterranean region and therefore loves sunny, warm locations. A spot with at least six hours of direct sunlight a day is ideal. The soil should be well-draining, chalky, and relatively low in nutrients. Waterlogging is lavender’s biggest enemy — loosen heavy clay soils with sand and gravel before planting. A drainage layer of gravel or expanded clay in the planting hole reliably prevents root rot.
Lavender also thrives especially well in pots on a patio or balcony. Use a specialized herb potting mix, or mix regular potting soil with about 30 percent sand. A sufficiently large planter with drainage holes is essential.
Buying Criteria
Planting Lavender – Step by Step
The best time to plant lavender is in spring, once the risk of night frost has passed. Follow these steps when planting:
Dig a planting hole twice the size of the root ball
Add a drainage layer of gravel
Place the plant and fill in with a sand-soil mix.
Product/Option Categories
Water thoroughly, but don’t let it sit in standing water
Keep a planting distance of 30 to 40 cm
Proper Care During the Growing Season
Lavender is extremely low-maintenance once its basic needs are met. Water only during extended dry spells — the root ball can dry out between waterings without issue. Fertilizing is rarely necessary for lavender. A single application of organic slow-release fertilizer in spring is plenty. Too much fertilizer leads to leggy growth and fewer blooms.
Trade-offs
Regularly remove spent flower spikes to encourage a second bloom. A mulch layer of gravel or grit keeps the soil warm and suppresses weeds. Avoid bark mulch, since it acidifies the soil and retains moisture — both of which lavender dislikes.
Pruning Lavender Correctly – The Two-Stage Cut
Pruning is the single most important care step for keeping lavender compact and long-lived. Without regular pruning, the plant gets woody at the base and becomes unsightly over the years. Remember this rule of thumb: one third in summer, one third in spring.
Disclosure
This article may contain affiliate links. If you purchase a product through one of these links, Plantgecko may earn a commission at no extra cost to you. This never influences our editorial independence or which products we recommend.
| Product | Best For | Price | |
|---|---|---|---|
| a specialized herb potting mix | Top Pick | Check price | View |
| organic slow-release fertilizer | Also Consider | Check price | View |
| sharp, clean pruning shears | Budget Alternative | Check price | View |
Recommendation Framework
Midsummer (July/August): Cut the plant back by about a third right after the main bloom. Remove all spent flower stems along with a bit of green foliage. Don’t cut into old, woody wood — lavender won’t resprout from there.
Spring (March/April): Trim the plant back by another third once hard frosts are no longer expected. This encourages fresh growth and keeps the plant compact and bushy. Use sharp, clean pruning shears.
Conclusion
Overwintering Lavender
True lavender (Lavandula angustifolia) is sufficiently hardy in most temperate climates and handles temperatures down to -15°C without trouble. In exposed locations or when grown in pots, though, some protective measures are still worthwhile: cover the root zone with brushwood or fleece, and move potted plants to a sheltered spot against a house wall. Wrap the planter in burlap or bubble wrap to protect the root ball from freezing through.