Orchid Care for Beginners: How to Keep Phalaenopsis Orchids Thriving
Why Start with Phalaenopsis Orchids?
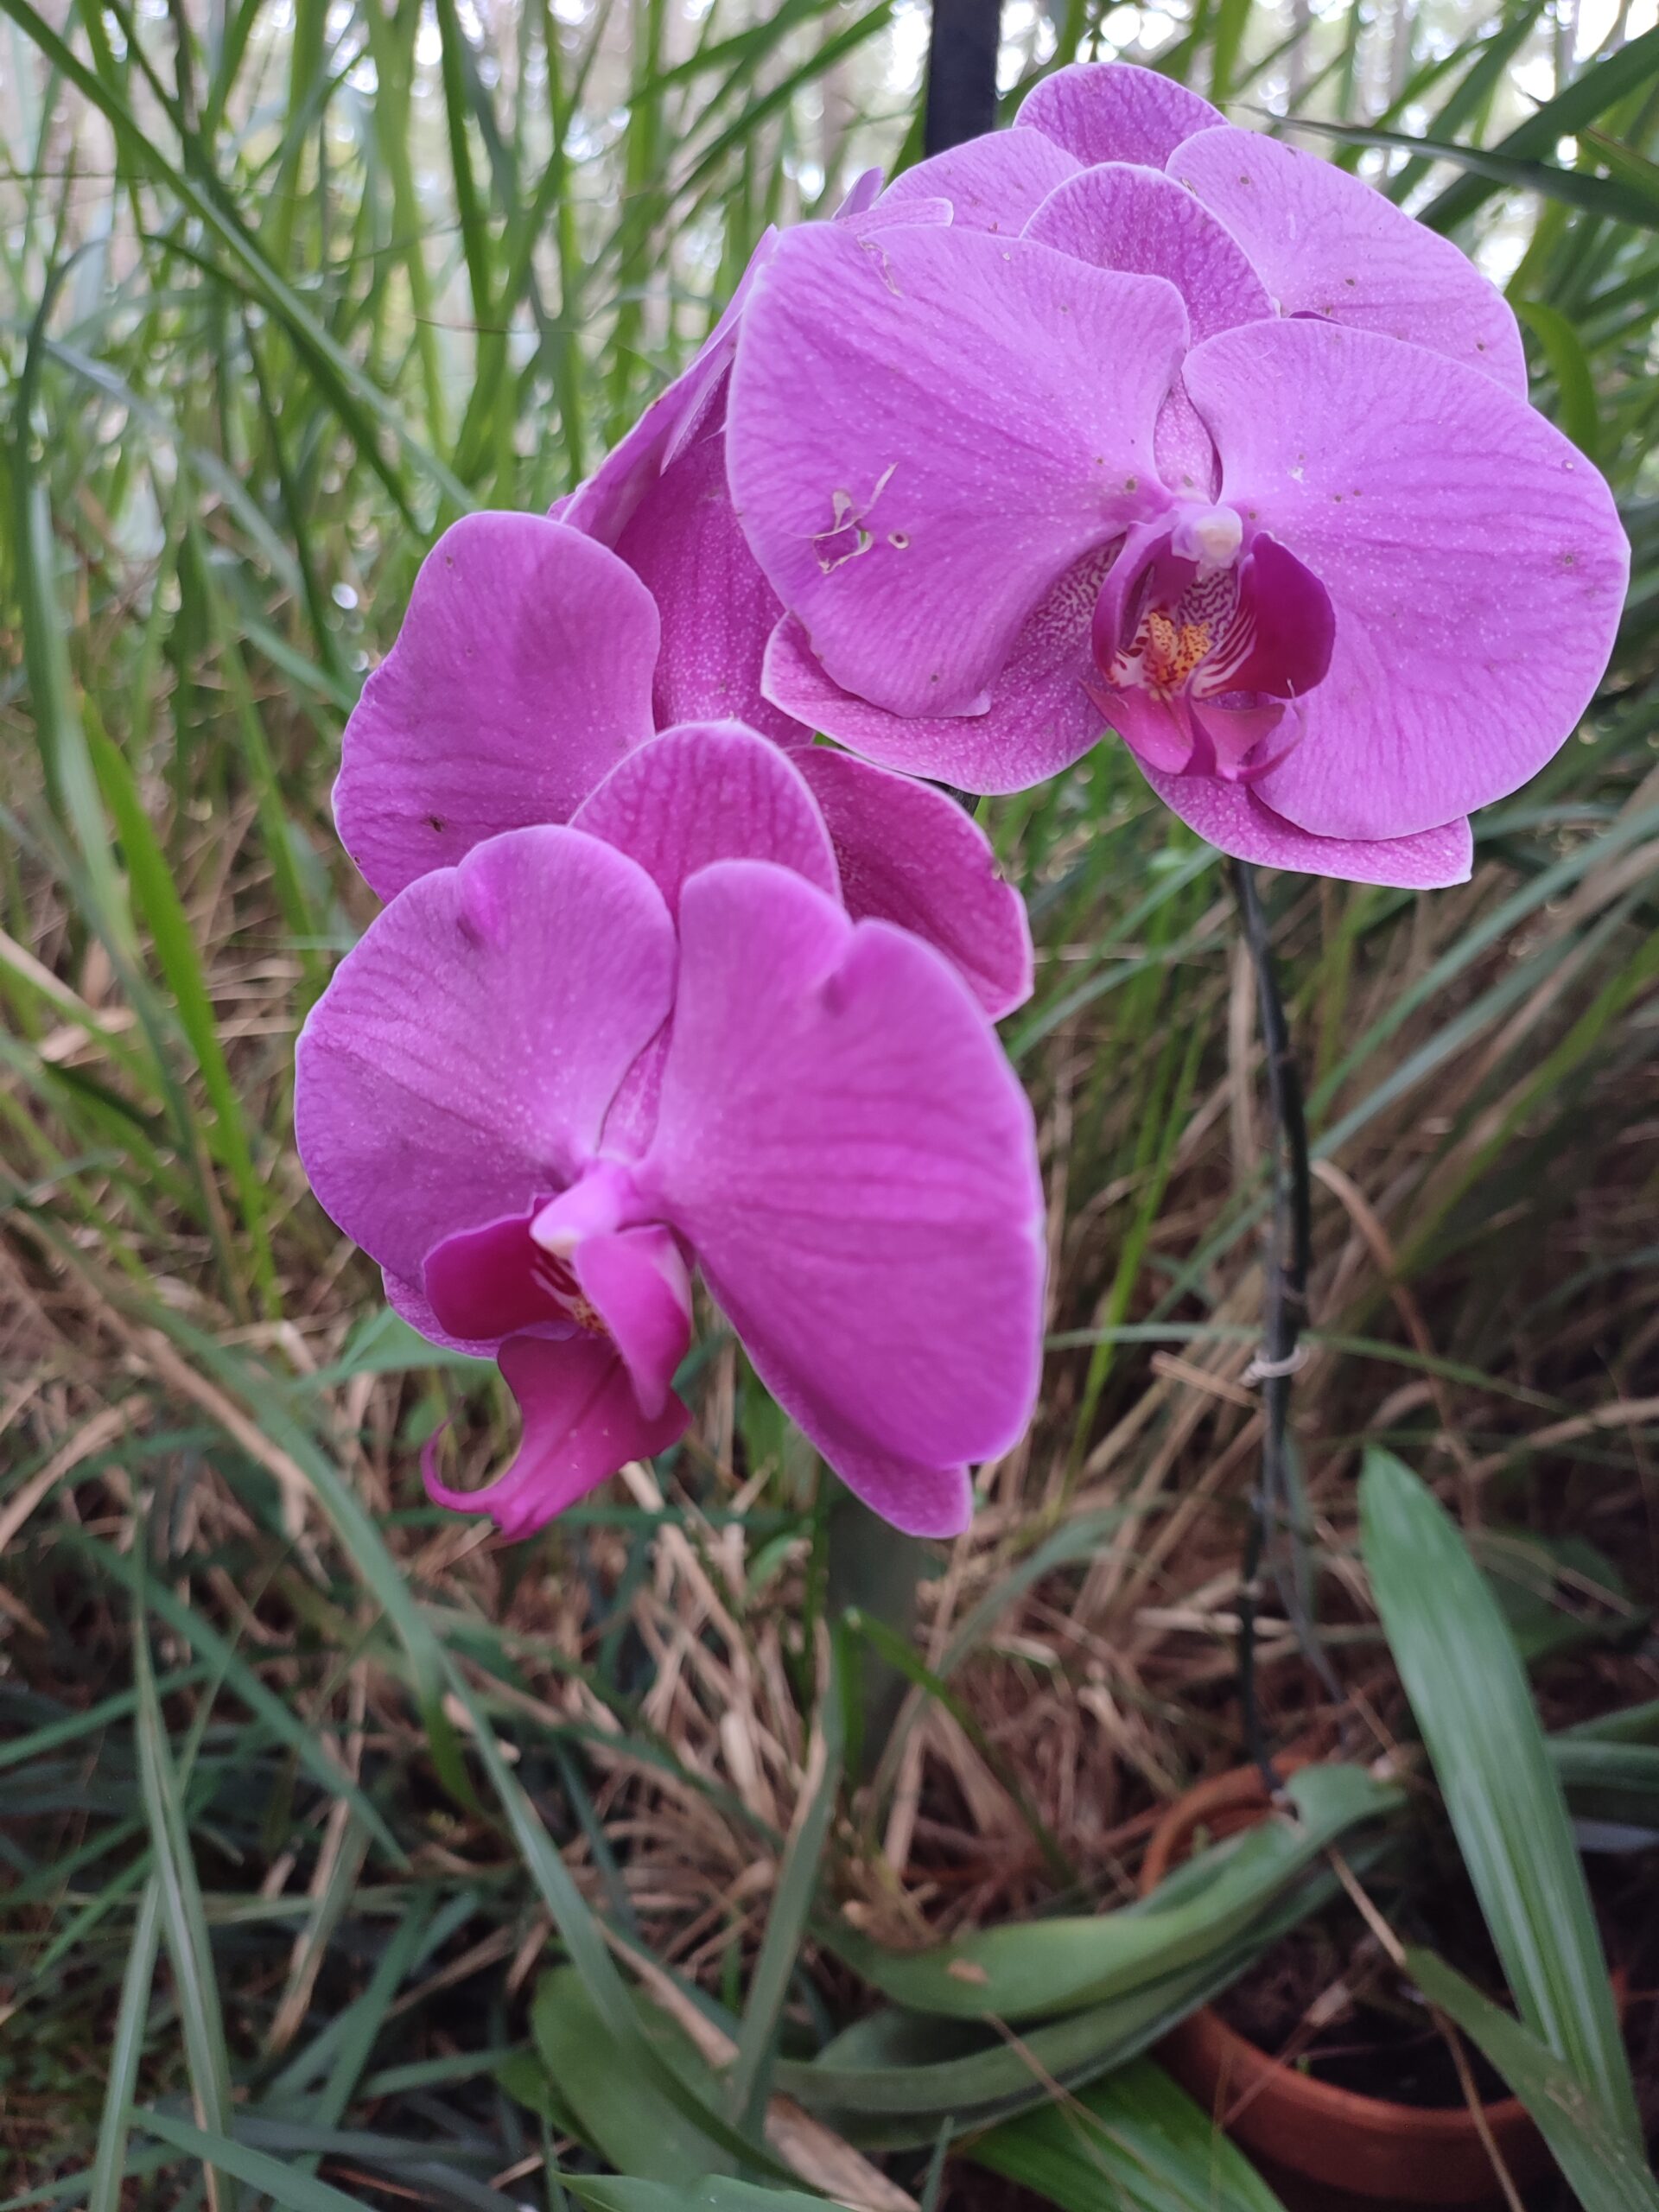
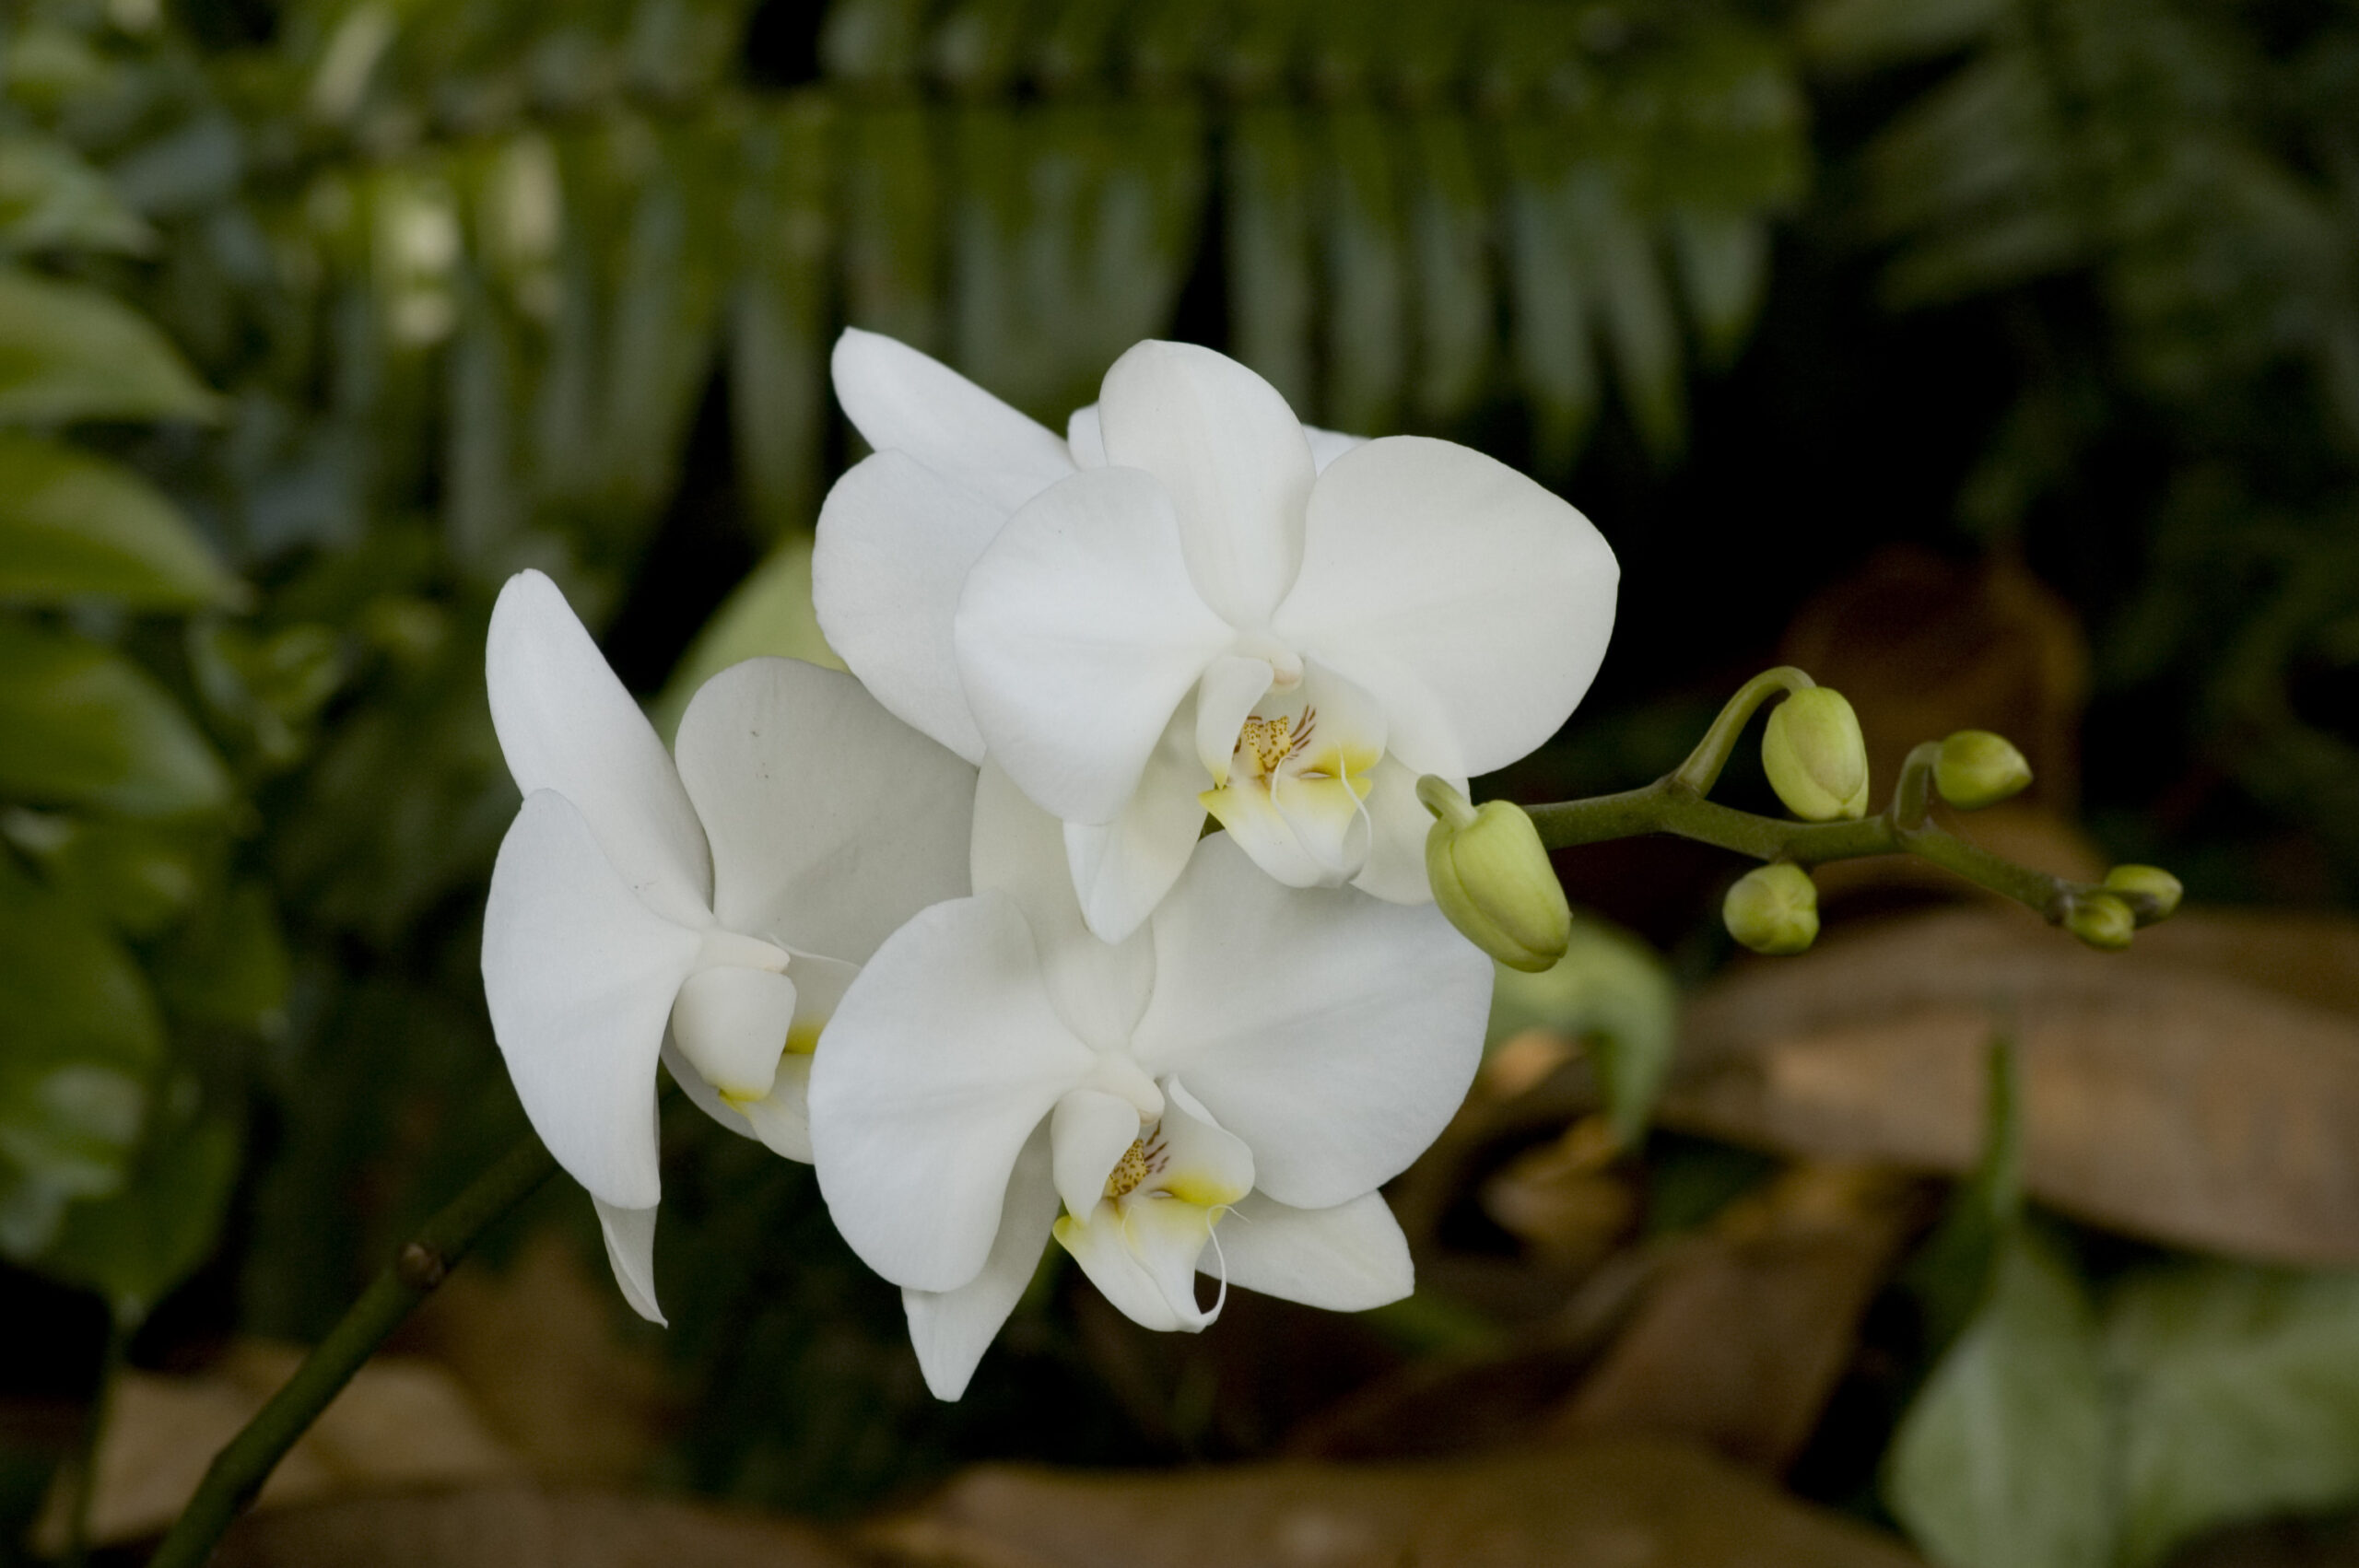
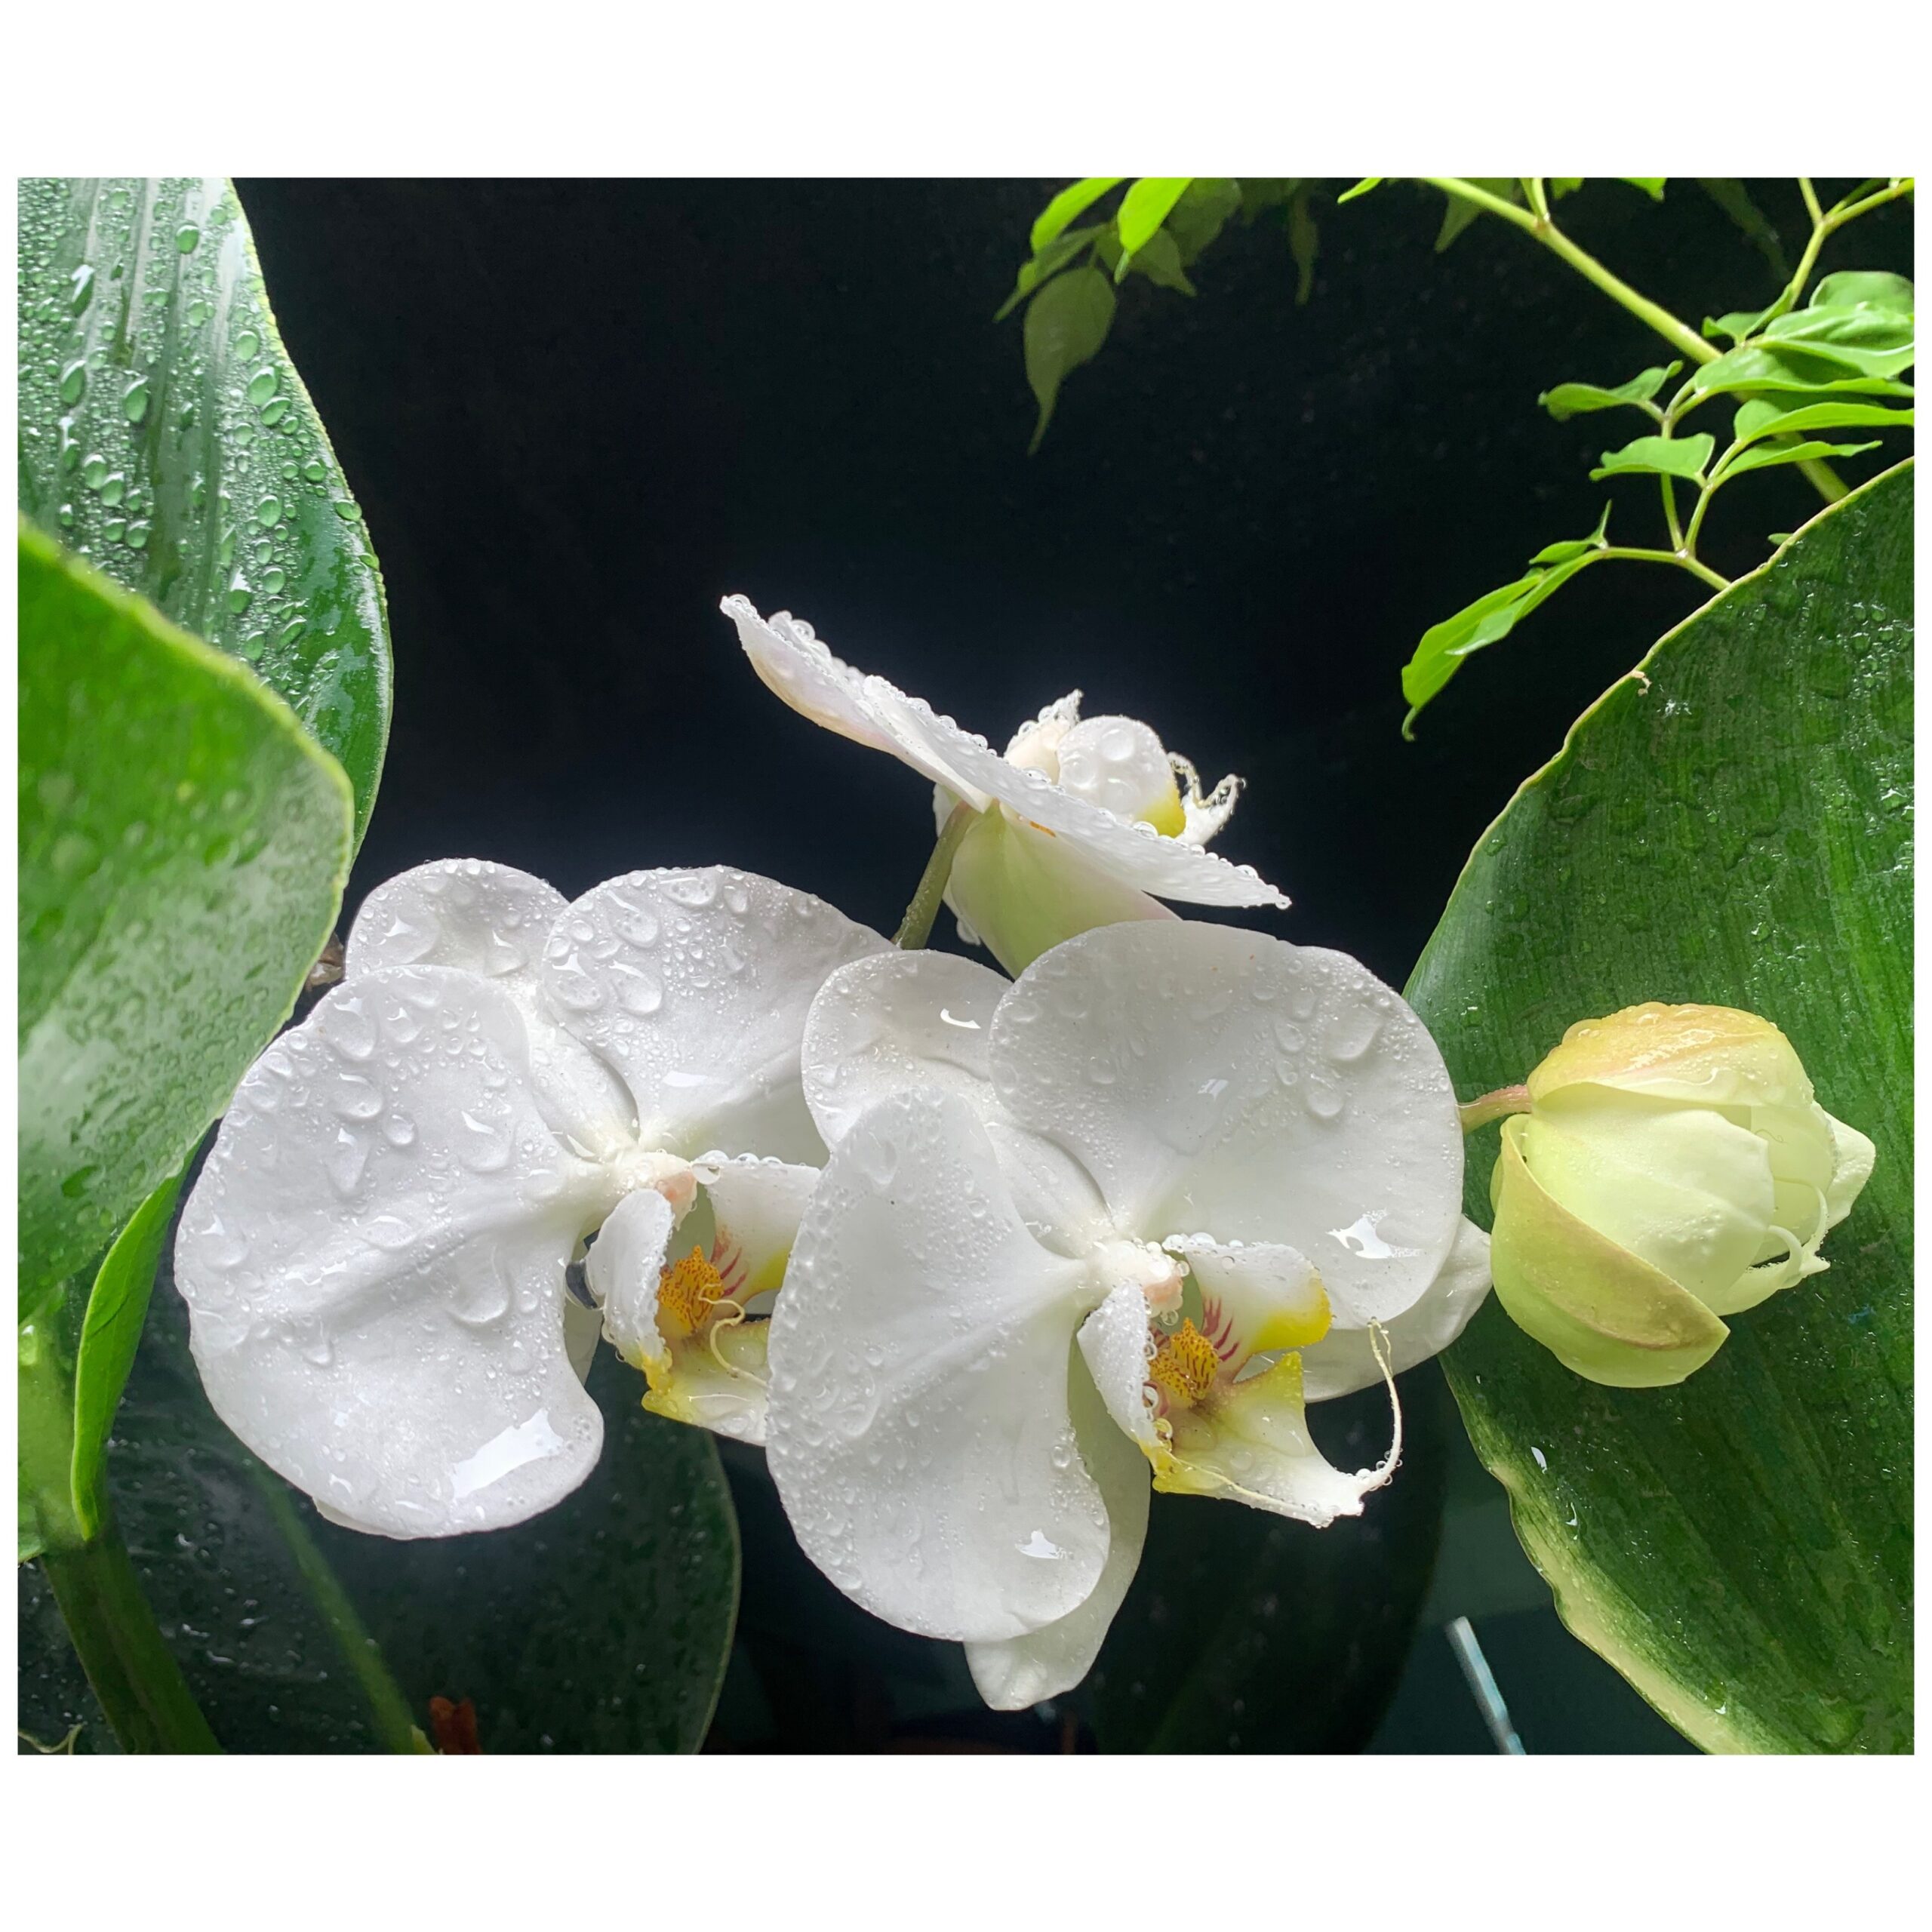
If the word “orchid” conjures images of finicky, temperamental plants that require a greenhouse and a botany degree, the Phalaenopsis orchid, commonly called the moth orchid, is here to change your mind. Phalaenopsis hybrids are by far the most widely available orchids, sold everywhere from garden centers to grocery stores, and they happen to be the most forgiving orchids for beginners. With a basic understanding of their needs, a Phalaenopsis can bloom for months at a time and live for many years, reblooming annually with minimal effort.
Phalaenopsis orchids are epiphytes in their native habitat across Southeast Asia, the Philippines, and northern Australia. They grow attached to tree branches, their thick, silvery roots exposed to humid air and intermittent rainfall. Everything about successful orchid care flows from understanding this epiphytic nature: they need air around their roots, they dislike being constantly wet, and they thrive in the warm, humid conditions that approximate a tropical forest canopy.
Understanding Orchid Anatomy
Before diving into care specifics, it helps to know the basic parts of a Phalaenopsis orchid:
- Leaves: Broad, fleshy, and dark green. A healthy Phalaenopsis should have at least 3 to 5 firm leaves. Limp, wrinkled, or yellowing leaves signal a problem.
- Roots: Thick, silvery-green when dry and bright green when wet. Healthy roots are firm and plump. In a pot, you will see both aerial roots growing above the medium and roots within the pot. Aerial roots are normal and should not be cut off or forcibly directed into the pot.
- Flower spike: A slender green stem that emerges from between the leaves and produces the blooms. A mature Phalaenopsis typically produces one or two spikes per year.
- Crown: The central growing point where leaves emerge. Water pooling in the crown can cause fatal crown rot, making this the most vulnerable part of the plant.
Light: The Key to Reblooming
Phalaenopsis orchids need bright, indirect light to thrive and produce flowers. An east-facing window is ideal, providing gentle morning sun followed by bright, filtered light for the rest of the day. A south- or west-facing window can work if you use a sheer curtain to diffuse the light and prevent the leaves from burning.
You can gauge whether your orchid is receiving adequate light by looking at the leaf color. Healthy Phalaenopsis leaves should be a medium olive green. Leaves that are dark, forest green indicate insufficient light, and a plant in these conditions will grow foliage but rarely, if ever, produce a new flower spike. Leaves that develop reddish or purplish tints, particularly along the edges, are receiving more light than they need—move the plant slightly farther from the window.
If natural light is limited in your home, Phalaenopsis orchids respond well to artificial grow lights. A full-spectrum LED grow light positioned 20 to 30 centimeters above the plant and run for 12 to 14 hours per day can produce excellent results.
Watering: The Ice Cube Myth
There is a persistent piece of advice circulating online that orchids should be watered with three ice cubes per week. Please ignore it. Phalaenopsis orchids are tropical plants that have never encountered ice in their evolutionary history. Dripping freezing water over their roots shocks the plant and provides insufficient moisture to saturate the potting medium.
The correct method is to water thoroughly but infrequently. Once a week is a good starting rhythm. Take the orchid in its plastic nursery pot to the sink and run tepid, room-temperature water through the pot for 15 to 30 seconds, allowing it to flow freely out the drainage holes. Let the pot drain completely before returning the orchid to its decorative outer pot or saucer. The roots will turn from silvery to bright green as they absorb water.
Between waterings, the potting medium should approach dryness. You can tell by looking at the roots visible through a clear plastic pot: silvery roots mean it is time to water, while green roots indicate there is still moisture. If your orchid is in an opaque pot, use a wooden skewer inserted into the medium as a moisture gauge. If it comes out damp, wait another day or two.
Watering frequency naturally varies with the seasons. In warm, bright summer conditions, you may water every 5 to 7 days. In cool, dim winter conditions, every 10 to 14 days may be sufficient. Always assess the plant and its medium rather than blindly following a calendar.
Humidity: The Invisible Factor
Phalaenopsis orchids prefer humidity levels between 50 and 70 percent, which is higher than the average home environment, especially in winter when heating systems dry the air. Low humidity manifests as wrinkled leaves, bud blast (flower buds that yellow and drop before opening), and papery, desiccated aerial roots.
There are several ways to raise local humidity for your orchid:
- Pebble tray: Fill a shallow tray with pebbles and water, and set the orchid pot on top of the pebbles so that the pot sits above the water line. As the water evaporates, it creates a humid microclimate around the plant.
- Grouping plants: Cluster several humidity-loving plants together. Each plant’s transpiration contributes to a shared pocket of higher humidity.
- Humidifier: A small room humidifier placed near your orchid collection is the most effective solution, especially during winter.
- Misting: Lightly misting aerial roots daily can help, but avoid misting the leaves to the point where water droplets collect in the crown or between leaves, as this invites rot.
Potting Medium and Pots
Never plant a Phalaenopsis orchid in regular potting soil. Soil smothers the roots and causes them to rot within weeks. Orchids need a specialized, chunky potting medium composed primarily of fir bark, often mixed with sphagnum moss, perlite, or charcoal. This coarse, airy medium allows water to drain quickly while retaining enough moisture to sustain the roots between waterings.
Clear plastic pots with multiple drainage holes and side slits are the gold standard for Phalaenopsis orchids. The clear walls allow you to monitor root health visually and let light reach the roots, which, unusually, are capable of photosynthesis. The side slits provide additional aeration. You can place the clear plastic pot inside a decorative ceramic cachepot for display purposes, but always remove it for watering.
Repotting: When and How
Phalaenopsis orchids should be repotted every 1 to 2 years, not because they outgrow their pots but because the bark-based potting medium breaks down over time. Decomposed bark becomes acidic, compacts around the roots, and retains too much water, creating ideal conditions for root rot.
Signs that it is time to repot include:
- The potting medium looks broken down, soil-like, or mushy rather than chunky.
- Water drains through the pot almost instantly because the decomposed medium has compacted and left air gaps.
- A sour or musty smell emanates from the pot.
- Roots are visibly rotting (brown, mushy, or hollow) rather than firm and green or silvery.
- More than 2 years have passed since the last repotting.
Repotting Steps
- Water the orchid thoroughly the day before repotting to make the roots more pliable.
- Remove the orchid from its pot and gently shake away all old potting medium from the roots.
- Using sterilized scissors, trim any roots that are mushy, brown, hollow, or papery. Healthy roots are firm and turn green when wet.
- Choose a pot that is only slightly larger than the root mass. Orchids bloom best when slightly root-bound.
- Position the orchid in the pot so that the base of the lowest leaves sits just above the rim of the pot.
- Fill in around the roots with fresh orchid bark mix, tapping the pot gently to settle the medium. Do not pack it tightly.
- Wait 5 to 7 days before watering to allow any root damage from repotting to heal and callous.
Fertilizing for Blooms
Orchids are light feeders compared to most houseplants, but regular fertilization during the growing season supports healthy foliage and reliable blooming. The classic guidance is “weekly, weakly”: apply a balanced orchid fertilizer diluted to one-quarter of the recommended strength with every watering during spring and summer. A formulation like 20-20-20 works well. During fall and winter, when growth slows, reduce to once a month.
About once a month, water with plain water only, with no fertilizer, to flush any accumulated salts from the potting medium. Salt buildup manifests as a white crust on the bark and brown root tips.
Getting Your Orchid to Rebloom
One of the most common questions from new orchid owners is why their plant has stopped blooming and whether it will flower again. Phalaenopsis orchids typically bloom once per year, with flowers lasting 2 to 4 months. After the flowers drop, the plant enters a vegetative growth phase during which it produces new leaves and roots. A new flower spike will emerge when the plant is ready, usually in late fall or early winter.
Phalaenopsis orchids require a modest temperature drop at night to trigger spike development. In autumn, ensure the plant experiences nighttime temperatures around 15 to 18 degrees Celsius (60 to 65 degrees Fahrenheit), with daytime temperatures around 21 to 24 degrees Celsius (70 to 75 degrees Fahrenheit). This 5- to 8-degree differential mimics the seasonal shift in their native habitat and signals the plant to initiate a bloom spike. Simply moving the orchid closer to a window where nighttime temperatures dip slightly is often sufficient.
When the flowers do fade, do not cut the entire spike down to the base unless it turns brown and dry. A green spike can produce secondary branches with more flowers. Cut the spike just above the second or third node (the small triangular bump along the stem) from the bottom, and new buds may develop within 8 to 12 weeks.
Common Phalaenopsis Problems
Yellow Leaves
If the lowest, oldest leaf turns yellow and drops, this is normal senescence. If multiple leaves yellow simultaneously or newer leaves are affected, suspect overwatering, insufficient light, or cold damage from a drafty window.
Wrinkled, Limp Leaves
This almost always indicates a root problem. Either the plant is severely underwatered, or more commonly, the roots have rotted from overwatering and can no longer take up water. Unpot the orchid and inspect the roots.
Bud Blast (Buds Wither and Drop)
Sudden environmental changes are the usual culprit: a cold draft, relocation to a different spot, ethylene gas from ripening fruit nearby, or exposure to air conditioning or heating vents. Once buds have formed, try to keep conditions as stable as possible.
Crown Rot
This is typically fatal and results from water sitting in the crown of the plant, where the leaves emerge. Always water the potting medium directly, not the leaves, and if water accidentally pools in the crown, blot it out with a paper towel immediately.
Recommended Orchid Care Supplies
- Orchid Potting Mix: A quality fir bark orchid mix is essential for healthy root growth and proper drainage.
- Clear Orchid Pots: Clear plastic orchid pots with side ventilation let you monitor root health and provide the aeration orchids need.
- Orchid Fertilizer: A balanced orchid fertilizer applied at quarter strength supports healthy growth and reliable blooming.
- Humidity Tray: An orchid humidity tray helps maintain the elevated humidity levels that Phalaenopsis orchids prefer.
- Pruning Snips: Precision micro-tip pruning snips are perfect for trimming dead roots and spent flower spikes.